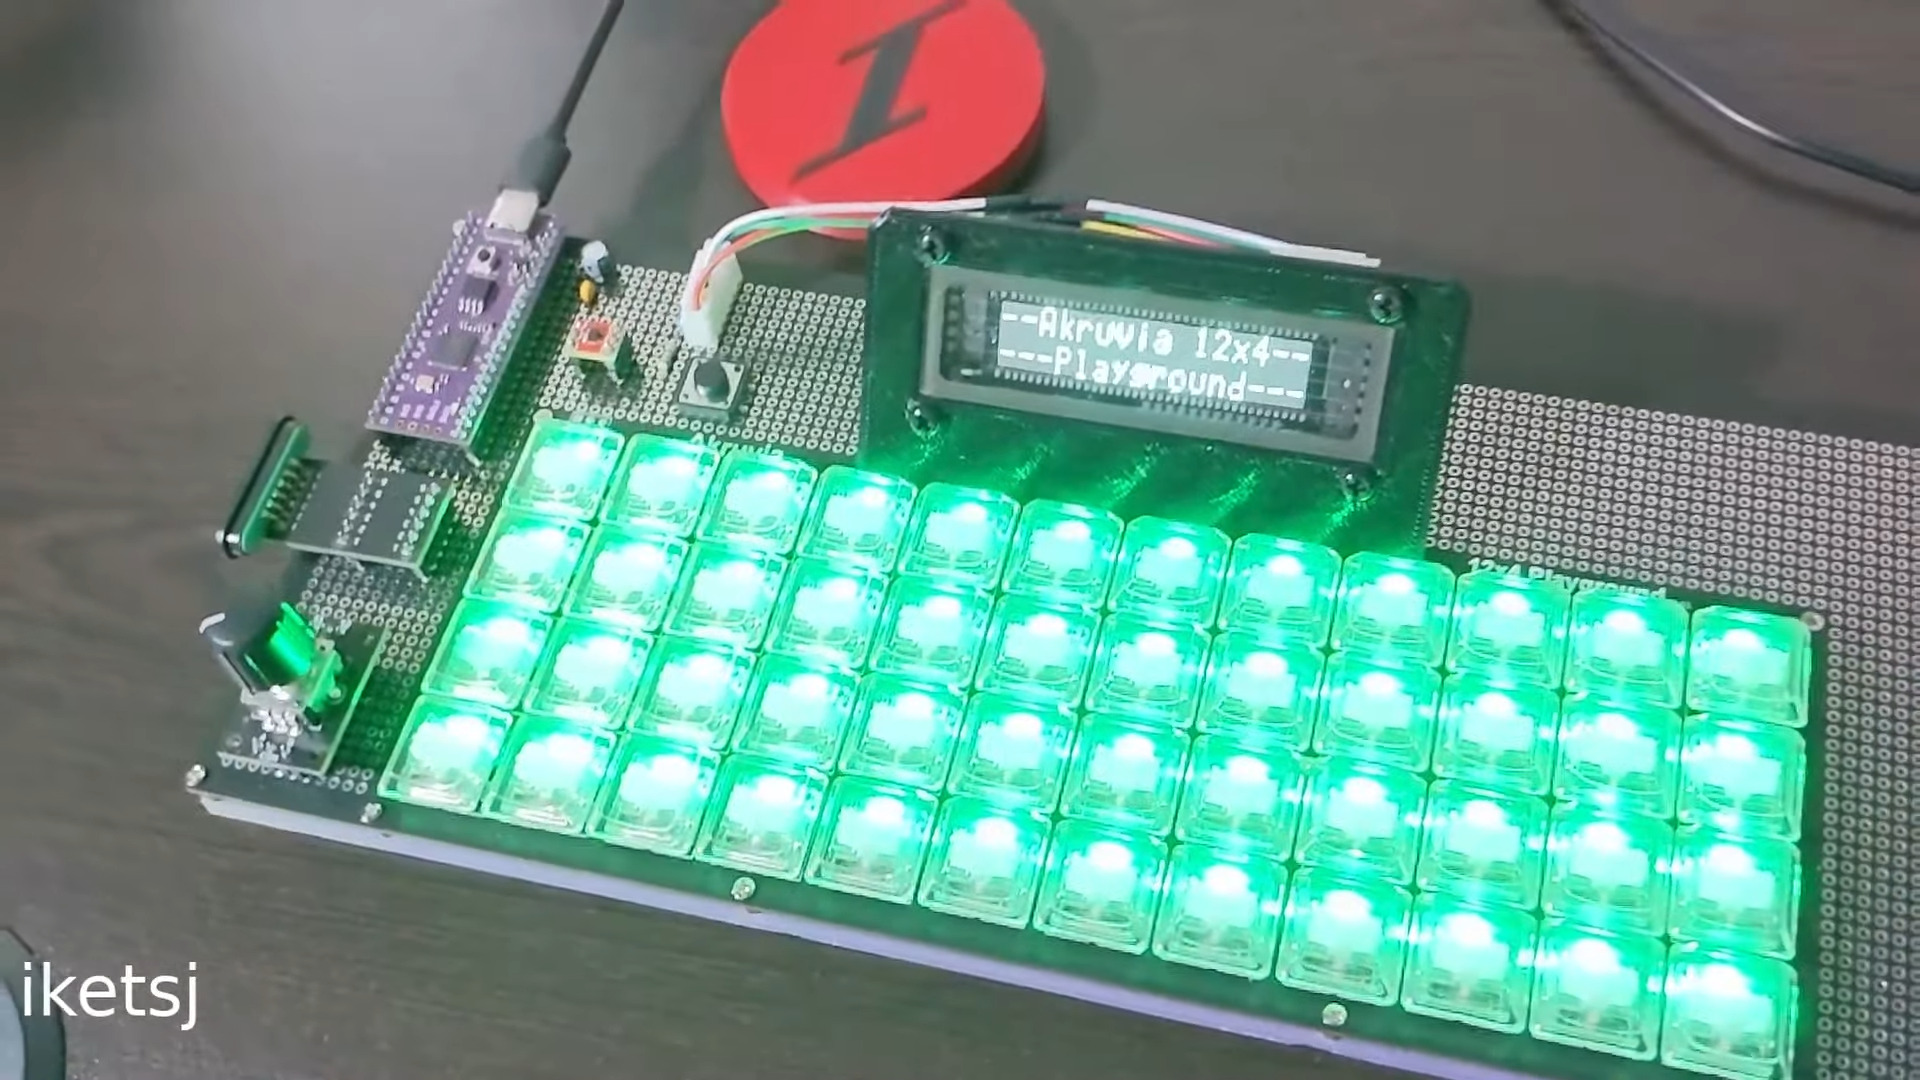
Students 3D Print Low Cost Braille Keypad

Numerical keypads are common entry devices for everything from home security systems to phones and more. Unfortunately, a great deal of them are difficult to use if you’re visually impaired. This high-contrast Braille keypad aims to solve those issues with simple design choices.

The keypad was developed as a school project by students [Nicholas Nguyen] and [Daniel Wang]. It uses a regular layout, with 1 at the top left and 9 at the bottom right. The keypad itself is 3D printed with large buttons for easier use. Each button has its numeral inlaid on the face which allows it to be easily filled in with paint for high-contrast readability.

The real neat feature, though, is that each individual button features its relevant number in Braille. The pips are directly 3D printed into the shape of each button. For those that familiar with the tactile writing system, this makes the keypad much easier to use. It obviates the need to guess at the keypad’s orientation, and we’re honestly surprised we don’t see this on more devices out in the wild.

We’ve featured a variety of neat Braille hacks over the years, including this neat tactile display.

Continue reading “Students 3D Print Low Cost Braille Keypad”

Taking Mechanical Keyboard Sounds To The Next Level

When it comes to mechanical keyboards, there’s no end to the amount of customization that can be done. The size and layout of the keyboard is the first thing to figure out, and then switches, keycaps, and then a bunch of other customizations inside the keyboard like the mounting plate and whether or not to add foam strips and other sound- and vibration-deadening features. Of course some prefer to go the other direction with it as well, omitting the foam and installing keys with a more noticeable click, and still others go even further than that by building a separate machine to make their keyboard activity as disruptive as it could possibly be.

This started as a joke among [ac2ev] and some coworkers, who were already teasing about the distinct sound of the mechanical keyboard. This machine, based on a Teensy microcontroller, sits between any USB keyboard and its host computer, intercepting keystrokes and using a small solenoid to tap on a block of wood every time a keystroke is detected. There’s also a bell inside that rings when the enter key is pressed, similar to the return carriage notification for typewriters, and as an additional touch an audio amplifier with attached speaker plays the Mario power-up sound whenever the caps lock key is pressed.

[ac2ev] notes that this could be pushed to the extreme by running a much larger solenoid powered by mains electricity, but since this was more of a proof-of-concept demonstration for some coworkers the smaller solenoid was used instead. The source code for the build can be found on the project’s GitHub page and there’s also a video of this machine in action here as well. Be careful with noisy mechanical keyboards, though, as the sounds the keys produce can sometimes be decoded to determine what the user is typing.

A Faulty Keyboard From A Single LED

When the chance arrived to buy a mechanical keyboard for not a lot, naturally, [Hales] jumped at it. Then it started having odd intermittent problems with some keys appearing stuck, which led to a teardown and some fault finding. The culprit was a white LED — but why this was the case is a fascinating story.

Stripping it down there didn’t seem to be an obvious culprit, but eventually, the trail led to a lack of diodes in the matrix. This keyboard had an extremely clever yet rather cursed design in which it used LEDs as both illumination and as a diode in the keyboard matrix circuit, and the faulty LED had a reverse breakdown condition that could be triggered under certain operational conditions.

More unexpectedly, it would sometimes hold on to its reverse breakdown state even after power off. Just when you think you understand a component’s properties, there’s always room for surprise. And we can safely say we’ve learned something about the design of cheaper keyboards in reading the account. It’s clear that when it comes to ‘boards, it’s best to take no chances.

An ESP32 Dev Board As A Framework Laptop Module

The Framework laptop will no doubt already have caught the eye of more than one Hackaday reader, as a machine designed for upgrade and expansion by its users. One of its key features is a system of expansion modules. The modules are USB-C devices in a form factor that slides into the expansion bays on the Framework Laptop. Framework encourages the development of new modules, which is something [Spacehuhn] has taken on with an ESP32-S3 development board.

The board itself is what you’d expect, the ESP is joined by a multicolor LED and one of those Stemma/Quiik connectors for expansion. The case is handily provided by Framework themselves, and all the files for the ESP32 module can be found in a GitHub repository. We’re guessing it will find application in experimenting with WiFi networks rather than as a standalone microcontroller. Either way, it shows the route for any Framework owners into making their own add-ons. Take a look, we’ve placed the video below the break.

As you might expect we’ve given a lot of coverage to the Framework laptop since its launch, in particular, our colleague [Arya Voronova] is a fan and has shown us many alternative uses for the parts.

Continue reading “An ESP32 Dev Board As A Framework Laptop Module”

Forgettable Computer, Great Keyboard. Now Available In USB

The Coleco Adam is one of the great might-have-beens of the 8-bit home computer era, with an impressive bundle and on-paper spec let down by bugs, hardware issues, and poor availability. It’s something of a footnote today but it seems Coleco did get something right as it had a great keyboard. [Nick Bild] has one, and he’s brought it into the 21st century with a USB interface.

The interfacing is courtesy of a Teensy microcontroller board as in so many other keyboard projects, but what makes this extra-interesting is the way the Coleco keyboard speaks to the world. Instead of merely being a matrix peripheral as were so many of its contemporaries, Coleco created their own custom serial bus for Adam desktop peripherals called AdamNet, and thus the keyboard contains its own 6801 microcontroller to perform the interfacing. The Teensy then is a USB-to-AdamNet interface, and could we’re guessing be made to talk to other Coleco peripherals if they exist.

You can see the keyboard in action below the break, and as you can see it fits quite nicely into 2023.  We’ve not featured much about the Adam before here at Hackaday, but the ColecoVision console which sits at its heart has even seen a new version.

Continue reading “Forgettable Computer, Great Keyboard. Now Available In USB”

Build A DIY Space Mouse For A More Efficient CAD Workflow

When you find yourself doing a lot of work in 3D modelling, you occasionally wish for something more capable than the humble two-dimensional mouse. A space mouse is a great tool in this regard, and [Salim Benbouziyane] was inspired to build his own.

[Salim] started his work with research, by watching a teardown of a Connexion Space Navigator 3D mouse. This informed him of the basic functionality and the workings inside. The commercial product appears to use an optical sensor setup, but [Salim] decided to go with a magnetic sensor setup instead due to the parts he had on hand. Namely, a 3-axis magnetometer which seemed perfect for the task.

The build uses a motion platform mounted on six springs which translates and rotates in three dimensions as required. The magnetometer is mounted on the platform above a stationary set of neodymium magnets. Thus, when the platform, and thus sensor, moves, the magnetometer’s output can be used to determine the motion of the platform and translate that into useful viewport commands for CAD software. A RP2040 is charged with reading the magnetometer and acting as a USB HID device. It’s all wrapped up in a neat 3D-printed housing.

For now, it’s a little simpler in its operation than a full 6 DOF Spacemouse, but it nonetheless has helped [Salim]’s workflow improve. A good peripheral like this can be a real boon on the desktop; we’ve seen a few DIY projects in this realm for just that reason. Video after the break.

Continue reading “Build A DIY Space Mouse For A More Efficient CAD Workflow”

Custom Keyboard Built For Diablo 3 Action

Custom mechanical keyboards are a great way to show off your passion and skill for electronics and design. They’re also perfect when you need to optimize your setup for a certain game or piece of software. [Pakequis] did just that with his Bad Thing of the Edge mechanical keyboard build.

[Pakequis] occasionally plays Diablo 3 on a tiny 7-inch laptop, which as you might expect, doesn’t have a keyboard conducive to gaming. Thus, he designed a mechanical keyboard with a series of important actions mapped to keys for the left hand. Naturally, that was an opportunity to have fun with the keycaps, which all feature graphics for their relevant in-game functions. The prototype was built with surplus keys from an old PTZ camera controller, but the final version runs Cherry MX switches. There are also a set of RGB LEDs with a variety of fun effects. The whole thing is run by a Raspberry Pi Pico, which is perfectly suited for building custom USB HID devices.

Hackers build custom keyboards for all kinds of reasons, like ergonomics, style, or just sheer absurdist fun.

Continue reading “Custom Keyboard Built For Diablo 3 Action”