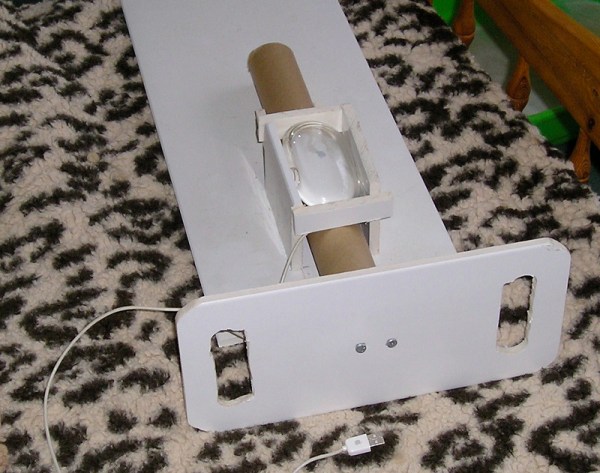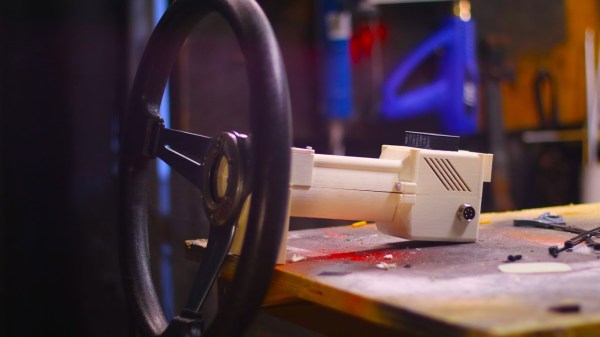
When it comes to controllers for racing games, there is perhaps no better option than a force feedback steering wheel. With a built-in motor to push against the wheel at exactly the right times, they can realistically mimic the behavior of a steering wheel from a real car. The only major downside is cost, with controllers often reaching many hundreds of dollars. [Jason] thought it shouldn’t be that hard to build one from a few spare parts though and went about building this prototype force feedback steering wheel for himself.
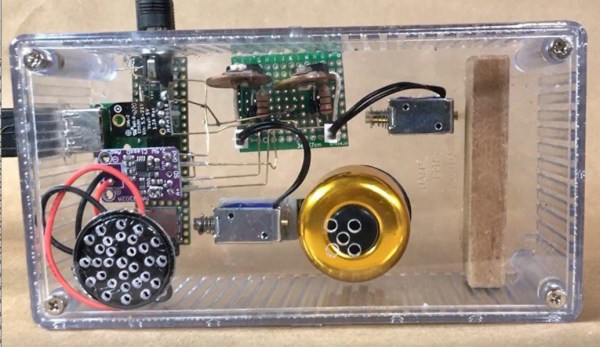
Sourcing the motor for the steering wheel wasn’t as straightforward as he thought originally. The first place he looked was an old printer, but the DC motor he scavenged from it didn’t have enough torque to make the controller behave realistically, so he turned to a high-torque motor from a battery-powered impact driver. This also has the benefit of coming along with a planetary gearbox as well, keeping the size down, as well as including its own high-current circuitry. The printer turned out to not be a total loss either, as the encoder from the printer was used to send position data about the steering wheel back to the racing game. Controlling the device is an Arduino, which performs double duty sending controller information from the steering wheel as well as receiving force feedback instructions from the game to drive the motor in the steering wheel. Continue reading “Force Feedback Steering Wheel Made From Power Drill”