Console Macropad Uses SD Cards For Stylin’ And Profilin’

Macropads are great to have around for hotkey input, but things can get out of hand pretty quickly when you realize just how many shortcuts are in your life. To avoid ending up with another keyboard-sized keyboard, some hackers will use a handful of switches and a lot of layers to turn a few keys into many. And instead of worrying about legends, they use blank keys and leave the labels to be displayed on some kind of screen.

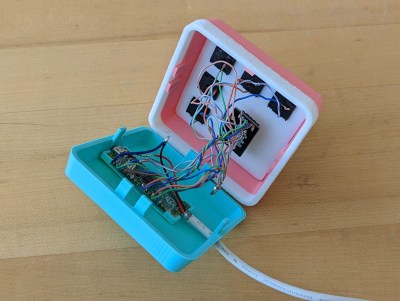
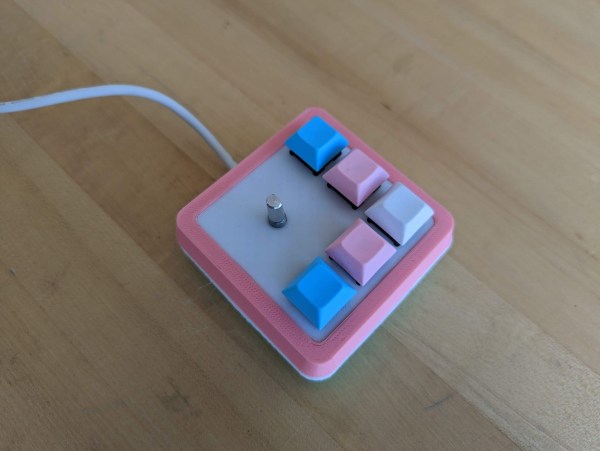
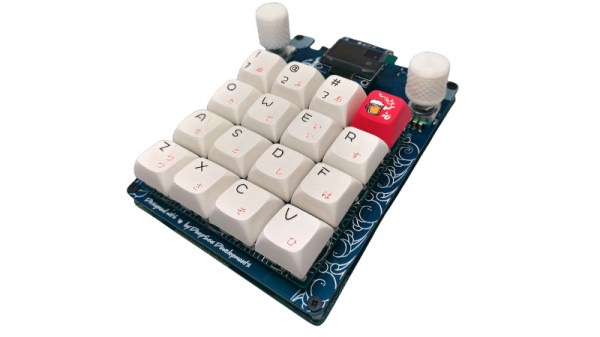
Among them is [QCJ3], who built this nifty little console-style macropad. Uninterested in managing microcontroller memory, [QCJ3] went the tangible route and loaded various profiles onto a micro SD card. Each text file on a given card holds a label, a color for the keyswitch LED, and of course, the keystrokes that make up the macro itself.

There are myriad ways to build a macro pad, from designing with bare chips (if you can get them) to programming a pre-built key matrix.  Grab the files if you like the console look and call it a day, or build a completely new enclosure that fits your hand exactly. Whatever you build, consider entering it in our brand spankin’ new Odd Inputs and Peculiar Peripherals Contest, which runs now through July 4th. If you need more inspiration, just peep the projects under macropad tag, or peruse the much heftier keyboard tag.

Via KBD

The 512 Gigabyte Floppy Disk

There are times when a technology goes almost overnight as if in a puff of smoke, and others when they fade away gradually over time to the point at which their passing is barely noticed. So it is with removable media, while we still have the occasional USB flash disk or SD card , they do not come anywhere near the floppies, Zip disks, and CD-ROMs of the past in their numbers or ubiquity. If the floppy disk is just a save icon to you there’s still the chance to experience their retro charm though, courtesy of [Franklinstein]. He’s made a 3.5″ floppy disk that eschews 720 k, 1.44 M, or even 2.88 Mb, and goes all the way with a claimed 512 Gb capacity. We’re sure we can’t remember these from back in the day!

Of course as we can see in the video below he’s achieved neither an astounding feat of data compression nor a bleeding-edge method of storing bits in individual iron oxide molecules. Instead the floppy hinges open, and there’s a holder for micro SD cards where the disk itself would be. It’s a bit of fun, and we have to agree with him that it makes a very handy holder for micro SDs that can carry that much data. This sets us wondering though, whether it would be possible to somehow multiplex 14 micro SDs to a microcontroller on a PCB that could fit in a floppy shell. Perhaps an ESP32 could be a slow file server through a web interface?

He makes the point that 512 Gb of floppies would comfortably exceed the height of the tallest buildings were they stacked together, so at the very least this represents a space saving. If you’re looking for something slightly more functional and don’t mind modifying the drive, there’s always this classic approach to marrying a floppy with an SD card.

Continue reading “The 512 Gigabyte Floppy Disk”

Sunrise Keyboard Looks The Part

If you’ve been to a bar sometime since the 1930s, you’ve probably spied someone drinking a Tequila Sunrise. It’s a drink that mimics the beautiful colors of the dawn. In much the same way, so does this Sunriser keyboard build from [crashl1445].

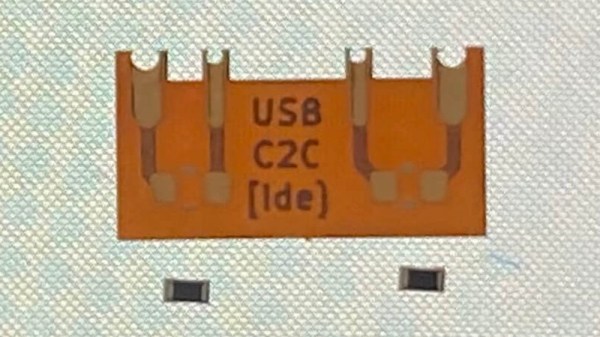
Built for a high-school engineering project, the build looks resplendent with its yellow case, paired with yellow, orange and pink keycaps to produce the wonderful sunrise aesthetic. The build relies on an Elite-C v4 microcontroller, an off-the-shelf device specifically designed for building custom keyboards. As you might guess from the name, it features a USB-C port, serving as a modernized alternative to the Arduino Pro Micro for custom keyboard builders. KTT Rose switches are used as per [crashl1445’s] own preference, and there’s even a rotary encoder which acts as a volume knob, installed right by the arrow keys. The case is printed in several parts on a Prusa Mk3+, as the keyboard wouldn’t fit entirely on the build plate as a single piece.

The best thing about building your own keyboard is that you can design it entirely to suit your own preferences and aesthetic; we think [crashl1445] did a great job in this regard. If you’re cooking up your own sweet keyboard build, don’t hesitate to let us know!

Gaming Mouse Becomes Digital Camera

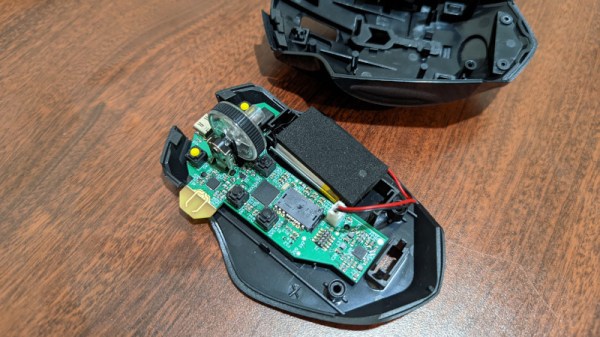
Ever since the world decided to transition from mechanical ball mice to optical mice, we have been blessed with computer pointing devices that don’t need regular cleaning and have much better performance than their ancestors. They do this by using what is essentially a tiny digital camera to monitor changes in motion. As we’ve seen before, it is possible to convert this mechanism into an actual camera, but until now we haven’t seen something like this on a high-performance mouse designed for FPS gaming.

For this project [Ankit] is disassembling the Logitech G402, a popular gaming mouse with up to 4000 dpi. Normally this is processed internally in the mouse to translate movement into cursor motion, but this mouse conveniently has a familiar STM32 processor with an SPI interface already broken out on the PCB that could be quickly connected to in order to gather image data. [Ankit] created a custom USB vendor-specific endpoint and wrote a Linux kernel module to parse the data into a custom GUI program that can display the image captured by the mouse sensor on-screen.

It’s probably best to not attempt this project if you plan to re-use the mouse, as the custom firmware appears to render the mouse useless as an actual mouse. But as a proof-of-concept project this high-performance mouse does work fairly well as a camera, albeit with a very low resolution by modern digital camera standards. It is much improved on older mouse-camera builds we’ve seen, though, thanks to the high performance sensors in gaming mice.

Thinnest Keyboard Uses Cherry DIY Doubleshot Method

As with any other community, it takes all kinds to make the keyboard world go ’round. Some like them thicc — more backing for the clacking and all — but some like them sleek and prefer the slimmest possible keyboard. For now and the foreseeable future, the go-to method for making whisper-thin keebs is to use Kailh Choc switches, because that’s about all that’s out there.

But chocs aren’t for everyone, and there are plenty of die-hard Cherry fans out there that want it both ways. Being one among them, [Khmel] set about designing the lowest-profile possible keyboard (and caps) that uses standard Cherry-sized keyswitches. Shut up and take your money? Well, okay, but the case and keycap files are all available on Thingiverse, so.

The whole video is great, and at less than 2½ minutes long, it’s definitely worth your time. There are a few little gems of wisdom sprinkled throughout, like printing keycaps standing up on their backsides (like where they would have a little flash dot if they were factory-molded). This gives them a nice texture thanks to the layer lines. But the real reason we’re here today is this DIY method for making doubleshot keycaps with little fuss that [Khmel] just tosses out there toward the end.

Trust us, there’s a piece of glass there.

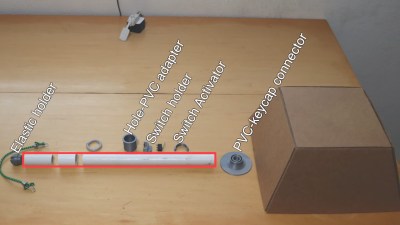
Traditionally, doubleshot keycaps are made with two layers of plastic — one for the legend, and one for the rest. This produces a quite durable keycap and (used to be the norm), but the expensive process gave way to laser-etched and pad-printed keycap legends in the ’90s. [Khmel] was able to fake the look by printing legends at 0.25 layer height and then fusing each one to its respective keycap by laying a thin piece of glass (think microscope slide) on top and applying a soldering iron for a few seconds. Classy!

Tweezing tiny legends not really your kind of tedium? Here’s a method for DIY waterslide decals instead.

Continue reading “Thinnest Keyboard Uses Cherry DIY Doubleshot Method”

Mods Make A Stock Keyboard Your Own

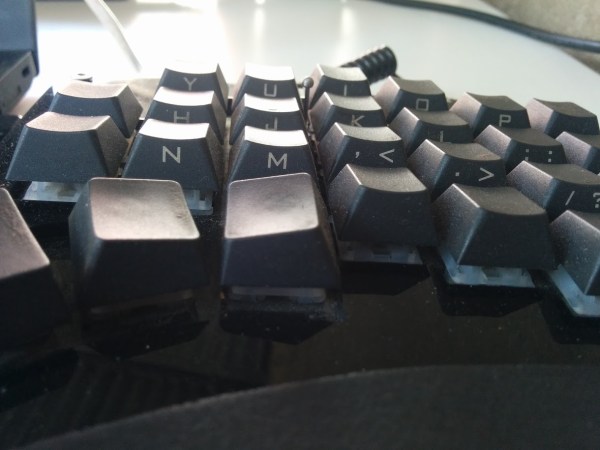
Trust me, you don’t have to build your own keyboard from the deskpad up to be happy or feel like one of the cool kids. Sure, it doesn’t hurt, but not everyone is able to or even wants to start from next to nothing. Take [Roger] for example. [Roger] started with a stock mechanical keeb — the Ultimate Hacking Keyboard (UHK) — which can be outfitted with magnetic add-on modules such as a thumb key cluster, trackball, trackpoint, and touch pad, and made it his own.

While the stock board that you choose may not be so option-laden, there are plenty of other things one can do to customize things, and [Roger] did basically all of them. The Kailh browns that the UHK came with were too loud, so [Roger] swapped them out for Zilent V2 Silent tactiles and dampened the case with plenty of neoprene foam.

[Roger] frequently switches between two keyboard layouts, which got confusing at times. But instead of boring blank keycaps, he scrounged around until he found a cool set. (We do like the way they look with the wood wrist rests.) Speaking of those wrist rests, the right one is carved out and hiding a 10,000 mAh power bank, because [Roger] also made the UHK wireless using one of those often-out-of-stock BT-500 Bluetooth adapters. This allows him to switch between two PCs with a keyboard shortcut.

Think you want to go split, but not sure about key wells and column stagger and all that jazz? Something like the UHK is a good place to start, because it takes the familiar brick wall layout and breaks it into two pieces. No idea what you want? Check out the split keyboard finder.

Pico Chording Keyboard Is Simultaneously Vintage And New

On paper, chording — that’s pressing multiple keys to create either a single character or a whole word — looks like one of the best possible input methods. Maybe not the best for speed, at least for a while, but definitely good for conserving the total number of keys. Of course, fewer keys also makes for an easier time when it comes to building keyboards (as long as you don’t have to code the chording software). In fact, we would venture to guess that the hardest part of building your own version of [CrazyRobMiles]’s Pico Chord Keyboard would be teaching your fingers how to work together to chord instead of typing one at a time.

[CrazyRobMiles] took inspiration from the Cykey chording design used for the Microwriter and later, the Microwriter Agenda that also featured a qwerty blister keyboard. Both featured small screens above the six keys — one for each finger, and two for the thumb. While the original Microwriter ran on an 8-bit microprocessor, Pico Chord Keyboard uses — you guessed it — the Raspberry Pi Pico.

We love that [CrazyRobMiles] went with four 14-segment displays, which gives it a nice old school feel, but used transparent keycaps over Kailh switches. This is actually important, because not only do the LEDs show what mode you’re in (alpha vs. numeric vs. symbols), they also teach you how to chord each letter in the special training game mode. Be sure to check it out in the video after the break.

Isn’t it cool that we live in a world of relatively big keyboards with few keys and tiny keyboards with all the keys?

Continue reading “Pico Chording Keyboard Is Simultaneously Vintage And New”