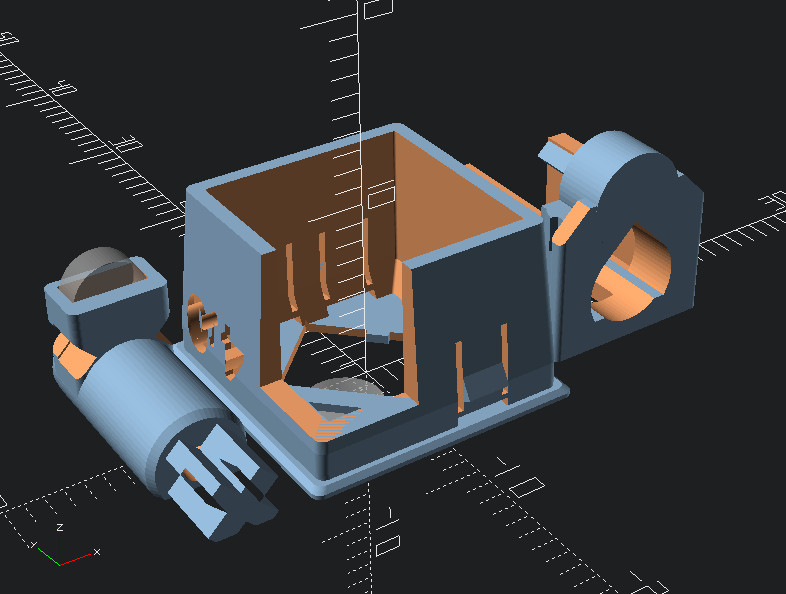
While most people are happy to type away at whatever keyboard their machine came with, for the keyboard enthusiast, there’s no stone to be left unturned in the quest for the perfect key switch mechanism. Enter [Riskable], with an innovative design for a 3D printed mechanism that delivers near-infinite adjustment without the use of springs or metallic contacts.
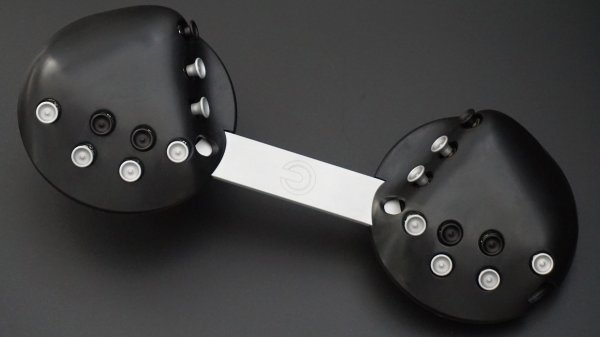
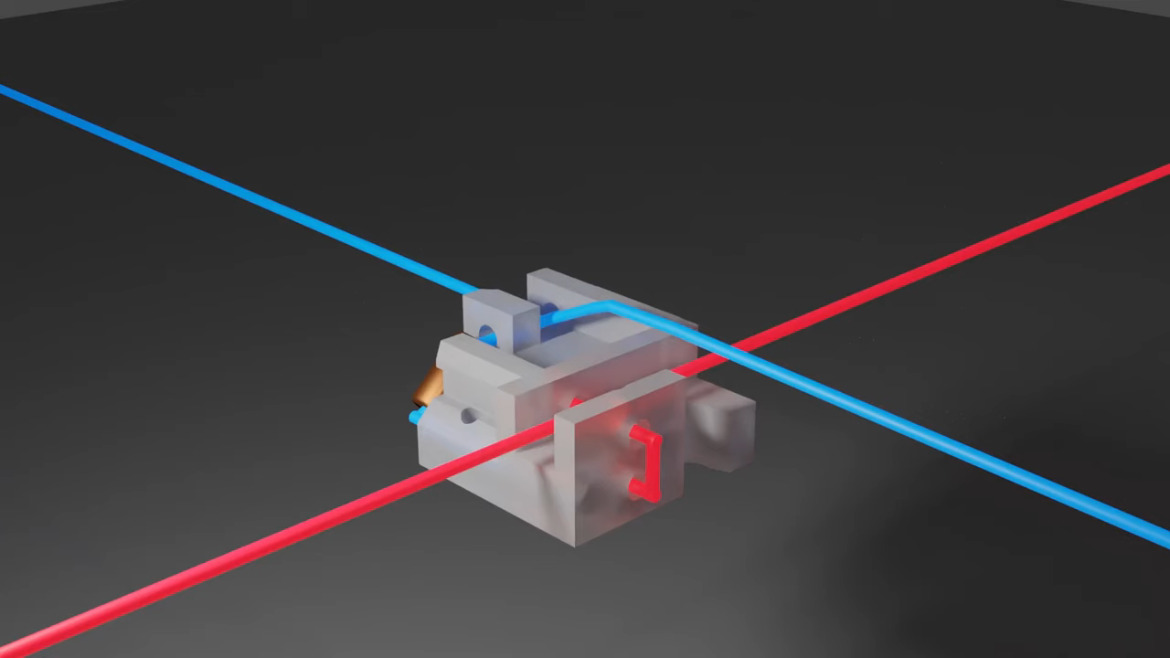
The switching itself is performed by a Hall effect sensor, the specifics of which are detailed in a second repository. The primary project simply represents the printed components and magnets which make up the switch mechanism. Each switch uses three 4 x 2 mm magnets, a static one mounted on the switch housing and two on the switch’s moving slider. One is mounted below the static magnet oriented to attract it, while the other is above and repels it.
 With this arrangement the lower magnet provides the required tactility, while the upper one’s repulsive force replaces the spring used in a traditional mechanism. [Riskable] calls it the magnetic separation contactless key switch, but we think “revolutionary” has a nicer ring to it.
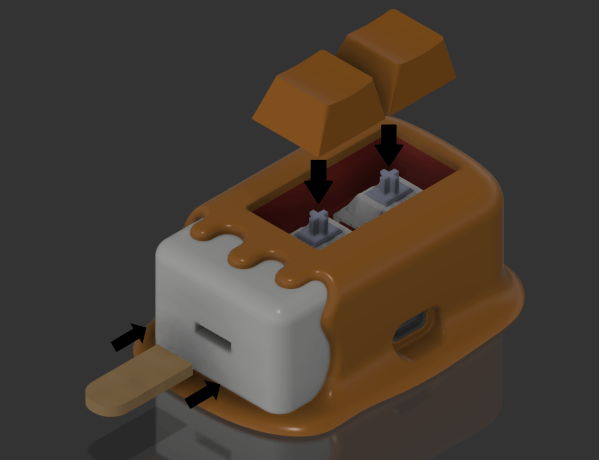
The part which makes this extra-special is that it’s a fully parametric OpenSCAD model in which the separation of the magnets is customisable, so the builder has full control of both the tactility and return force of the keys. There’s a video review we’ve posted below that demonstrates this with a test keypad showing a range of tactility settings.
We have a resident keyboard expert here at Hackaday in the shape of our colleague [Kristina Panos], whose Keebin’ With Kristina series has introduced us to all that is interesting in the world of textual input. She plans on taking a keyboard made of these clever switches on a test drive, once she’s extruded the prerequisite number of little fiddly bits.
Continue reading “3D Printed Magnetic Switches Promise Truly Custom Keyboards”