“But can it run Doom?” is perhaps the final test of hacking a platform. From calculators to thermostats, we’ve seen Doom shoehorned into a lot of different pieces of hardware. Many times we’re left scratching our heads at the mashup, and this is no exception.
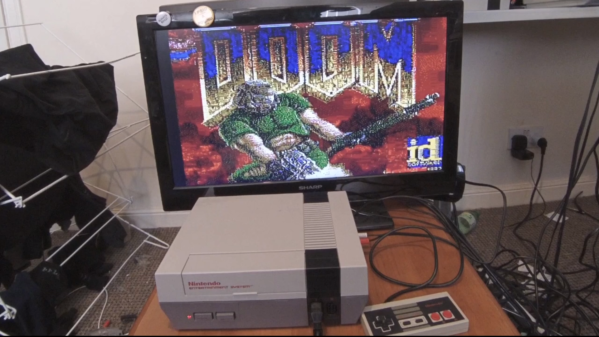
[TheRasteri] wasn’t satisfied with the existing ports of Doom, so he decided to bring the classic game to a classic console, the NES. In the video embedded after the break, he helpfully points out the system requirements for running Doom, and compares them with the specifications of the NES. Spoilers: not nearly enough.
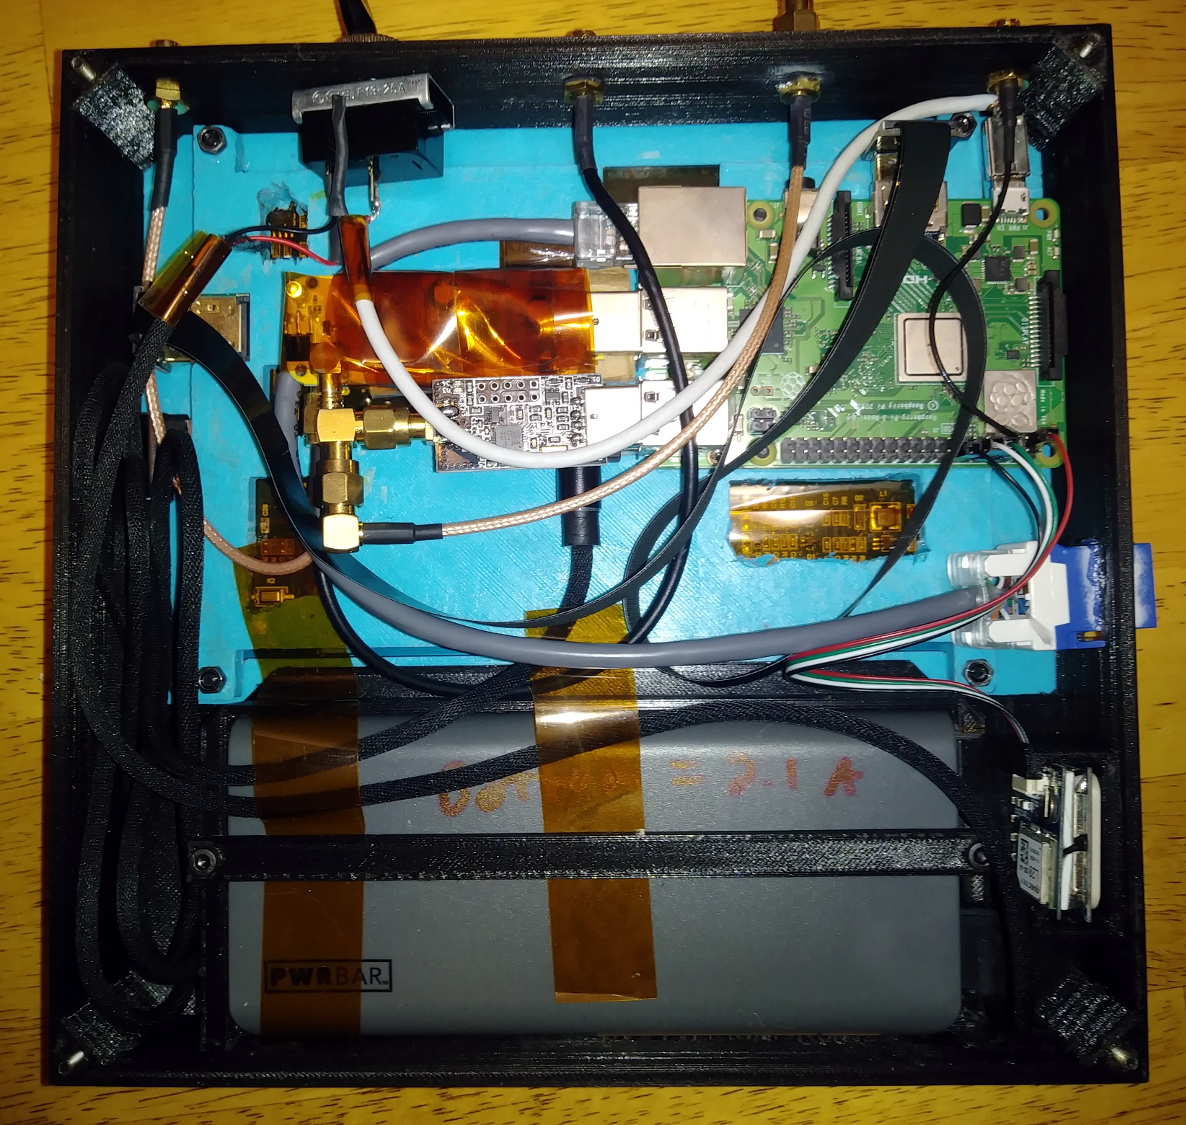
How did he manage the feat? Taking inspiration from Nintendo’s own SuperFX chip, he embedded a co-processor in the cartridge, and fed the video stream from the cartridge back into the NES. It might not be fair to call it a co-processor, since it’s a Raspberry Pi with thousands of times the processing power of the 6502 that powers the NES. The idea might seem familiar, and in fact it was partially inspired by [Tom7]’s similar hack last year.
Using a Cypress USB controller to feed the graphics bus, [TheRasteri] is able to run Doom on the Raspberry Pi, take the visuals from the game, and convert them into blocks of graphics the NES expects to load from the cartridge. The best trick is that he apparently managed to squeeze everything into a normal NES cartridge. He plans to release a build video on his channel, so keep an eye out.
Meanwhile, don’t forget to take a look at those calculators and thermostats we mentioned.