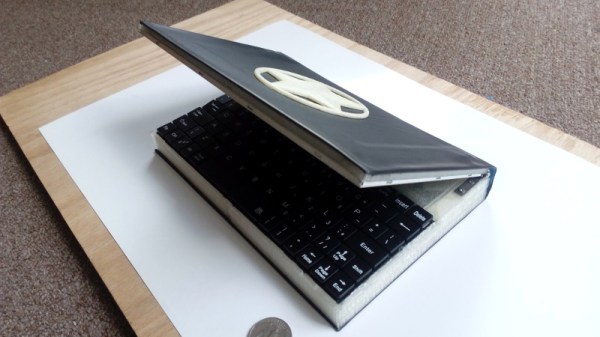
Who says there’s no such thing as magic? Not anyone who knows what a Unix pipe is, that’s for sure. If you do some of your best incantations at a blinking cursor, this scratch-built Raspberry Pi Zero “Spellbook” laptop created by [Calvin] might be just what the apothecary ordered. Lucky for us, he was kind enough to document the design and construction of this penguin-powered tome for anyone else who wishes to dabble in the GNU Dark Arts.
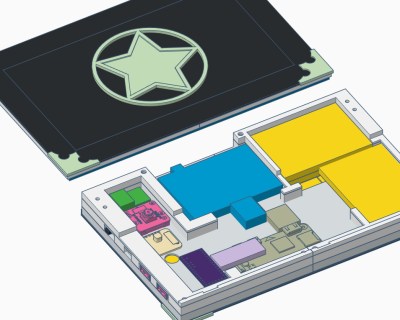 In the series of videos after the break, viewers have the opportunity to watch a project go from idea to final product. The first video was uploaded nearly a month before the project was completed, and goes over some of the design elements of the project as well as different ideas [Calvin] had in terms of things like component placement. Throughout the video, he illustrates his ideas in TinkerCAD, which might not have been our first choice for a project this complex, but it does go to show what’s possible in the free web-based CAD package.
By the second video, [Calvin] has printed some parts and now has the hardware coming together. The general idea is that the outside panels of the “book” are made out of steel cut from the side panel of an old computer, with the 3D printed components taking the form of spacers between the electronic components. These plastic “pages” are not only easier and faster to print than a complete case, but help sell the appearance of the book when viewed from the sides.
[Calvin] has shared his TinkerCAD design so that others can print out the necessary components for the book, though you’ll have to source your own steel plates. He also breaks down all the principle components he used and gives links to where you can buy them, from the display and keyboard down to the screws and standoffs. He went with the Pi Zero and sticks to mainly console work, but if you want something with enough power to throw around a graphical environment, he says there’s room in the case for a Pi 3.
Hackers seem to enjoy hiding hardware inside of books, PLA or otherwise. We’ve recently seen an iPad nestled snugly into a notebook, and of course no house would be complete without a book doubling as a hidden switch.
Continue reading “A Raspberry Pi Grimoire For The Command Line Wizard”

