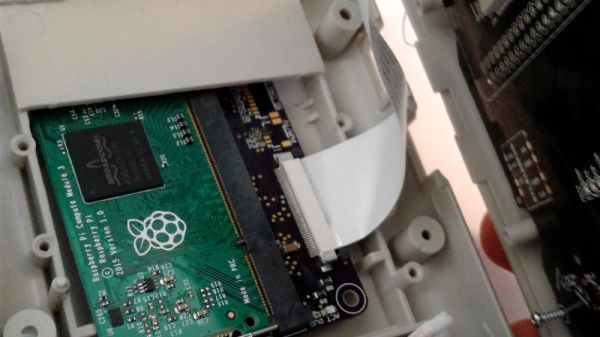
File systems are one of those things that typical end users don’t think much about. Apparently, [seaQueue] isn’t a typical end user. He’s posted some instructions on how to run an alternate file system–btrfs–on the Raspberry Pi.
The right file system can make a big difference when it comes to performance and maintainability of any system that deals with storage. Linux, including most OSs for the Raspberry Pi, uses one of the EXT file systems. These are battle-hardened and well understood. However, there are other file systems, many of which have advanced features superior to the default file system for some applications.
Btrfs, often pronounced “butter eff ess”, begin life at Oracle and was born from an idea in an IBM paper. It offers advanced features like pooling, snapshots, and the ability to fuse multiple devices into one logical device. One notable feature the file system offers is copy-on-write. That means file copies can share common blocks as long as they stay common. Compression is available, as is seeding a file system with read-only storage, which could be very useful in some embedded systems. You can also configure several types of RAID using nothing but btrfs. You can see a video presentation about features of btrfs below.


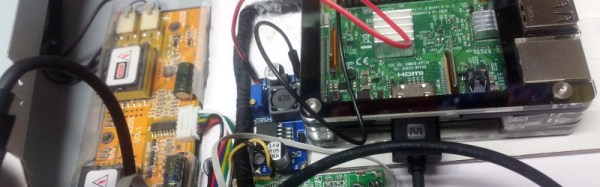
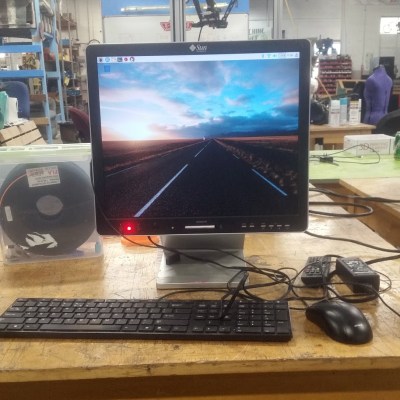 Even though thin clients never took the world by storm, it is still not unusual to encounter the hardware once it has outlived its usefulness. A surplus Sun Ray 270 all-in-one thin client came [Evan Allen]’s way, and to make something useful from it