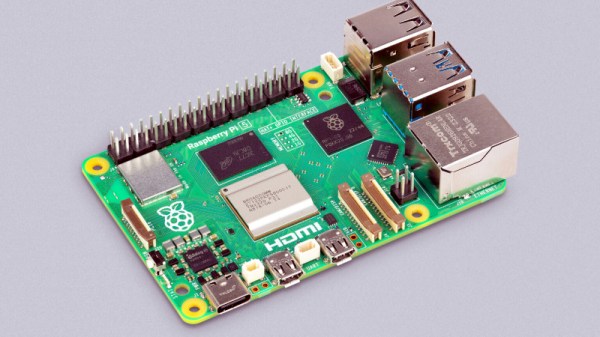
One of the unexpected success stories in the world of hi-fi over the past decade has been the resurgence of the vinyl LP as a musical format. What was once old hat is now cool again, but for freshy minted vinyl fans there’s a snag. Hi-fi itself has moved on from the analogue into the digital, so what can be done if your listening comes through a Sonos system. Sonos will sell you a box to do that of course, but it’s as overpriced as 2023-pressing vinyl. [Max Fischer] has a far better solution, in the form of a Raspberry Pi loaded with open source software.
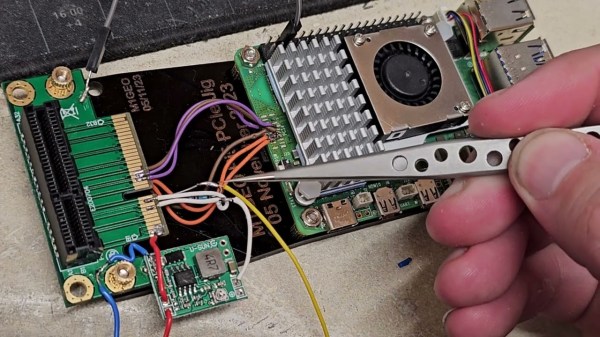
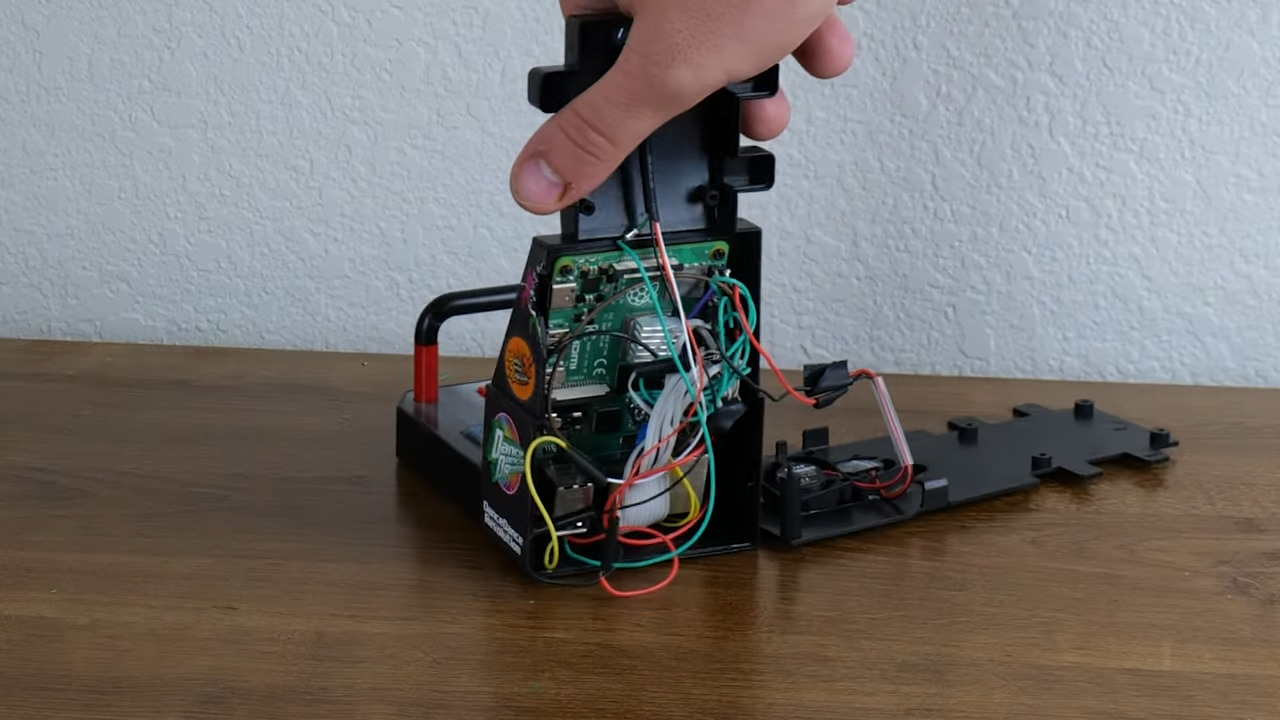
At the vinyl end is a Behringer audio interface containing a pre-amp with the required RIAA response curve. This acts as the source for the DarkIce audio streamer and the IceCast2 media serer, all of which even with the cost of a Pi and the interface, is considerably less than the commercial device.
We’re guessing that a more humble interface coupled to an older RIAA pre-amp could cut the cost further, and we’d be hugely curious as to whether a simple mic pre-amp could be used alongside some DSP from the likes of Gnu Radio to give the RIAA response.
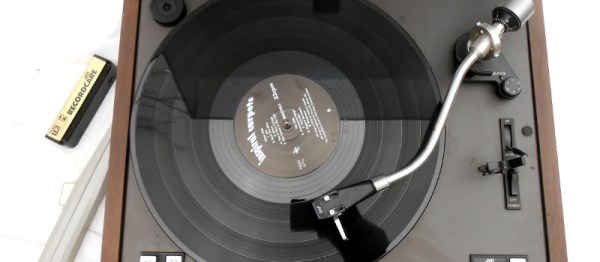
Either way, he’s made a handy device for any 21st-century vinyl fan. Meanwhile if you’re one of the streaming generation seduced by round plastic discs, we’ve gone into some detail about their audiophile credentials in the past. And if you have found yourself a turntable, of course you’ll need to know how to set it up properly.