Even as technology keeps progressing, we find ourselves coming back to the classics again and again. Pong is quite possibly the classic game, and the Raspberry Pi Pico is one of the latest microcontrollers. So [Nick Bild] combined them expertly in his Pico Pong project, which includes gesture controls and a custom VGA output.
Rolling your own VGA signal is no simple feat, and this project takes full advantage of the Pico’s features to pull it off. Display data is buffered in memory, while a Programmable I/O (PIO) program reads straight from the buffer via Direct Memory Access (DMA) and writes straight to the display. This allows for nanosecond-precision while leaving the CPU free to handle inputs and run the game. Even with the display work offloaded, the ARM processor had to be massively overclocked at 258 MHz, well over its 133 MHz specs, to make things run smoothly. And still [Nick] found himself limited to a 640×350 resolution and serendipitously-retro-accurate monochrome color scheme.
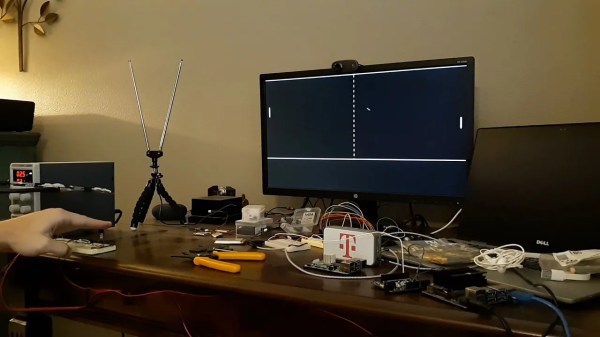
Gesture controls come from a pair of IR light beams hooked up to the GPIO. IR LEDs shine up toward reflectors, and the light bounces back down to detectors. Blocking one of the beams causes your paddle to move up or down, which looks pretty responsive in the video (embedded below).
We’ve seen [Nick] play Pong before, though at that time it was handheld and based on the venerable 6502. And just recently we wrote about the Raspberry Pi Pico powering another classic game: Snake.