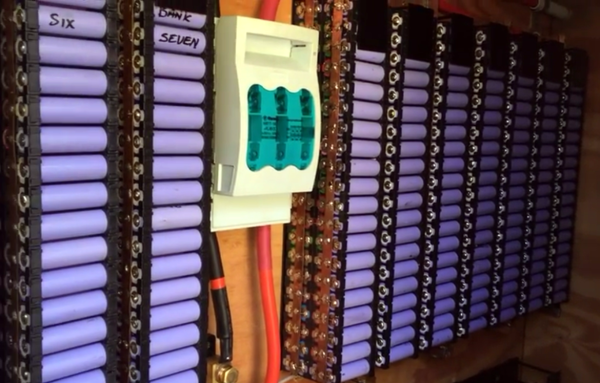
Every now and then a hacker gets started on a project and forgets to stop. That’s the impression we get from [HBPowerwall]’s channel anyway. He’s working on adding a huge number of 18650 Lithium cells to his home’s power grid and posting about his adventures along the way. This week he gave us a look at the balancing process he uses to get all of these cells to work well together. Last month he gave a great overview of the installed system.
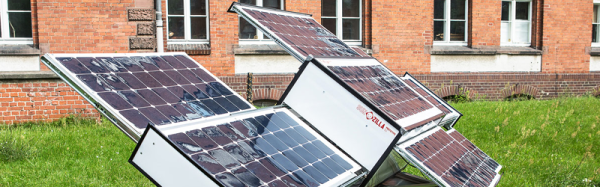
His channel starts off innocently enough. It’s all riding small motor bikes around and having a regular good time. Then he experiments a bit with the light stuff, like a few solar panels on the roof. However, it seems like one day he was watching a news brief about the Powerwall (Tesla’s whole-home battery storage system) and was like, “hey, I can do that.”
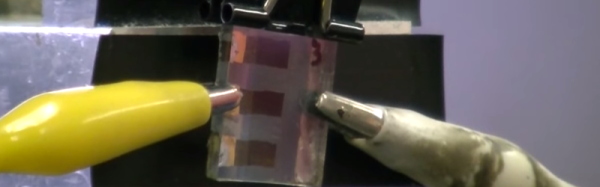
After some initial work with the new substance it wasn’t long before he was begging, borrowing, and haggling for every used 18650 lithium battery cell the local universe in Brisbane, Australia could sell him. There are a ton of videos documenting his madness, but he’s all the way up to a partly off-grid house with a 20kWh battery bank, for which he has expansion plans.
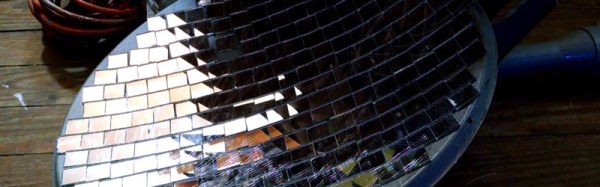
There’s a lot of marketing flim flam and general technical pitfalls in the process of generating your own non-grid electricity. But for hackers in sunny areas who want to dump those rays into local storage this is an interesting blueprint to start with.