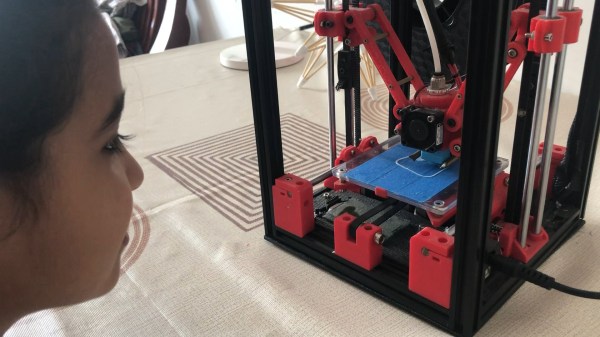
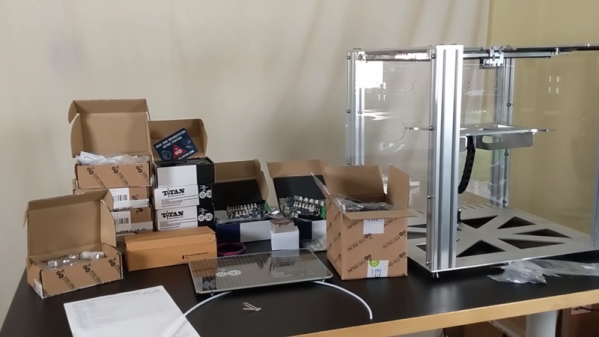
Knock Your 3D Printer Down To 2D

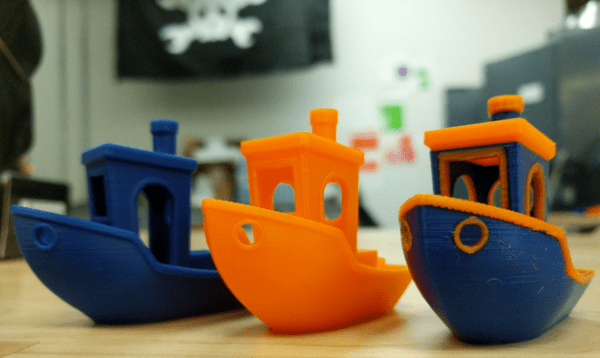
Hackers love 3D printers. In fact, they might love them a little too much. We hope know we aren’t be the only ones who couldn’t turn down a good deal on an overseas printer (or two). But when you’re not pumping out plastic boats and other PLA dust collectors, what are you supposed to do with them?

Well if you’re like [Uri Shaked] you could hand them a pen and tell them to get writing. The holidays are coming up quick, and somebody’s gotta sign all these cards. In his detailed write-up, he shows how he was able to add a pen to his Creality CR-10 printer to turn it into a lean mean letter-writing machine without making any permanent changes to the printer.

The physical aspect of this hack is about as simple as they come: just come up with some way to hold the pen a bit below the printer’s hotend. The positioning here is a bit critical, as you don’t want to crash the nozzle into the bed while writing out a missive. [Uri] got fancy and designed a little bracket that clamps onto the CR-10 and even has a M3 screw to hold the pen in place, but you could get away with zip ties if you just want to experiment a bit.

[Uri] goes into much greater detail on the software side of things, which is good, as it does take a bit of Inkscape trickery to get the printer to perform the specific dance moves required. He goes through step by step (with screen shots) explaining how to set up Orientation Points and configure the tool parameters for optimal performance. Even if you aren’t looking to put a 3D printer to work autographing your 8x10s before the next hackerspace meet, this is an excellent guide on producing GCode with Inkscape which can be helpful for tasks such as making PCBs.

The general process here is very similar to adding a laser module to your 3D printer, but with considerably lower risk of your eyeballs doing their best Death Star impression.

Continue reading “Knock Your 3D Printer Down To 2D”

3D Printed Sneakers Are Now A Thing

Shoes may seem simple at face value, but are actually rather complex. To create a comfortable shoe that can handle a full day of wear without causing blisters, as well as deal with the stresses of running and jumping and so on, is quite difficult. Is it possible to create a shoe that can handle all that, using a 3D printer?

[RCLifeOn] discovered these sneakers by [Recreus] on Thingiverse, and decided to have a go printing them at home. While [Recreus] recommend printing the shoes in their Filaflex material, for this build, one shoe was printed in thermoplastic polyurethane, the other in Ninjaflex. As two filaments that are both commonly known to be pliable and flexible, the difference in the final parts is actually quite significant. The Ninjaflex shoe is significantly more flexible and cushions the foot better, while the rigidity of the TPU shoe is better for ankle support.

Our host then takes the shoes on a long run through the woods, battling dirt, mud, and other undesirables. Both shoes hold up against the abuse, although [RCLifeOn] notes that the Ninjaflex shoe is much more comfortable and forgiving for longer duration wear.

We’ve seen other 3D printed shoe hacks before, too – like these nifty shoelace locks.

Maker Faire NY: Cocoa Press Chocolate Printer

If you haven’t figured it out by now, the hype over desktop filament printers is pretty much over. But that doesn’t mean there aren’t new avenues worth exploring that use the basic FDM printer technology. If anything, the low cost and high availability of 3D printer parts and kits makes it easier to branch off into new territory. For example, experimenting with other materials which lend themselves to being “printed” layer by layer like a thermoplastic. Materials such as cement, clay, or even chocolate.

[Ellie Weinstein] brought her Cocoa Press printer to the 2018 World Maker Faire in New York, and we have to say it’s a pretty impressive piece of engineering. Hackers have been known to throw a syringe-based paste extruder onto a regular 3D printer and try their luck with squirting out an edible object from time to time, but the Cocoa Press is truly a purpose built culinary machine.

Outwardly it features the plywood case and vaguely Makerbot-looking layout that we’ve seen plenty of times before in DIY 3D printers. It even uses the same RAMPS controller running Marlin that powers your average homebrew printer. But beyond these surface similarities, the Cocoa Press has a number of purpose-built components that make it uniquely qualified to handle the challenges of building with molten chocolate.

For one, beyond the nozzle and the walls of the syringe, nothing physically comes into contact with the chocolate to be printed; keeping the mess and chance of contamination to a minimum. The leadscrew actuated plunger used in common paste extruders is removed in favor of a purely air powered system: a compressor pumps up a small reservoir tank with filtered and dried air, and the Marlin commands which would normally rotate the extruder stepper motor are intercepted and used to trigger an air valve. These bursts of pressurized air fill the empty area above the chocolate and force it out of the 0.8 mm nozzle.

In a normal 3D printer, the “melt zone” is tiny, which allows for the heater itself to be relatively small. But that won’t work here; the entire chocolate load has to be liquefied. It’s a bit like having to keep a whole roll of PLA melted during the entire print. Accordingly, the heater on the Cocoa Press is huge, and [Ellie] even had a couple spare heaters loaded up with chocolate syringes next to the printer to keep them warm until they’re ready to get loaded up.

Of course, getting your working material hot in a 3D printer is only half the battle, you also need to rapidly cool it back down if you want it to hold its shape as new layers are placed on top of it. A normal 3D printer can generally get away with a little fan hanging next to the nozzle, but [Ellie] found the chocolate needed a bit of a chill to really solidify.

So she came up with a cooling system that makes use of water-cooled Peltier units. The cold side of the Peltier array is inside a box through which air is forced, which makes its way through an insulated hose up to the extruder, where a centrifugal fan and 3D printed manifold direct it towards the just-printed chocolate. She reports this system works well under normal circumstances, but unusually high ambient temperatures can overwhelm the cooler.

While “the man” prevented show goers from actually eating any of the machine’s creations (to give out food in New York, you must first register with the city), they certainly looked fantastic, and we’re interested in seeing where the project goes from here.

Maker Faire NY: Infinite Autonomous 3D Printing

Although it’s not an idea that has yet trickled down to $200 printers drop-shipped from China, one of the most innovative ideas in the 3D printing world in the last few years is putting plastic down on a conveyor belt. Yes, MakerBot was doing it back in 2010, but we’re not going to talk about that. Printing on a conveyor belt instead of a static bed allows you to easily print multiples of an object autonomously, without any human interaction. If you’re really clever, you could rotate the hot end 45° and build a piece of plastic that is infinitely long, like the printer [Bill Steele] built, the Blackbelt, or ‘the CAD files might exist somewhere’ Printrbot infinite build volume printer.

At this year’s World Maker Faire, we didn’t see an infinite printer, but we did catch a glimpse of an idea that could reliably take 3D printers into production. It’s a Multiprinter Autonomous 3D Printer, designed and built by [Thomas Vagnini].

The idea of using 3D printers for production and manufacturing is a well-studied problem. Lulzbot has a heated room filled with printers they use to manufacture all their machines. Prusa’s manufacturing facility is similarly well-equipped. However, both of these setups require helper monkeys to remove a part from the bed and set the machine up for the next print.

Instead of a strictly manual process, [Thomas]’ machine uses a sort of cartridge-based system for the printing bed. The glass beds are stored in a cassette, and for the first print, the printer pulls a bed onto the heated build plate through a system of conveyors. When the print is finished, the part and the bed ar fed into a rotating cassette, where it can be removed by a tech, prepped for the next print, and placed back in the ‘bed feeder’. It’s a system that brings the manual intervention cycle time of a 3D printer down to zero. If you’re producing hundreds of parts, this will drastically speed up manufacturing.

While it is a relatively niche idea, this is a very well-designed machine. It’s all laser cut, uses core-XY mechanics, and with the right amount of tuning, it does exactly what it says it will do. It’s not for everybody, but that’s sort of the point of manufacturing parts on a 3D printer.

Scratch-Built 3D-Printer Goes Back To The Roots Of The Hobby

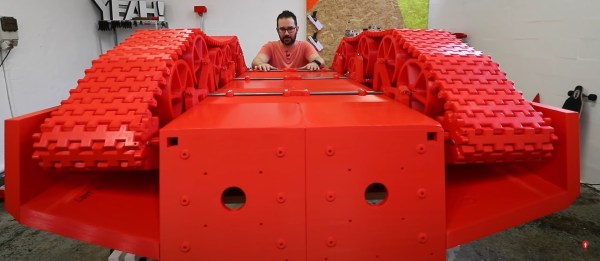
It’s so easy and so cheap to order things like CNC routers and 3D-printers off the shelf that we can be forgiven for forgetting what was once involved in owning machines such as these. It used to be that you had no choice but to build your machine from the ground up. While that’s less true today, it’s still the case if you want to push the limits of what’s commercially available, and this huge scratch-built 3D-printer is a good example of that.

It’s not exactly a fresh build – [Thomas Workshop] posted this last year – but it escaped our notice at the time, and we think the three-part video series below that details the build deserves a look over. When we say scratch built, we mean it. This machine started off as a bundle of aluminum and steel stock. No 80/20 extrusions, no off-the-shelf linear rails – just metal and a plan. The build was helped considerably by a small CNC router, which also had that DIY look, but most of the parts were cut and finished with simple hand tools. The resulting gantry allows an enormous work volume 40 cm in each dimension, with a heated bed that uses four heat mats. We were impressed that [Thomas] got the build just far enough to print parts that were used to finish the build – that’s the hacker spirit.

It’s perhaps not the biggest 3D-printer we’ve seen – that distinction might go to this enormous 8-cubic foot machine – and it certainly can’t print a house. But it’s an impressive build that probably cost a whole lot less than a commercial machine of similar capacity, and it’s got that scratch-built cred.

Continue reading “Scratch-Built 3D-Printer Goes Back To The Roots Of The Hobby”

3D Printer Guardian Watches For Worst-case Failures

Some devices have one job to do, but that job can have many facets. To [jmcservv], an example of this is the job of protecting against worst-case failures in a 3D printer, and it led him to develop the 3D Printer Watchdog Guardian. When it comes to fire, secondary protection is the name of the game because it’s one thing to detect thermal runaway and turn off a heater, but what if that isn’t enough? The MOSFET controlling the heater could have failed closed and can no longer be turned off in a normal sense. In such cases, some kind of backup is needed. Of course, a protection system should also notify an operator of any serious problem, but what’s the best way to do that? These are the kinds of issues that [jmcservv] is working to address with his watchdog, which not only keeps a careful eye on any heating elements in the system, but can take a variety of actions as a result.

Some outcomes (like fire) are bad enough that it’s worth the extra work and cost of additional protection, and that’s the thinking that has led [jmcservv] to submit his watchdog system for The Hackaday Prize.

Putting More Tech Into More Hands: The Robin Hoods Of Hackaday Prize

Many different projects started with the same thought: “That’s really expensive… I wonder if I could build my own for less.” Success is rewarded with satisfaction on top of the money saved, but true hacker heroes share their work so that others can build their own as well. We are happy to recognize such generosity with the Hackaday Prize [Robinhood] achievement.

Achievements are a new addition to our Hackaday Prize, running in parallel with our existing judging and rewards process. Achievements are a way for us to shower recognition and fame upon creators who demonstrate what we appreciate from our community.

Fortunately there is no requirement to steal from the rich to unlock our [Robinhood] achievement, it’s enough to give away fruits of price-reduction labor. And unlocking an achievement does not affect a project’s standings in the challenges, so some of these creators will still collect coveted awards. The list of projects that have unlocked the [Robinhood] achievement will continue to grow as the Hackaday Prize progresses, check back regularly to see the latest additions!

In the meantime, let’s look at a few notable examples that have already made the list:

Continue reading “Putting More Tech Into More Hands: The Robin Hoods Of Hackaday Prize”