3D printers have forever changed the hardware hacker movement. From the original RepRap project on up through current commercial offerings, 3D printers have become an indispensable tool for hackers, makers, and engineers. While printers may not have started a desktop manufacturing revolution, they are a desktop prototyping evolution. It’s rare for a day to go by on Hackaday without a project that uses a 3D printed part in some way shape or form. These printers also continue to evolve, with new projects pushing the technology ever forward. This week’s Hacklet is all about some of the best 3D printer projects on Hackaday.io!
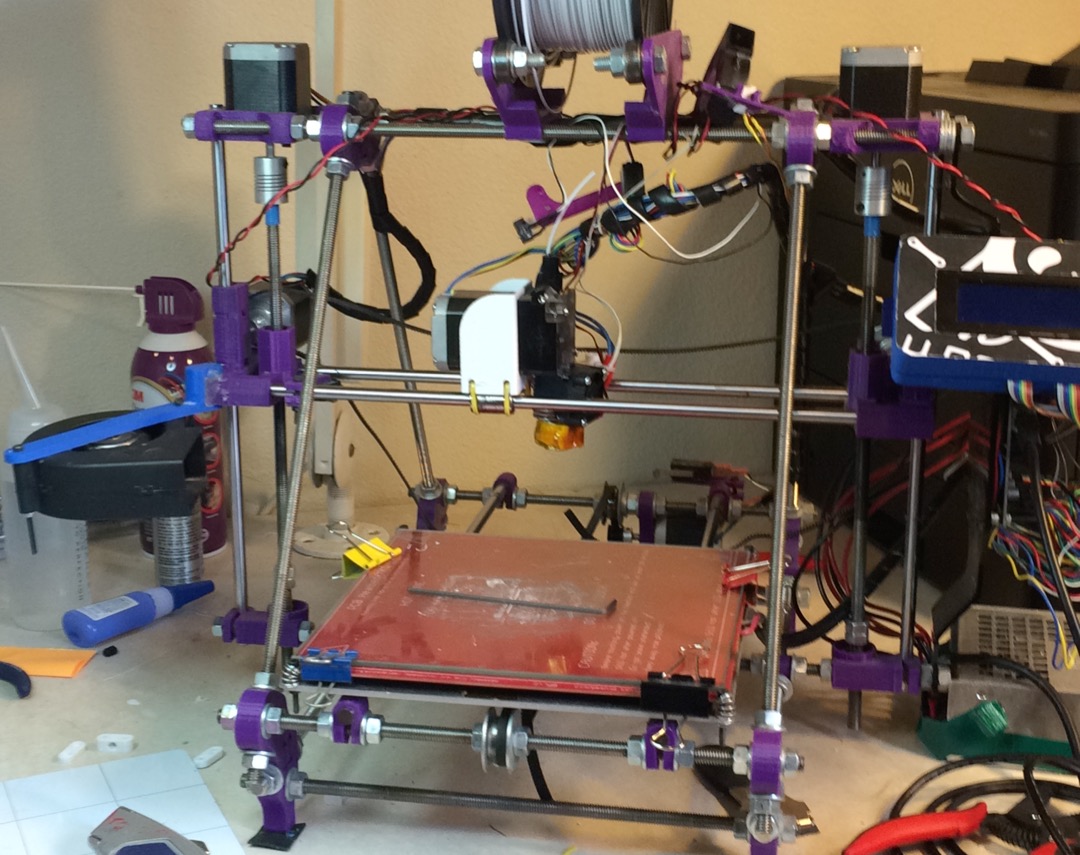
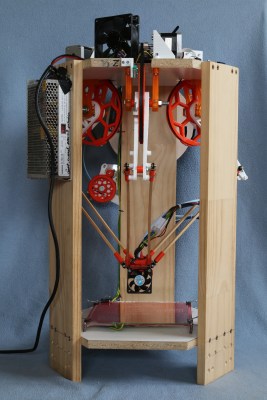 We start with [TTN] and Icepick Delta. [TTN’s] passion is creating 3D printers as cheaply as possible. The Icepick definitely succeeds at this. Icepick’s frame is made of wood. The motors are commodity steppers. Control is via the long proven Ramps 1.4 board, which can be picked up with drivers and an Arduino Mega clone for under $35 these days. A few ball bearings and metal parts fill out the vitamins of this design. Just about everything else is 3D printed in true RepRap style. The printer is currently running Marlin firmware, but [TTN] plans to move to Repetier in the future.
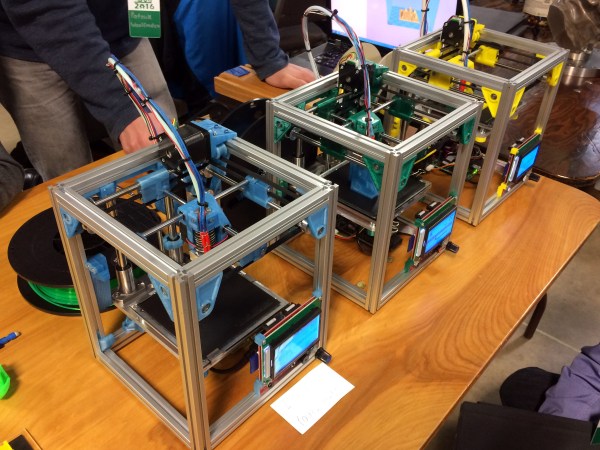
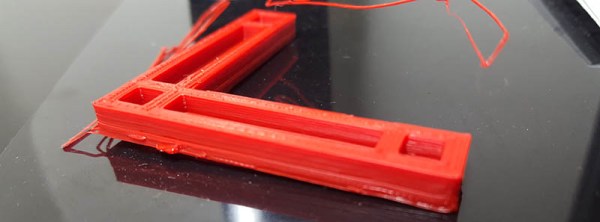
Even with these humble origins, Icepick manages to print at a very respectable 50 mm/s before frame flex becomes a problem. Prints at 0.1mm layer height look great, on par with any current commercial printer.
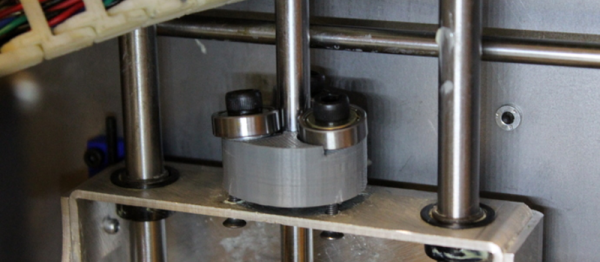
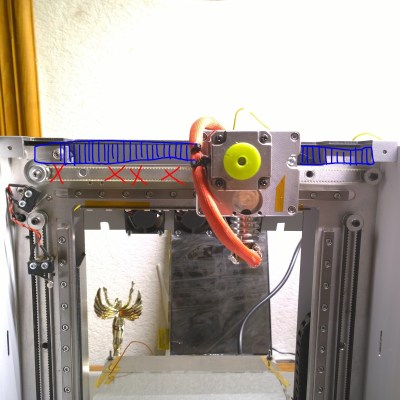
 Next up is [Machinist] with 3D printer brain retrofit. Commercial 3D printers have been available for decades now. This means some of the older models are getting a bit long in the tooth. [Machinist] has a very tired 15 year old Stratasys Dimension 768. The mechanics of the Dimension are still in good shape, but the electronics have seen better days. [Machinist] is ditching all the old electronic hardware (and the DRM which goes with it) and setting this machine up with a Smoothieboard 5X. So far the Dimension has been gutted, and [Machinist] has gotten the monster stepper motors playing sweet music with his new control board. I can’t wait to see how this project progresses.
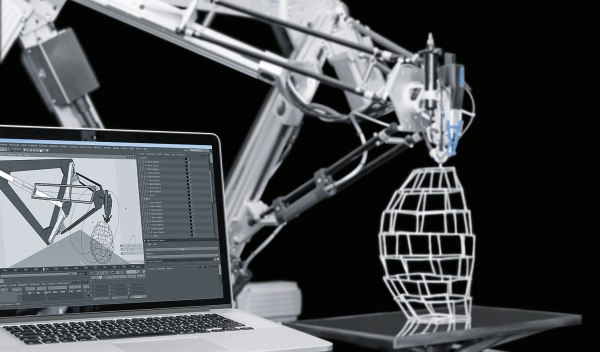
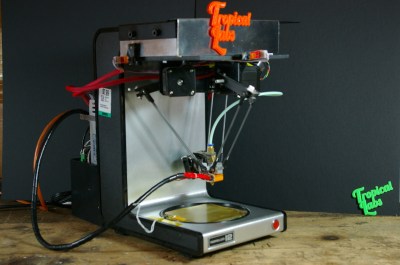 Next we have [jcchurch’s] Coffee Maker Delta 3D Printer. [jcchurch] has managed to convert an old Norelco coffee maker into a mini sized 3D printer. The warmer plate has even become a heated bed for ABS prints. Unlike Icepick up top, the aim of this design is to use as few 3D printed parts as possible. The idea is that this would be the first printer to build when you don’t have another printer handy. Think of it as a caffeinated RepStrap. According to [jcchurch], this printer has been running strong at Tropical Labs for over a year. You can even pull the delta assembly off and make a pot of coffee! The coffee maker printer is still somewhat of a teaser project. If you see [jcchurch] online, tell him to head over and give us more details!
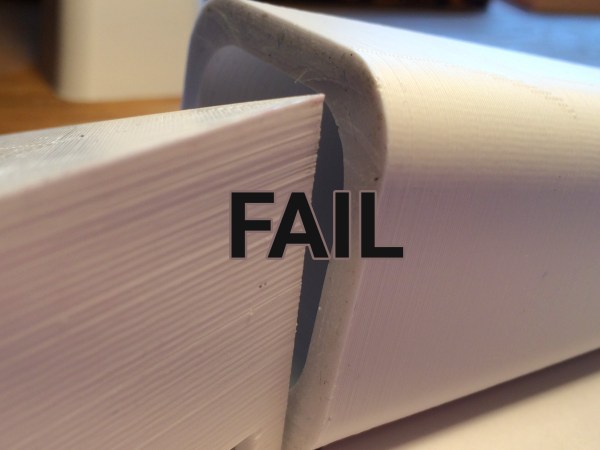
 Finally, we have [DeepSOIC] with linear stepper motor 3d printer. 3D printers all use good old fashioned rotary stepper motors. [DeepSOIC] is trying to eliminate all that rotary motion, along with the belts and pulleys required to convert to linear motion. Linear stepper motors can be thought of as regular stepper motors, just unrolled. They tend to be very expensive though, so [DeepSOIC] is building DIY versions. His first attempt was to print motor parts using BlackMagic3D’s ferromagnetic filament. This lead to a whole separate project to measure the permeability of the filament. Unfortunately, the filament isn’t permeable enough to act as a motor for a printer. [DeepSOIC] hasn’t given up though. This is the type of project we love – one that might not work out, but really gets people thinking. Check out the comment thread on the project to see Hackaday.io collaboration at work!
If you want to see more 3D printer projects, check out our updated 3D printer list! If I didn’t wake up early enough to catch your project, don’t be shy, just drop me a message on Hackaday.io. That’s it for this week’s Hacklet. As always, see you next week. Same hack time, same hack channel, bringing you the best of Hackaday.io!