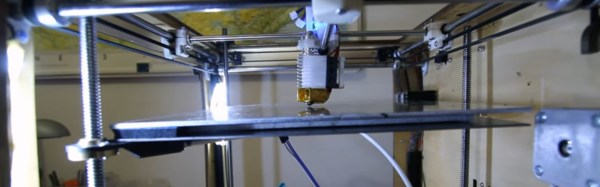
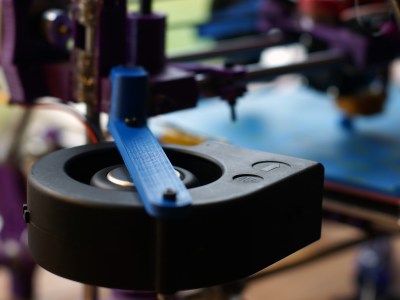
[Jeremie Francois] has been thinking about ways to improve tool height adjustment and bed leveling in his 3D printer for a long time. His dream was to never ever think about Z height again. A dream that’s shared by many. These days, a lot of 3D printers have a mechanism for auto leveling in the software of the 3D printer. This works pretty well, but for various mechanical reasons, it’s better to have the bed itself be level.
[Jeremie]’s approach is pretty clever. Since you can define any plane mathematically with three points, he has three Z-axis lead screws. This lets him tilt the bed at any angle he likes. Once he had the mechanics in place, he added some force sensitive resistors, an Arduino, and wrote an extension for the popular Marlin firmware. That’s when the problems started.
It turns out that solidly mounting the bed to the resistors transmitted way too many vibrations. The solution was a layer of neoprene rubber. The neoprene also acts as a cushion, so the nozzle won’t break the glass bed during the leveling procedure.
The video after the break is a bit wavy, due to YouTube’s terrible auto-stabilizing software, but if you watch closely, you can see the system at work.
Despite tuning my extruder steps perfectly, and getting good results instantly on larger prints. I was still having a ton of trouble with smaller parts. PLA is the favored printing material for its low odor, low warping, and decent material properties. It also has many downside, but it’s biggest, for the end user, lies in its large glass transition temperature range. Like all thermoplastics, it shrinks when it cools, but because of this large range, it stays expanded and, getting deep into my reserve of technical terms, bendy for a long time. If you don’t cool it, the plastic will pile up in its expanded state and deform.
The old cooling fan on my trusty and thoroughly battered Prusa i2.
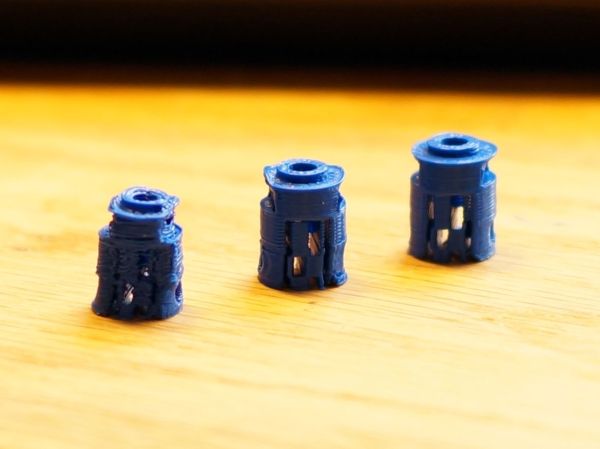
I am working on a project that needs a tiny part, pictured above. The part on the left is what I was getting with my current cooling set-up and temperature settings. It had very little semblance with the CAD file that brought it into this world.
The bond between layers in a 3d print occurs when the plastic has freshly left the nozzle at its melting point. Almost immediately after that, the plastic crosses from the liquid state into a glass state, and like pressing two pieces of glass together, no further bonding occurs. This means that in order to get a strong bond between the print layers, the plastic has to have enough thermal mass to melt the plastic below it. Allowing the polymer chains to get cozy and hold hands. Nozzle geometry can help some, by providing a heat source to press and melt the two layer together, but for the most part, the fusing is done by the liquid plastic. This is why large diameter nozzles produce stronger parts.
What I’m getting at is that I like to run my nozzle temperature a little hotter than is exactly needed or even sensible. This tends to produce a better bond and sometimes helps prevent jamming (with a good extruder design). It also reduces accuracy and adds gloopiness. So, my first attempt to fix the problem was to perhaps consider the possibility that I was not 100% right in running my nozzle so hot, and I dropped the temperature as low as I could push it. This produced a more dimensionally accurate part, but a extraordinarily weak one. I experimented with a range of temperatures, but found that all but the lowest produced goopy parts.
After confirming that I could not get a significant return on quality by fine tuning my temperature, I reduced the speed of the nozzle by a large percentage. By reducing the speed I was able to produce the middle of the three printed parts shown in the opening image. Moving the nozzle very slowly gave the ambient air and my old cooling fan plenty of time to cool the part. However, what was previously a five minute part now took twenty minutes to print. A larger part would be a nightmare.
This will do.
So, if I can’t adjust the temperature to get what I want, and I can adjust the speed; this tells me I just need to cool the part better. The glass state of the plastic is useless to me for two reasons. One, as stated before, no bonding occurs. Two, while the plastic remains expanded and bendy, the new layer being put down is being put down in the wrong place. When the plastic shrinks to its final dimension is when I want to place the next layer. Time to solve this the traditional way: overkill.
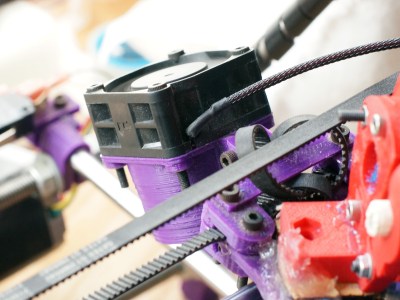
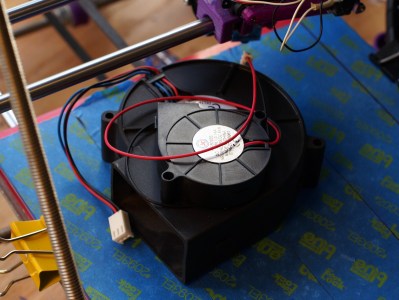
A while back my friend gifted me a little squirrel cage fan he had used with success on his 3d printer. Inspired by this, I had also scrounged a 12v, 1.7A fan from a broken Power Mac G5 power supply. When it spins up I have to be careful that it doesn’t throw itself off the table.
I should have added a rib to this bracket, this fan is heavy!
I printed out mounts for the fans. The big one got attached to the Z axis, and the little one rides behind the extruder. I fired up the gcode from before and started to print, only to find that my nozzle stopped extruding mid way. What? I soon discovered I had so much cooling that my nozzle was dropping below the 160C cold extrusion cut-off point and the firmware was stopping it from damaging itself. My heated bed also could no longer maintain a temperature higher than 59C. At this point I felt I was onto something.
I wrapped my extruder in fiberglass insulation and kapton tape, confidently turned the nozzle temperature up, set the speed to full, and clicked print. With the addition of the overkill cooling I was able to get the part shown to the right in my three example prints. This was full speed and achieved full bond. Not bad! Thus concludes this chapter in my adventures with cooling. I was really impressed by the results. Next I want to try cooling ABS as it prints. Some have reported horrible results, others pretty good ones, I’m interested. I also wonder about cooling the plastic with a liquid at a temperature just below the glass state as it is deposited. Thoughts?
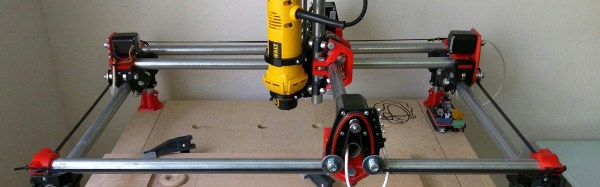
[Allted] has designed a CNC machine that you can print yourself; adding conduit, bearings, and the standard vitamins to bring it to life. The CNC machine uses a mechanical design similar to an etch-a-sketch, though instead of the maze of pulleys and cable it uses four stepper motors to do the X and Y translation. The machine looks to be about as accurate as a Shapeoko, and is able to handle light cutting in aluminum.
The coolest part is the extensibility of the printer. For example, [Allted] needed to print a lot of parts to make orders of the kit. So, he built a 4 headed 3D printer by copying blocks of the design, and tying them all to the same belt. The design also seems to be a little more resistant to dust and debris than some homemade rigs. The CNC won the Boca Bearings design competition. If you’d like to build one yourself, [Allted] has all the instructions with print setting recommendations on his website.
XYZ Printing has been selling 3D printers for years now with one very special feature not found in more mainstream printers. They’re using a chipped filament cartridge with a small chip inside each of their proprietary filament cartridges, meaning you can only use their filament. It’s the Gillette and ink jet model – sell the printer cheap, and make their money back on filament cartridges.
Last week at CES, XYZ Printing introduced their cheapest printer yet. It’s called the da Vinci Mini, a printer with a 15x15x15 cm build volume that costs only $269. Needless to say, a lot of these will be sold. A lot of people will also be disappointed with chipped filament cartridges in the coming months, so here’s how you defeat the latest version of chipped filament.
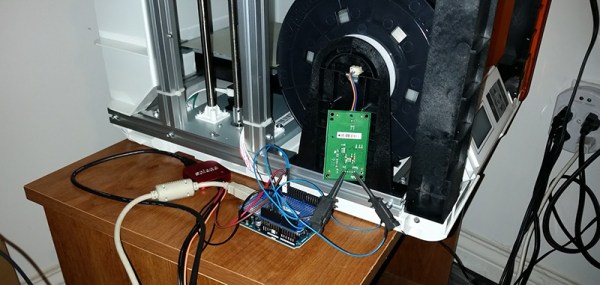
A little bit of research showed [WB6CQA] the latest versions of XYZ Printing’s filament uses an NFC chip. Just like the earlier EEPROM version, the latest spools of filament just store a value in memory without any encryption. [WB6CQA] pulled a board from the printer, connected it up to a logic analyzer, and checked out the data sheet for the NFC chip, giving him access to the data on the filament chip.
After running a few prints and comparing the data before and after, [WB6CQA] found a few values that changed. These values could be written back to their previous values, effectively resetting the chip in the filament and allowing third party filament to be used in this printer. It’s a kludge, but it works. More effort will be needed to remove the need to capture data with logic analyzers, but we’re well on our way to chipless filament on da Vinci printers.
It’s a parent’s worst nightmare. Doctors tell you that your baby is sick and there’s nothing they can do. Luckily though, a combination of hacks led to a happy ending for [Teegan Lexcen] and her family.
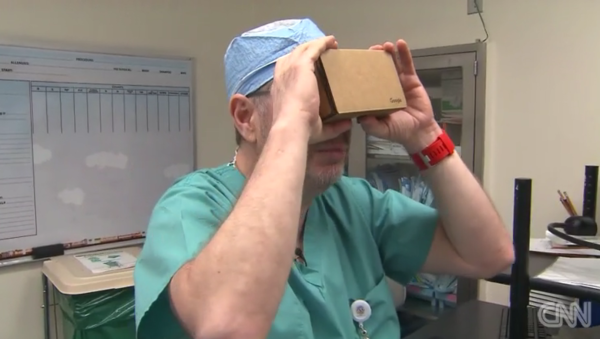
When [Cassidy and Chad Lexcen]’s twin daughters were born in August, smaller twin [Teegan] was clearly in trouble. Diagnostics at the Minnesota hospital confirmed that she had been born with only one lung and half a heart. [Teegan]’s parents went home and prepared for the inevitable, but after two months, she was still alive. [Cassidy and Chad] started looking for second opinions, and after a few false starts, [Teegan]’s scans ended up at Miami’s Nicklaus Children’s Hospital, where the cardiac team looked them over. They ordered a 3D print of the scans to help visualize possible surgical fixes, but the 3D printer broke.
Not giving up, they threw [Teegan]’s scans into Sketchfab, slapped an iPhone into a Google Cardboard that one of the docs had been playing with in his office, and were able to see a surgical solution to [Teegan]’s problem. Not only was Cardboard able to make up for the wonky 3D printer, it was able to surpass it – the 3D print would only have been the of the heart, while the VR images showed the heart in the context of the rest of the thoracic cavity.[Dr. Redmond Burke] and his team were able to fix [Teegan]’s heart in early December, and she should be able to go home in a few weeks to join her sister [Riley] and make a complete recovery.
We love the effect that creative use of technology can have on our lives. We’ve already seen a husband using the same Sketchfab tool to find a neurologist that remove his wife’s brain tumor. Now this is a great example of doctors doing what it takes to better leverage the data at their disposal to make important decisions.
CES, the Consumer Electronics Show, is in full swing. That means the Hackaday tip line is filled to the brim with uninteresting press releases, and notices that companies from the world over will be at CES.
3D printing has fallen off the radar of people who worship shiny new gadgets of late, and this is simply a function of 3D printing falling into the trough of disillusionment. The hype train of 3D printing is stuck on a siding, people are bored, but this is the time that will shape what 3D printing will become for the next ten years. What fascinating news from the 3D printing industry comes to us from CES?
[Part-Time Scientists] was a group of 35 people working on a mission to the moon. Then they won the qualifying round in the Google Lunar XPRIZE, got a bunch of money, and partnered with some heavy corporate sponsors, among which is Audi. Now they’ve added eleven full-time employees and updated the name to [PT Scientists]. (They’re taking applications if you’re interested in helping out!)
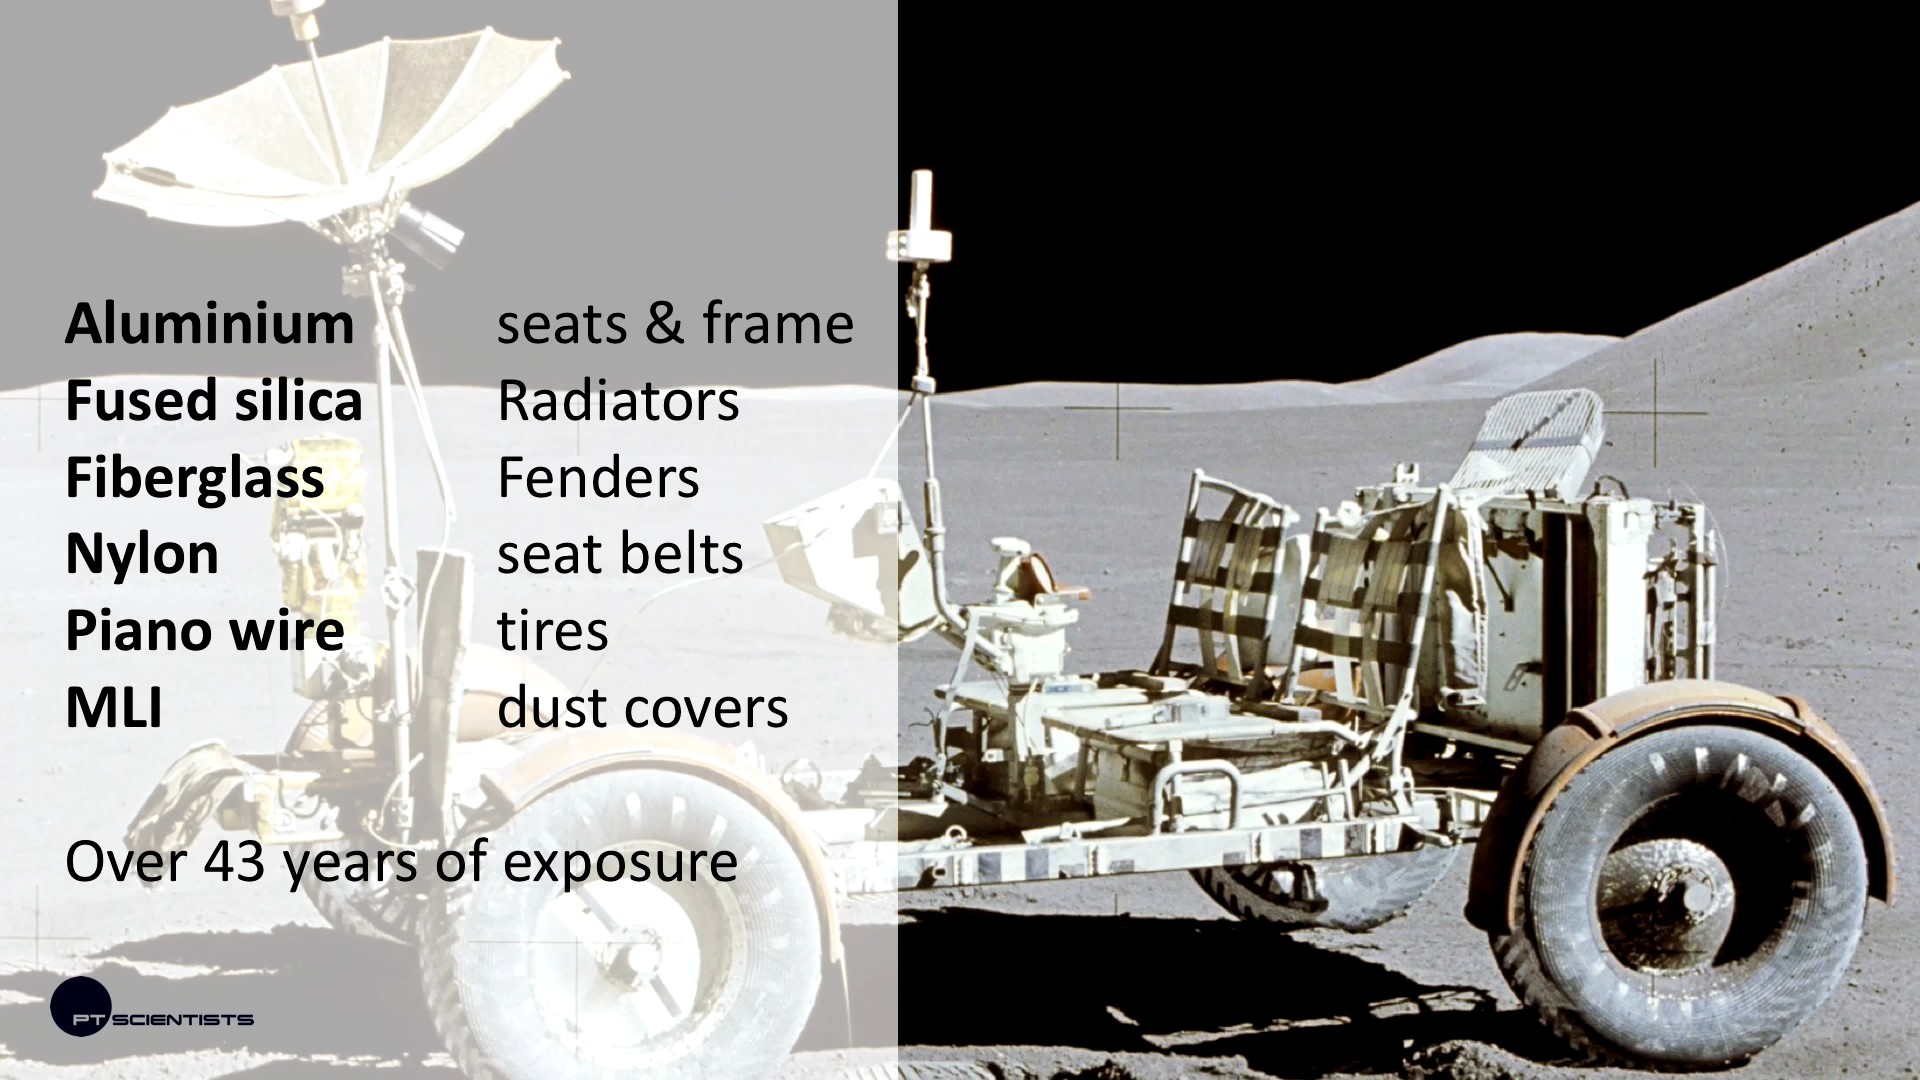
A really neat part of their planned mission is to land near the Apollo 17 landing site, which will let them check up on the old lunar rover that NASA left up there last time. The science here is that, 45 years on, they hope to learn how all of the various materials that make up the rover have held up over time.
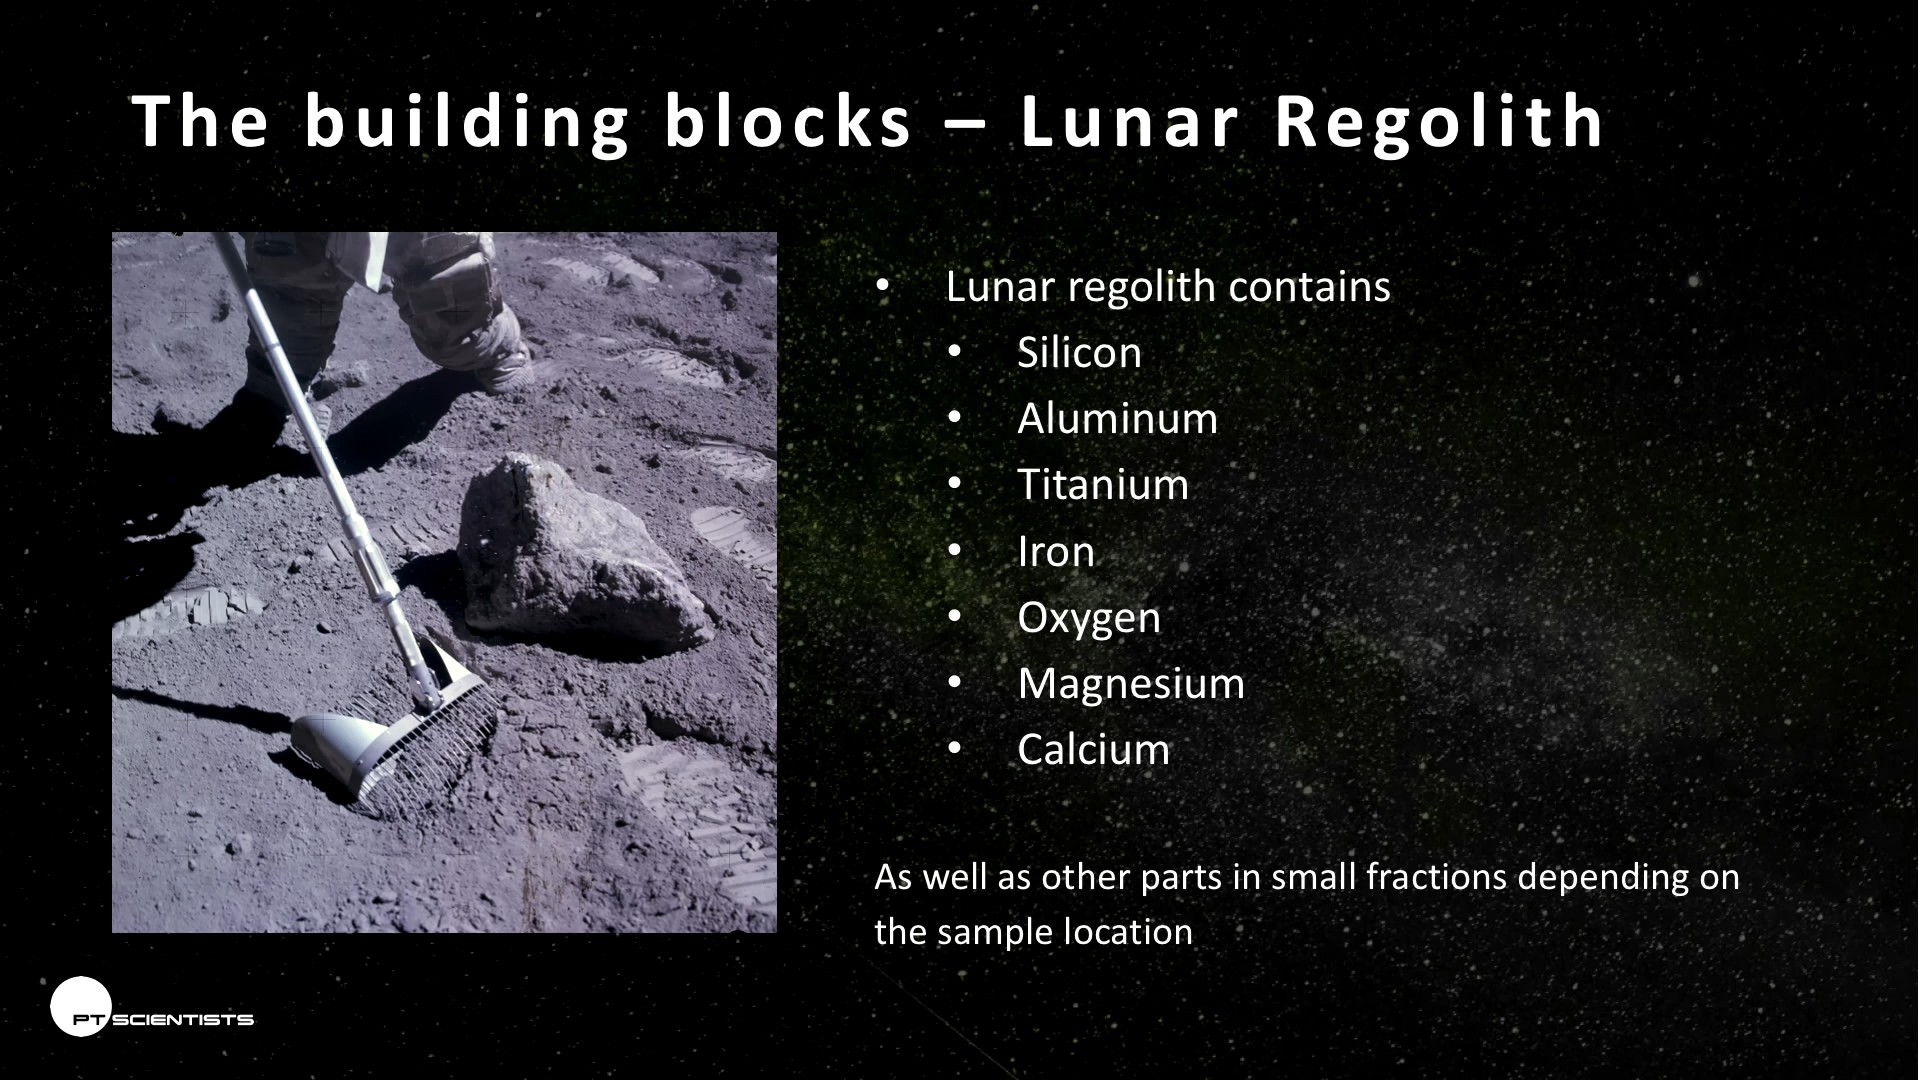
But the main attraction of their mission is experimental 3D printing using in-situ materials. As [Karsten] says, “3D printing is hard…but we want to do it on the moon anyway.”
One idea is to essentially microwave the lunar regolith (and melt it) . This should work because there’s a decent iron component in the regolith, so if they can heat it up it should fuse. The catch with microwaving is directivity — it’s hard to make fine details. On the plus side, it should be easy to make structures similar to paved roads out of melted regolith. Microwave parts are robust and should hold up to launch, and microwaving is relatively energy efficient, so that’s what they’re going to go for.
But there are other alternatives. The European Space Agency is planning to bring some epoxy-like binder along, and glue regolith together in layers like a terrestrial cement printer. The problem is, of course, schlepping all of the binder to the moon in the first place.
And then there are lasers. [Karsten] talked lasers down a little bit, because they’re not very energy efficient and the optics are fidgety — not something you’d like to be supporting remotely from earth.
The final option that [Karsten] mentioned was the possibility of using locally-generated thermite to fuse regolith. This has been tested out on earth, and should work. [Karsten] thought it was an interesting option, but balls of hot thermite are potentially tough on rovers, and the cost of mistakes are so high that they’re going to put that off for a future mission.
In the end, the presentation ran only thirty minutes long, so there’s a great Q&A session after that. Don’t go home once you hear the audience clapping!