Ropes are one of those things that, while possible to make by hand, having a little mechanical help goes a long way in their manufacture. [b33ma247] wanted just such a rig, so set about building one from scratch.
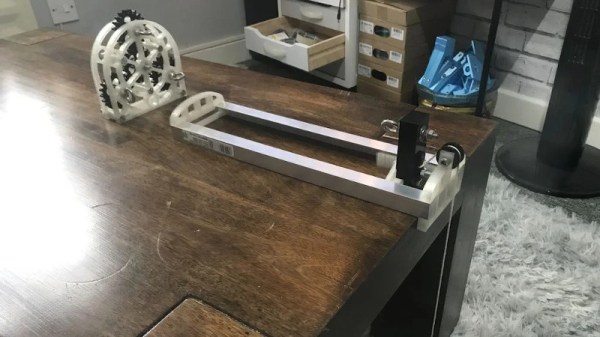
It’s a simple device, but one that makes the task much easier. A series of gears are printed, which assemble on to a frame to form the winding mechanism that weaves the rope. There’s also a slide, a rope separator, and a weight carriage to ensure proper tension is kept on the string during the weaving process. The mechanism is driven by a power drill, though this could be easily replaced with a hand crank if full manual operation was desired.
It’s a project which shows if you have a 3D printer, you can make a lot of other useful tools for your workshop too. We see similar approaches taken when it comes time to wind coils, too. Video after the break.