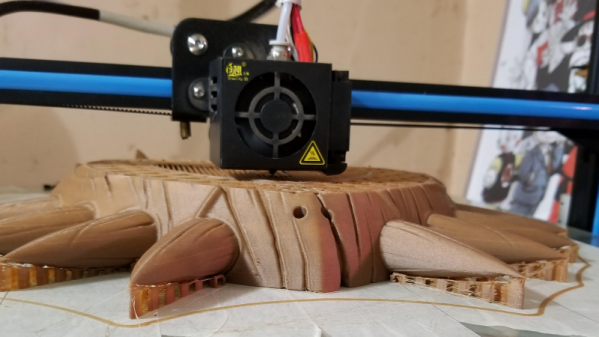
Toast falls face down. Your car always breaks after the warranty period. A 3D print only fails after it is has been printing for 12 hours. Those things might not always be true, but they are true often enough. Another pessimistic adage is “no good deed goes unpunished.” [Shippey123] did a good deed. He agreed to make a 3D printed mask for his friend to give as a gift. It was his first print he attempted for someone else after about four months’ experience printing at all. After 20 hours of printing, he noticed the head was moving around in the air doing nothing — a feeling most of us are all too familiar with. But he decided not to give up, but to recover the print.
Luckily, he’s a CNC machinist and is perfectly capable of reading G-code. The first thing he did was to shut everything down and clear the head. Then he rehomed the printer and used the head to determine what layer the printer had been working on when it failed. He did that by moving over a hidden part of the print and lowering the head by 100 microns. Then he’d move the head a few millimeters in the X direction to see if the head was touching.
It’s with a heavy heart that we must report Printrbot has announced they are ceasing operations. Founded in 2011 after a wildly successful Kickstarter campaign, the company set out to make 3D printing cheaper and easier. Their first printer was an amalgamation of printed parts and wood that at the time offered an incredible deal; when the Makerbot CupCake was selling for $750 and took 20+ hours to assemble, the Printrbot kit would only run you $500 and could be built in under an hour.
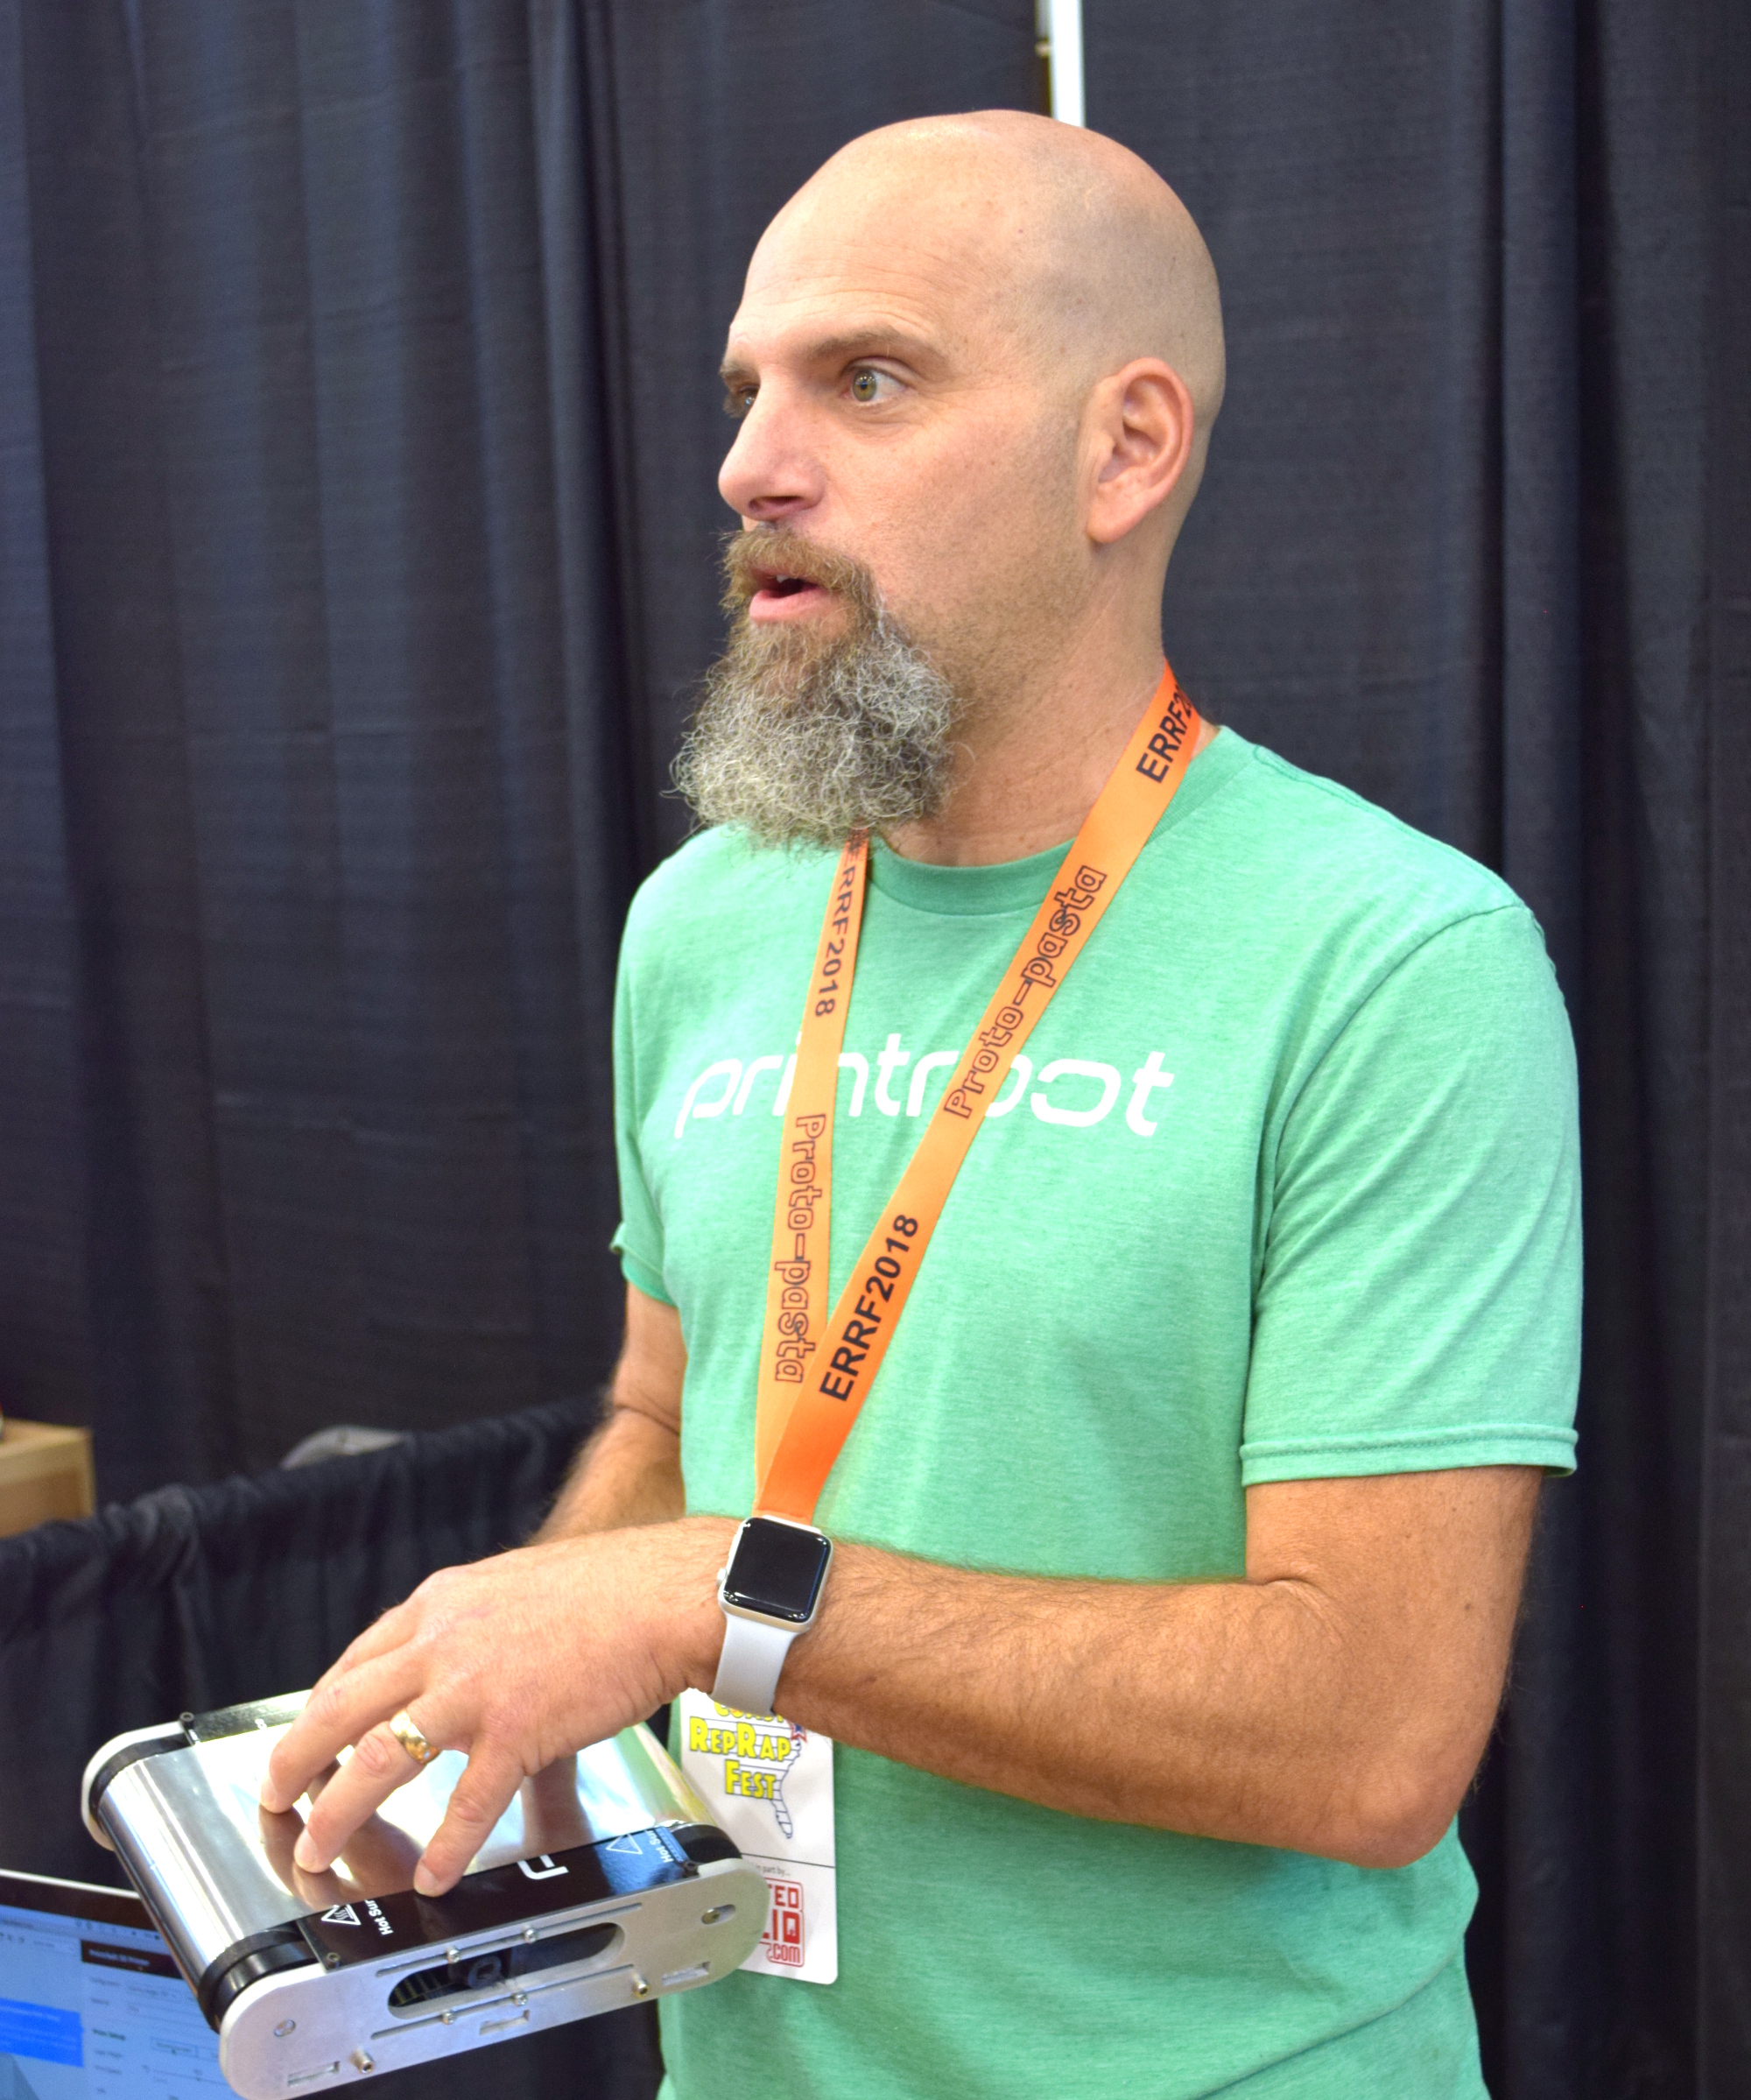
Brook Drumm, Founder of Printrbot
Printrbot got their foot in the door early, but the competition wasn’t far behind. The dream of Star Trek style replicators fueled massive investment, and for a while it seemed like everyone was getting into the 3D printing game. Kit built machines gave way to turn-key printers, and the prices starting coming down. Printrbot’s products evolved as well, dropping wood in favor of folded steel and pioneering impressive features like automatic bed leveling. In 2014 they released the Printbot Simple Metal, which ultimately became their flagship product and in many ways represents the high water mark for the company.
Eventually, overseas manufacturers saw an opportunity and started flooding the market with 3D printers that were cheaper than what many would have believed possible only a few years earlier. Today you can go online and buy a perfectly serviceable starter printer for under $200, even less if you’re still willing to build it yourself. For an American company like Printrbot, competing at this price point was simply an impossibility.
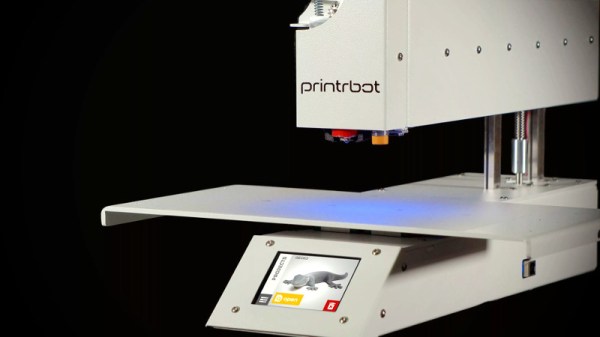
Rather than give up, Brook decided to take things in a different direction. If he couldn’t compete with imported machines on price, he would start building high end printers. A new version of the Simple Metal was introduced in 2016 with premium features such as linear rails and cloud-based slicing, complete with a premium price. From that point on, most new Printrbot products would release at over $1,000; putting them more in line with “prosumer” machines from companies like Ultimaker. For hacker types who got their first taste of 3D printing thanks to a cheap wooden Printrbot kit, this was something of a bittersweet moment.
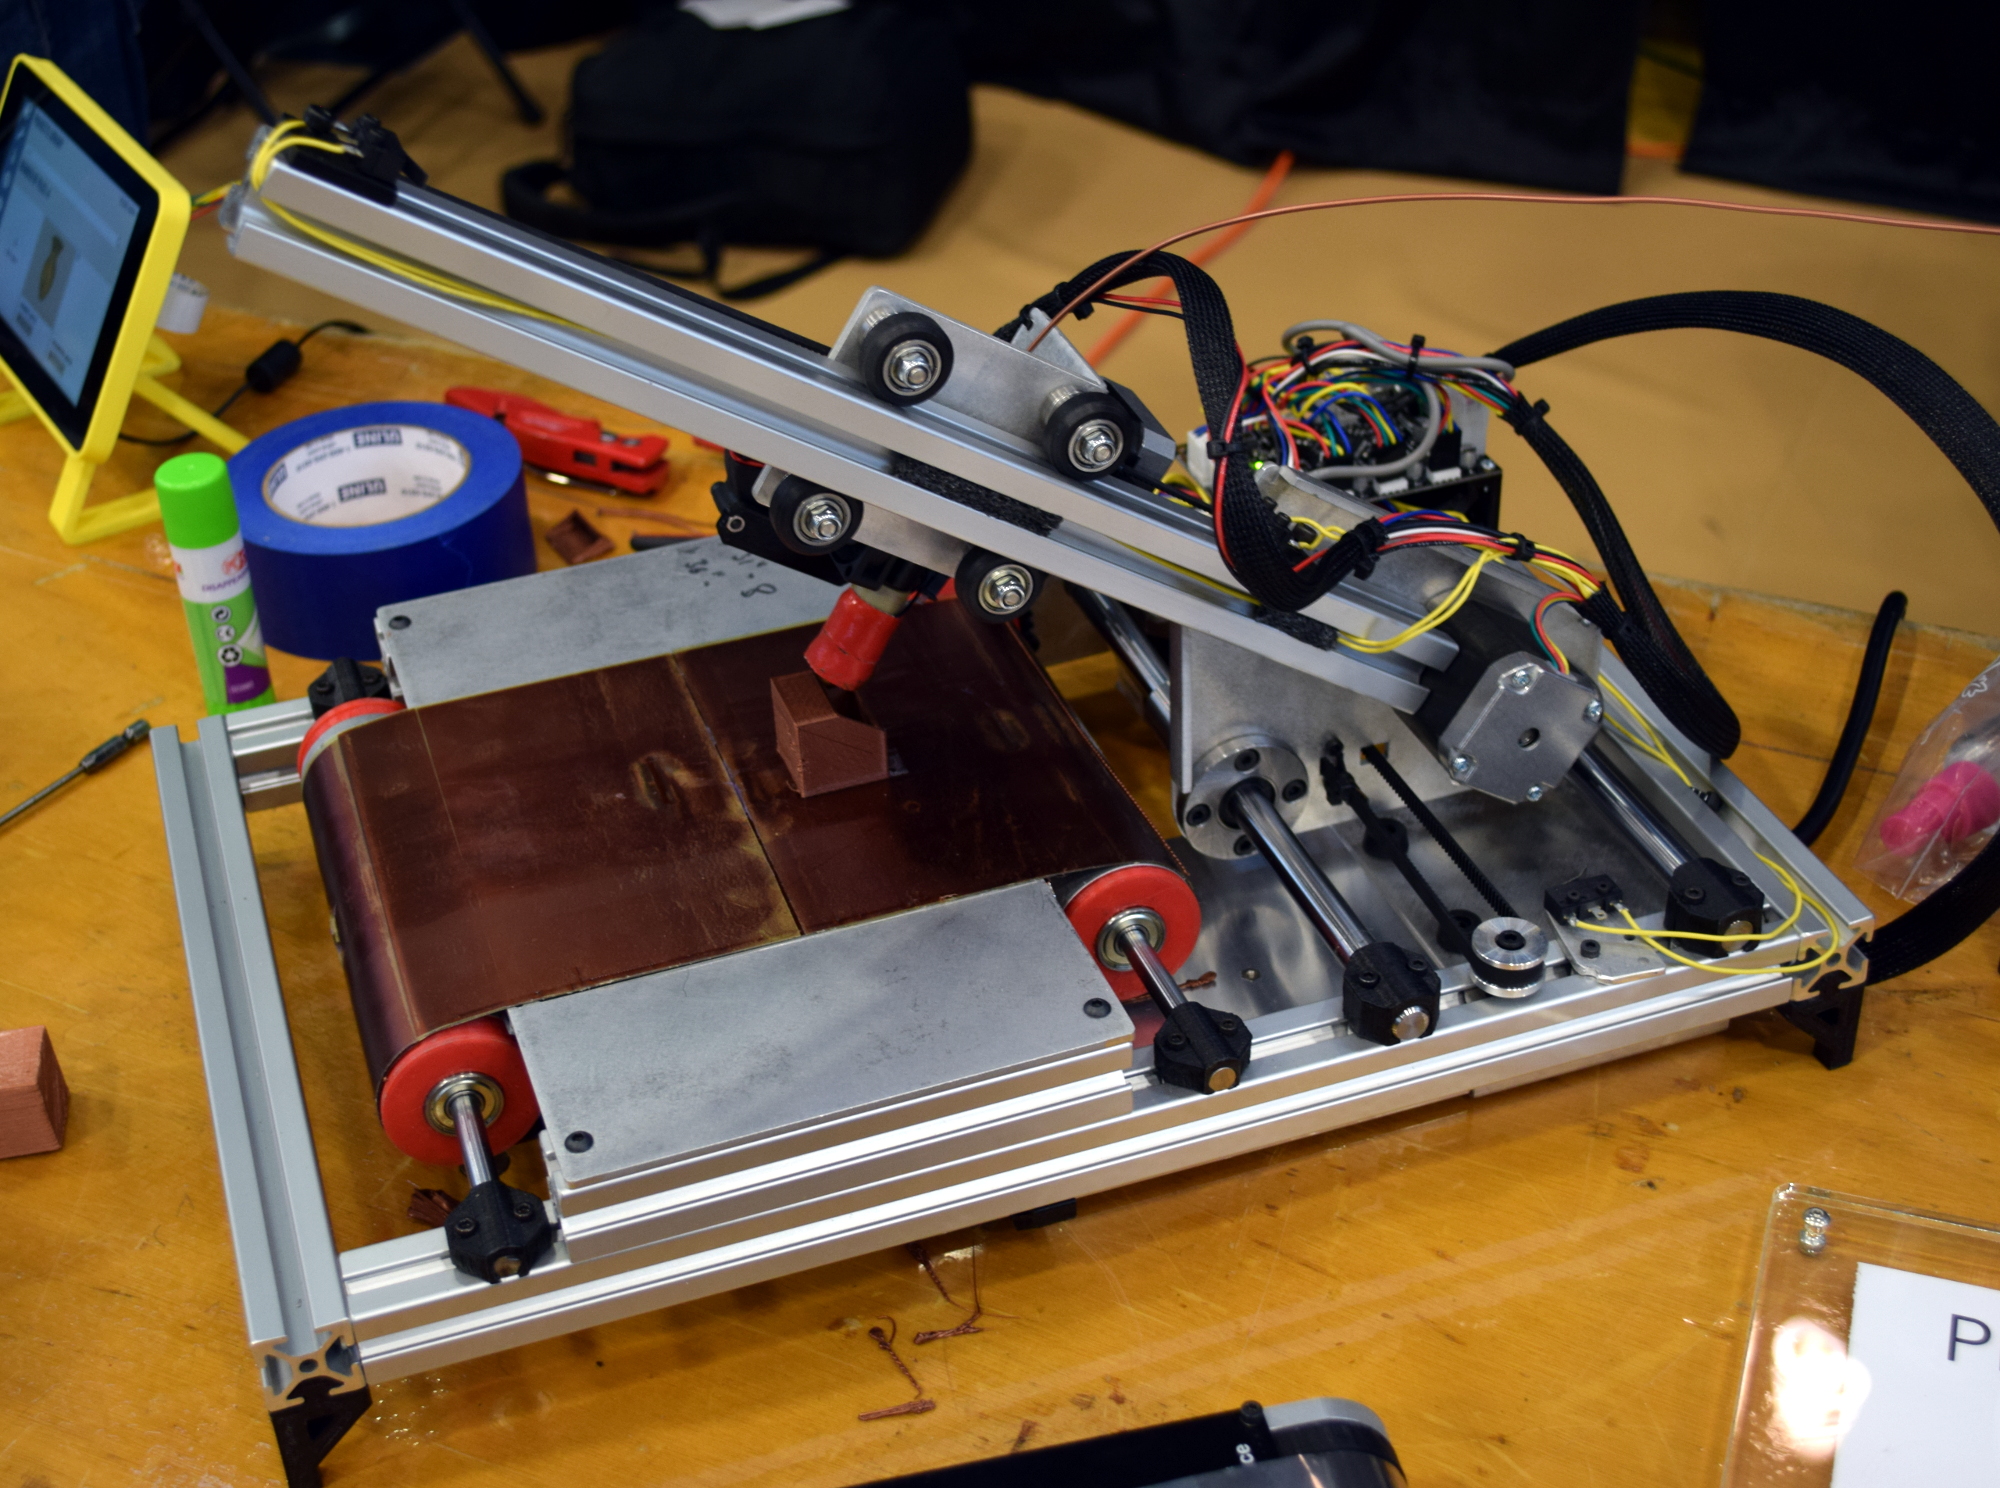
At the same time, Brook’s natural hacker spirit and love of the open source community lead to a number of interesting side projects that never quite got off the ground. Most recently, he’d been putting the finishing touches on the Printrbelt, a 3D printer with a conveyor belt in place of a traditional bed. Such a machine could finally bridge the gap between desktop 3D printing and true small scale production capability.
When we saw Brook at the East Coast RepRap Festival, he brought along a new machine that the more cynical observer might have taken as foreshadowing. The Printrbot Easy was going to be a modified and rebranded FlashForge Finder, a final acknowledgement that the only way to compete with the Chinese manufactured 3D printers was to sell one of your own.
It’s always sad to see a tech company go under, but seeing the end of Printrbot is especially hard. Built in America with locally sourced components and with a commitment to keeping their machines open source, there was a lot to love about the plucky little 3D printer company from Lincoln, California. Printrbot was the quintessential hacker success story, and we’re proud to say we’ve been in their corner from the start. Here’s to wishing Brook Drumm and the entire Printrbot team success in their future endeavors; we’ll be keeping an eye out.
For years, the undisputed king of desktop 3D printing conferences has been the Midwest RepRap Festival (MRRF). Hosted in the tropical paradise that is Goshen, Indiana, MRRF has been running largely unopposed for the top spot since its inception. There are other conferences focused on the industrial and professional end of the 3D printing spectrum, and of course you’d find a Prusa or two popping up at more or less any hacker con; but MRRF is focused on exploring what the individual is capable of once they can manifest physical objects from molten plastic.
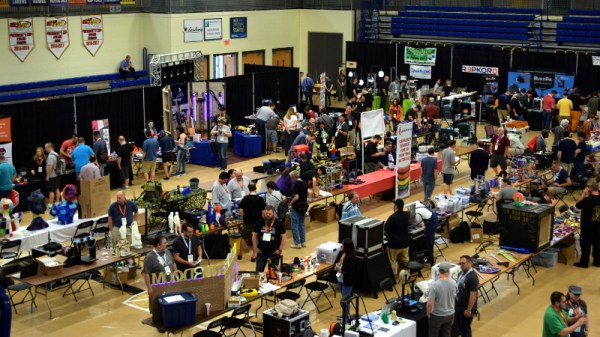
But on June 23rd, 2018, MRRF finally got some proper competition. As the name might indicate, the East Coast RepRap Festival (ERRF) is an event very much inspired by its Hoosier State predecessor. Held in Bel Air, Maryland, hackers on the right side of the United States for the first time had the opportunity to attended a true 3D printing festival without having to get on a plane. Not to say it was a neighborhood block party; people from all over the country, and indeed the globe, descended on the APG Federal Credit Union Arena for the two-day celebration of everything plastic.
We have no doubt that ERRF will return again next year, but until then, you’ll have to settle for the following collection of selected highlights from this year’s show.
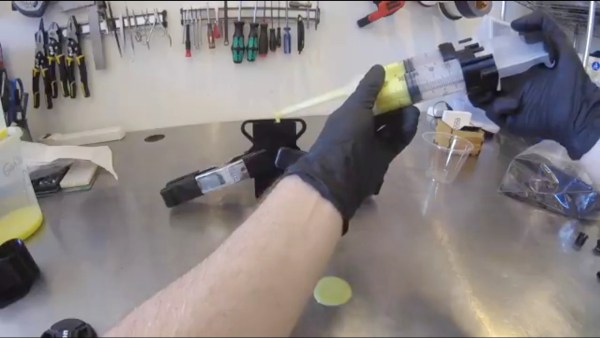
One trick for getting the bubbles out of freshly mixed 2-part epoxy, aka degassing, is to go over it gently with the flame from a propane torch. But both the mixing and degassing take time. [Gianteye] came up with a 3D printed dual-syringe static mixing system which speeds up the process. He used it with silicone to get the difficult steps out of the way quickly for his hands-on soft robotics class, allowing the students to focus more on the matter at hand. But we figure most readers might use it for epoxy.
Mixing tube interior
If you’ve bought those 2-part epoxy syringes available in stores before then you’ll know that they usually come with two syringes, each filled with one of the two parts to be mixed. Depressing the syringes causes each part to come out of its own tube. It’s then your job to mix them together and degas the result.
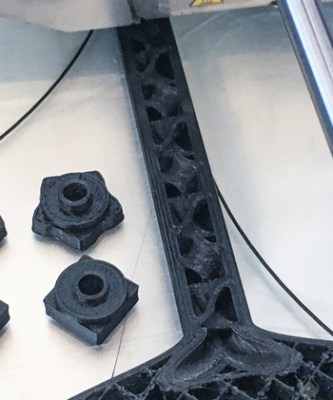
[Gianteye’s] system consists of 3D printed parts and two syringes. Models for the 3D printing are available on his Thingiverse page and the syringes can be found online. Some of the 3D printed parts help you first fill and degas the syringes. You then attach a 3D printed mixing tube to the ends of the syringes. This tube serves two purposes. When the syringe’s plungers are depressed, both parts of the material are forced through the tube and extruded out. But on their way through, both parts pass through eight helices which form 180° turns and mix the parts together. Out comes the portioned, mixed and degassed material which can go straight into a mold or to wherever you need it.
The mixing tube was designed for one-time use but [Gianteye] discovered during an evaluation that it can be reused if you pull out any cured material and purge it. The evaluation involved silicone though. With hardened epoxy, you’ll probably have to use a new tube each time.
Check out the full details of his system in the video below, including both assembly and usage.
If you’re looking for a metallic look for something without wanting to cast metal than have a look at our own [Gerrit Coetzee’s] article about cold casting wherein he makes some very nice looking parts.
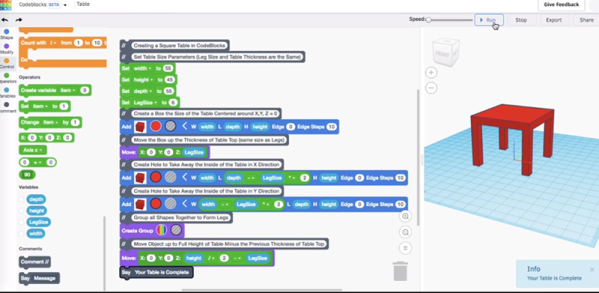
If you want to do a quick design for 3D printing, Tinkercad is pretty easy to use. Although it was briefly in danger of going out of business, it was bought by AutoDesk who have made a lot of improvements. It is possible to program and simulate an Arduino in the same tool — which always strikes us as an odd juxtaposition. However, [Chuck] shows us in the video below how you can use the same Codeblocks to automate Tinkercad 3D modeling thanks to a beta feature in the software. Think of it as a GUI-based OpenSCAD in your browser.
You have to start a Codeblocks project, and when you do you can pick a starter design or just press the button for a new design to get a blank slate. The blocks look like other Scratch-related programming languages. You can create variables, repeat groups of commands, and create items. [Chuck] mentions the starter codes have no comments in them, which is a fair critique. There is a comment block you can use.
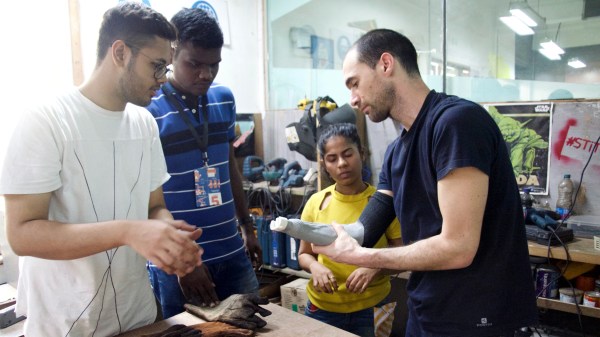
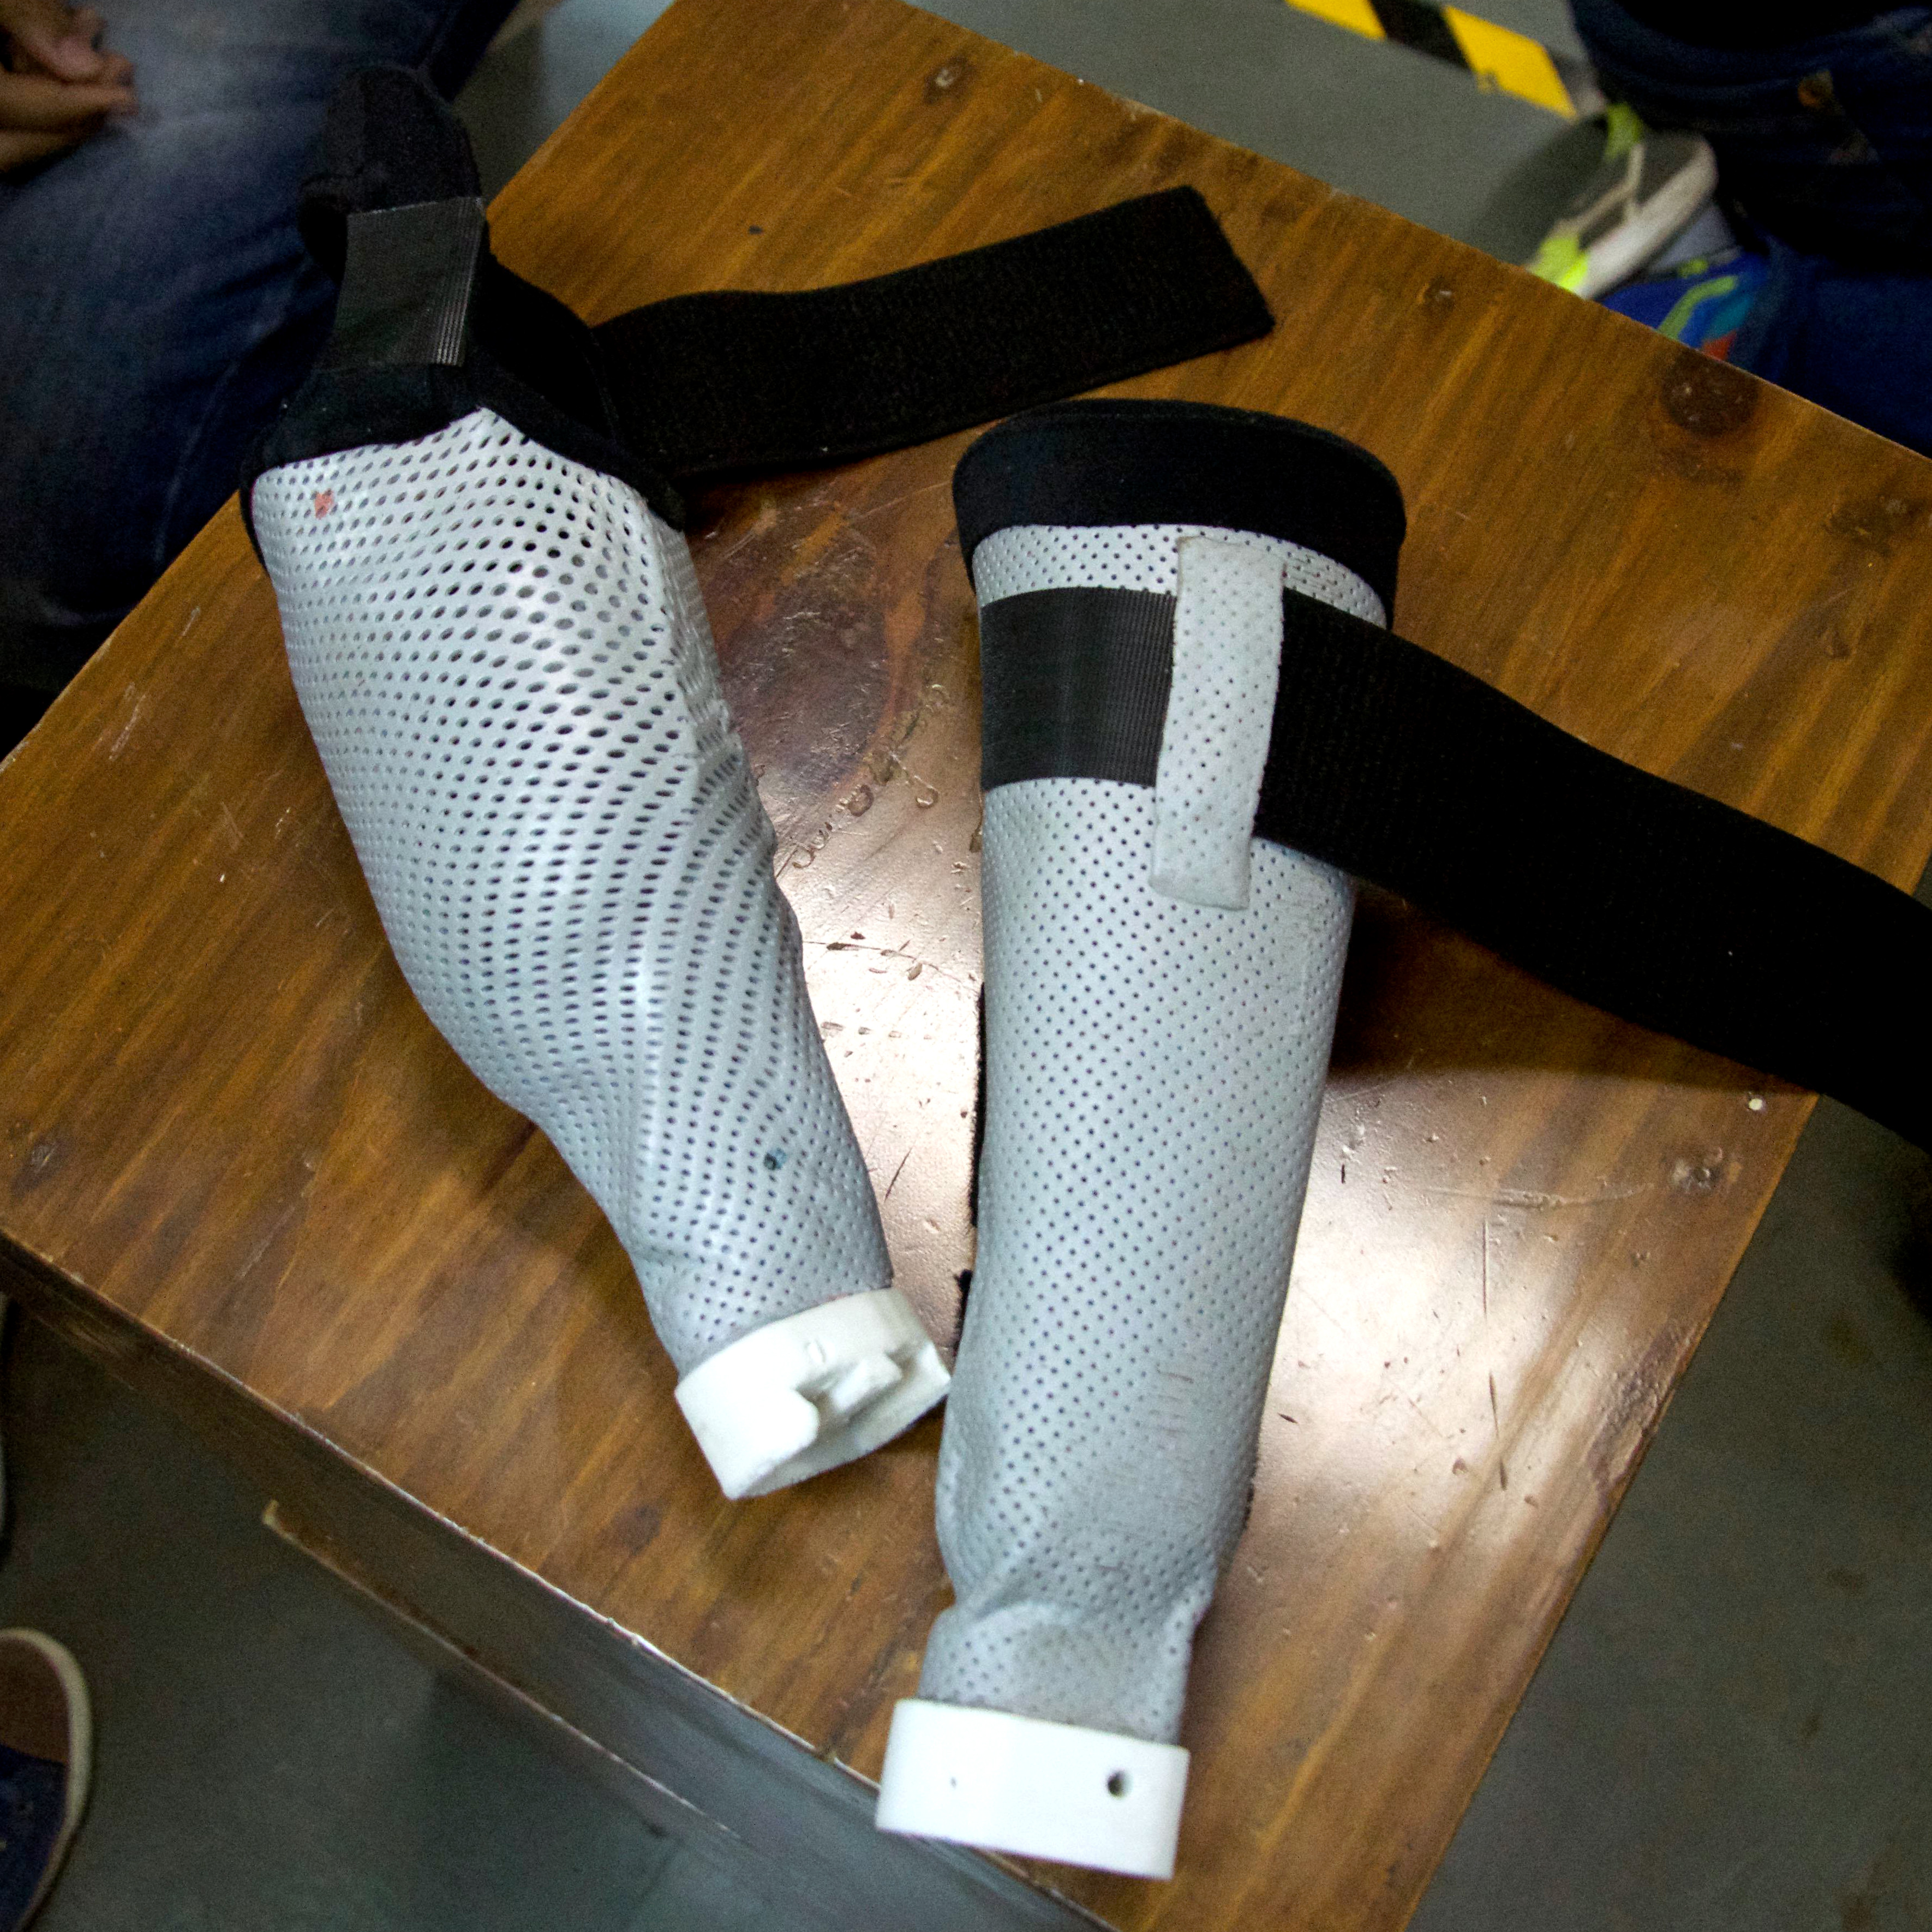
Innovation in prosthetics is open to anyone looking to enhance the quality of life, but there’s an aspect of it that is sometimes under-served. The DIY Prosthetic Socket entry to the Hackaday Prize is all about the foundation of a useful prosthesis: a custom, form-fitting, and effective socket with a useful interface for attaching other hardware. While [atharvshringaregt] is also involved with a project for a high-tech robotic hand with meaningful feedback, socket fitting and design is important enough to be its own project.
The goal is not just to explore creating these essential parts in a way that’s accessible and affordable to all, but to have them include a self-contained rechargeable power supply that can power attachments. Thoughtful strap placement and a power supply design that uses readily available components with a 3D printed battery housing makes this DIY prosthetic socket a useful piece of design that keeps in mind the importance of comfort and fitting when it comes to prosthetics; even the fanciest robot hand isn’t much good otherwise.
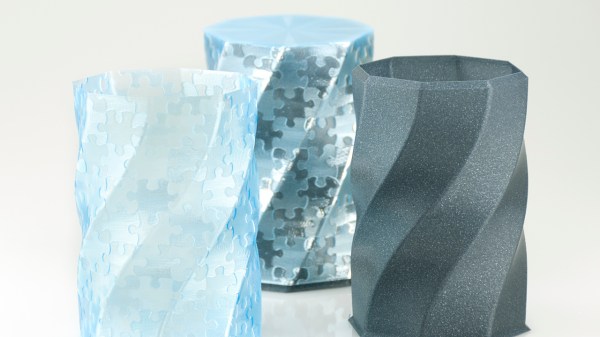
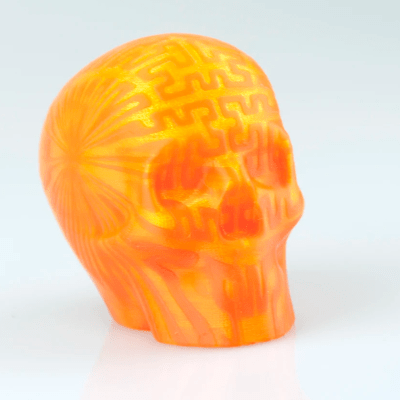
Just when it seems like we’ve juiced all the creative potential out of our 3D printers, a bold new feature lands on the table. Enter Velocity Painting, a concept brought to life by [Mark Wheadon] that textures our 3D prints with greyscale images.
At its core, the technique is straightforward: skin an image onto a 3D print by varying the print speed in specific locations and, thereby, varying just how much plastic oozes out of the nozzle. While the concept seems simple, the result is stunning.
Velocity Painting opens up new ways of expression on top of an existing print with all the skinning opportunities. Imagine adding a texture for realism like this rook that’s been patterned with a brick layout, or imagine an aesthetic embellishment like the flames on [Mark’s] dragon print.
The results speak for themselves, and the growing number of users are proving it. Head on over to the gallery to indulge yourself in this delightful oozing aesthetic that’s sure to turn a few heads.
[Mark Wheadon’s] hack takes the mechanics of how we print and adds another creative tuning knob. If you’re looking for other embellishments for your prints, have a look at [David Shorey’s] work on texturizing fabrics.


 At its core, the technique is straightforward: skin an image onto a 3D print by varying the print speed in specific locations and, thereby, varying just how much plastic oozes out of the nozzle. While the concept seems simple, the result is stunning.


