One of the first problems every new hacker/maker must solve is this: What’s the best way to attach part “A” to part “B”. We all have our go-to solutions. Hot glue, duck tape ( “duct tape” if you prefer) or maybe even zip ties. Super glue, epoxy, and if we’re feeling extra MacGyver-ish then it’s time for some bubble gum. For some Hackaday readers, this stuff will seem like old hat, but for a beginner it can be a source of much frustration. Even well versed hackers might pick up a few handy tips and tricks presented in this video after the break.
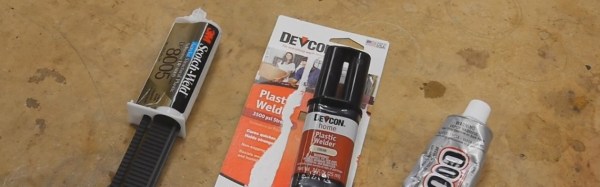
In part one of this series, [Ben Krasnow] shows us the proper use of just a few of the tools and techniques he uses in his shop. [Ben] starts out with a zip-tie tool which he loves in part because of a tension setting that ensures it’s tight but not overly. He moves on to advice for adhesive-vs-material and some tips on using threaded fasteners in several different circumstances. He also included a list of the parts and tools he uses so you don’t have to go hunting them down.
[Ben] is no stranger to us here at Hackaday. He does some epic science video. You can subscribe to his channel or follow his blog if you enjoy what you see.
Continue reading “How To Zip, Stick, And Screw Stuff Together”