When you want to jam out to the tunes stored on your mobile devices, Bluetooth speakers are a good option. Battery power means you can take them on the go and the Bluetooth connection means you don’t have to worry about cables or wires dangling around. Unfortunately the batteries never seem to last as long as we want them too. You can always plug the speaker back in to charge up the battery… but when you unhook those cords they always seem to end up falling back behind the furniture.
[Pierre] found himself with this problem, but being a hacker at heart meant that he was able to do something about it. He modified his JAM Classic Bluetooth Wireless Speaker to include an inductive charger. It used to be a lot of work to fabricate your own inductive charging system, or to rip it out of another device. But these days you can purchase kits outright.
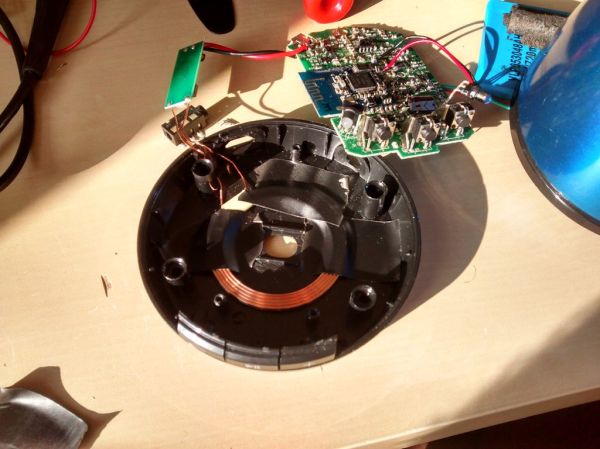
The JAM speaker was simply put together with screws, so no cracking of the plastic was necessary. Once the case was removed, [Pierre] used a volt meter to locate the 5V input line. It looks like he just tapped into the USB port’s power and ground connections. The coil’s circuit is soldered in place with just the two wires.
All [Pierre] had left to do was to put the speaker back together, taking care to find space for the coil and the new circuit board. The coil was taped to the round base of the speaker. This meant that [Pierre] could simply tape the charging coil to the underside of a glass table top. Now whenever his Bluetooth speaker gets low on battery, he can simply place it on the corner of the table and it will charge itself. No need to mess with cables.