Simultaneous Soldering Station

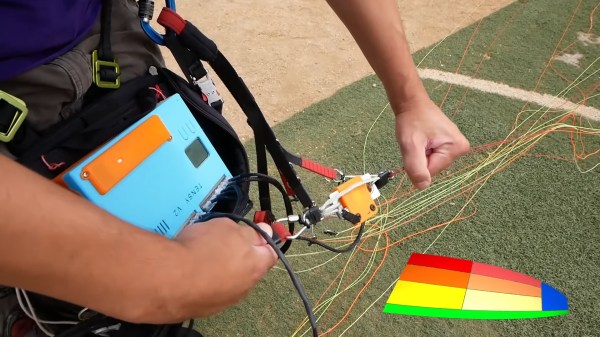
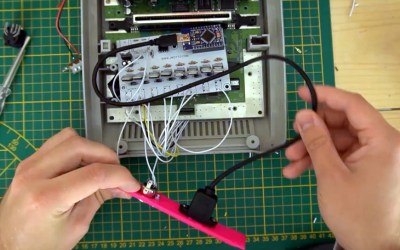
Soldering irons are a personal tool. Some folks need them on the cool side, and some like it hot. Getting it right takes some practice and experience, but when you find a tip and temp that works, you stick with it. [Riccardo Pittini] landed somewhere in the middle with his open-source soldering station, Soldering RT1. When you start it up, it asks what temperature you want, and it heats up. Easy-peasy. When you are ready to get fancy, you can plug in a second iron, run off a car battery, record preset temperatures, limit your duty-cycle, and open a serial connection.

The controller has an Arduino bootloader on a 32u4 processor, so it looks like a ProMicro to your computer. The system works with the RT series of Weller tips, which have a comprehensive lineup. [Riccardo] also recreated SMD tweezers, and you can find everything at his Tindie store.

Soldering has a way of bringing out opinions from novices to masters. If we could interview our younger selves, we’d have a few nuggets of wisdom for those know-it-alls. If ergonomics are your priority, check out TS100 3D-printed cases, which is an excellent iron, in our opinion.

TMD-1 Makes Turing Machine Concepts Easy To Understand

For something that has been around since the 1930s and is so foundational to computer science, you’d think that the Turing machine, an abstraction for mechanical computation, would be easily understood. Making the abstract concepts easy to understand is what this Turing machine demonstrator aims to do.

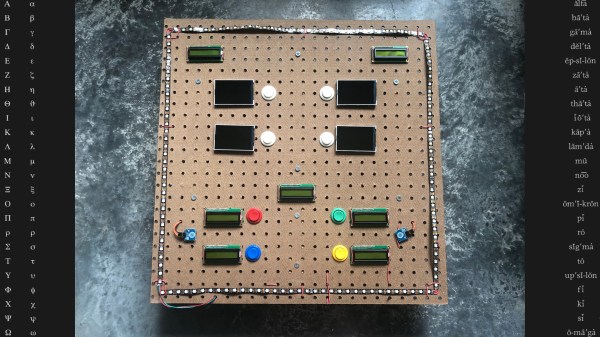
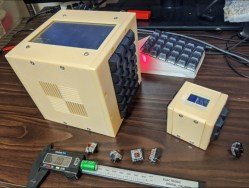
The TMD-1 is a project that’s something of a departure from [Michael Gardi]’s usual fare, which has mostly been carefully crafted recreations of artifacts from the early days of computer history, like the Minivac 601  trainer and the DEC H-500 computer lab. The TMD-1 is, rather, a device that makes the principles of a Turing machine more concrete. To represent the concept of the “tape”, [Mike] used eight servo-controlled flip tiles. The “head” of the machine conceptually moves along the tape, its current position indicated by a lighted arrow while reading the status of the cell above it by polling the position of the servo.

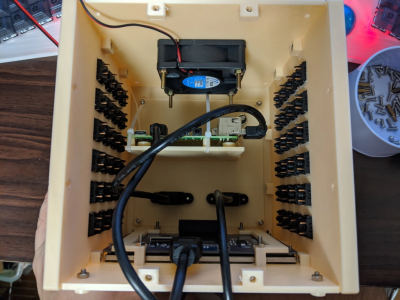
Below the tape and head panel is the finite state machine through which the TMD-1 is programmed. [Mike] limited the machine to three states and four transitions three symbols, each of which is programmed by placing 3D-printed tiles on a matrix. Magnets were inserted into cavities during printing; Hall Effect sensors in the PCB below the matrix read the pattern of magnets to determine which tiles are where. The video below shows the TMD-1 counting from 0 to 10, which is enough to demonstrate the basics of Turing machines.

It’s hard not to comment on the irony of a Turing machine being run by an Arduino, but given that [Mike]’s goal was to make abstract concepts easy to understand, it makes perfect sense to leverage the platform rather than try to do this with discrete logic. And you can’t argue with results — TMD-1 made Turing machines clear to us for the first time.

Continue reading “TMD-1 Makes Turing Machine Concepts Easy To Understand”

New Arduino JPEG Library Focuses On Speed

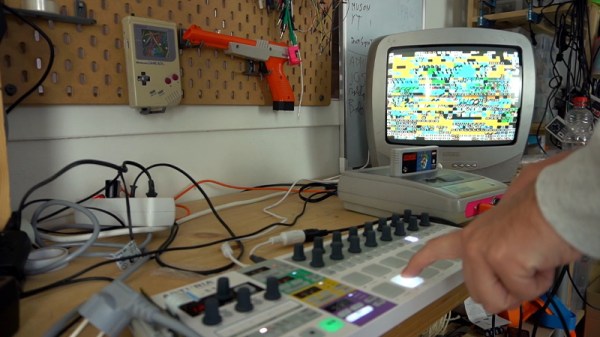
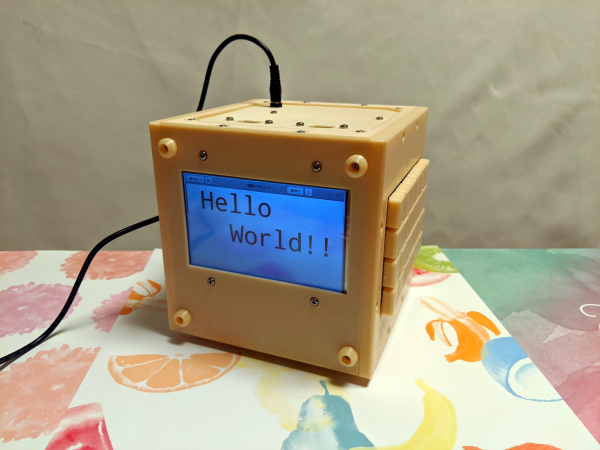
Working with graphics on microcontrollers has always meant focusing on making the most of limited resources. Particularly in the 8-bit era, all manner of tricks were used to get low-performance chips to achieve feats beyond their lowly station. However, these days, we’re blessed with 32-bit workhorses with clock speeds in the tens, or even hundreds, of MHz and many kilobytes of RAM to match. It’s these higher performance chips [Larry] had in mind when writing his JPEGDEC library.

As [Larry] discusses in a blog post on the topic, JPEG libraries already exist for the Arduino platform. However, many of these are aimed at 8-bit platforms with tiny amounts of RAM. While it’s possible to decode JPEGs piece by piece with some intelligent code under these conditions, it’s possible to go much faster when you’ve got a little more headroom. [Larry] does a great job of explaining the variety of optimizations he’s developed in the two decades since writing his first JPEG decoder back in 1994. From eliminating unnecessary marker checks to ignoring unneeded data for scaled-down output, it all adds up to get the job done faster. The library targets the Cortex-M0+, or any chip with a minimum of 20K of RAM, as its bare minimum to operate. Faster chips with higher clock rates naturally do better, and [Larry] provides benchmark decoding times for various common hardware using the library.

We’ve featured [Larry]’s GIF decoder for the Arduino platform before, again a useful library that’s optimised for good performance. If you’ve got your own neat tricks for image processing on microcontrollers, you know how to call!

Sunrise, Sunset, Repeat

Sunrises and sunsets hardly ever disappoint. Still, it’s difficult to justify waking up early enough to catch one, or to stop what you’re doing in the evening just to watch the dying light. If there’s one good thing about CCTV cameras, it’s that some of them are positioned to catch a lovely view of one of the two, and a great many of them aren’t locked down at all.

[Dries Depoorter] found a way to use some of the many unsecured CCTV cameras around the world for a beautiful reason: to constantly show the sun rising and setting. Here’s how it works: a pair of Raspberry Pi 3B + boards pull the video feeds and display the sunrise/sunset location and the local time on VFD displays using an Arduino Nano Every. There isn’t a whole lot of detail here, but you can probably get the gist from the high-quality pictures.

If you wanted to recreate this for yourself, we might know where you can find some nice CCTV camera candidates. Just look through this dystopian peephole.

Thanks for the tip, [Luke]!

Four Steppers Make A Four-Voice MIDI Instrument

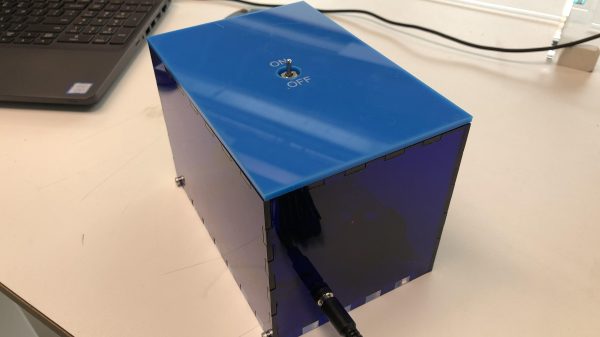
Any owner of a budget 3D printer will tell you that they can be pretty noisy devices, due to their combinations of stepper motors and drives chosen for cost rather than quiet. But what if the noise were an asset, could the annoying stepper sound be used as a musical instrument? It’s a question [David Scholten] has answered with the Stepper Synth, a device that takes an Arduino Uno and four stepper motors to create a four-voice MIDI synthesiser.

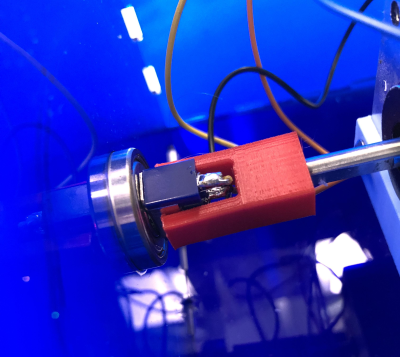
Hardware-wise it’s as simple as you’d expect, a box with four stepper motors each with a red 3D-printed flag on its shaft to show rotation. Underneath there is the Arduino, plus a robot control shield and a set of stepper driver boards. On the software side it uses MIDI-over-serial, so as a Windows user his instructions for the host are for that operating system only. The Arduino makes use of the Arduino MIDI library, and he shares tips on disabling the unused motors to stop overheating.

You can hear it in action in the video below the break, and we’re surprised to say it doesn’t sound too bad. There’s something almost reminiscent of a church organ in there somewhere, it would be interesting to refine it with an acoustic enclosure of some kind.

This isn’t the first such instrument we’ve brought you, for a particularly impressive example take a look at the Floppotron.

Continue reading “Four Steppers Make A Four-Voice MIDI Instrument”

Odyssey Is A X86 Computer Packing An Arduino Along For The Trip

We love the simplicity of Arduino for focused tasks, we love how Raspberry Pi GPIO pins open a doorway to a wide world of peripherals, and we love the software ecosystem of Intel’s x86 instruction set. It’s great that some products manage to combine all of them together into a single compact package, and we welcome the recent addition of Seeed Studio’s Odyssey X86J4105.

[Ars Technica] recently looked one over and found it impressive from the perspective of a small networked computer, but they didn’t dig too deeply into the maker-friendly side of the product. We can look at the product documentation to see some interesting details. This board is larger than a Raspberry Pi, but its GPIO pins were laid out in exactly the same order as that on a Pi. Some HATs could plug right in, eliminating all the electrical integration leaving just the software issue of ARM vs x86. Tasks that are not suitable for CPU-controlled GPIO (such as generating reliable PWM) can be offloaded to an on-board Arduino-compatible microcontroller. It is built around the SAMD21 chip, similar to the Arduino MKR and Arduino Zero but the pinout does not appear to match any of the popular Arduino form factors.

The Odyssey is not the first x86 single board computer (SBC) to have GPIO pins and an onboard Arduino assistant. LattePanda for example has been executing that game plan (minus the Raspberry Pi pin layout) for the past few years. We’ve followed them since their Kickstarter origins and we’ve featured creative uses here and there. LattePanda’s current offerings are built around Intel CPUs ranging from Atom to Core m3. The Odyssey’s Celeron is roughly in the middle of that range, and the SAMD21 is more capable than the ATmega32U4 (Arduino Leonardo) on board a LattePanda. We always love seeing more options in a market for us to find the right tradeoff to match a given project, and we look forward to the epic journeys yet to come.

Generate Positivity With Machine Learning

Gesture recognition and machine learning are getting a lot of air time these days, as people understand them more and begin to develop methods to implement them on many different platforms. Of course this allows easier access to people who can make use of the new tools beyond strictly academic or business environments. For example, rollerblading down the streets of Atlanta with a gesture-recognizing, streaming TV that [nate.damen] wears over his head.

He’s known as [atltvhead] and the TV he wears has a functional LED screen on the front. The whole setup reminds us a little of Deep Thought. The screen can display various animations which are controlled through Twitch chat as he streams his journeys around town. He wanted to add a little more interaction to the animations though and simplify his user interface, so he set up a gesture-sensing sleeve which can augment the animations based on how he’s moving his arm. He uses an Arduino in the arm sensor as well as a Raspberry Pi in the backpack to tie it all together, and he goes deep in the weeds explaining how to use Tensorflow to recognize the gestures. The video linked below shows a lot of his training runs for the machine learning system he used as well.

[nate.damen] didn’t stop at the cheerful TV head either. He also wears a backpack that displays uplifting messages to people as he passes them by on his rollerblades, not wanting to leave out those who don’t get to see him coming. We think this is a great uplifting project, and the amount of work that went into getting the gesture recognition machine learning algorithm right is impressive on its own. If you’re new to Tensorflow, though, we have featured some projects that can do reliable object recognition using little more than a Raspberry Pi and a camera.

Continue reading “Generate Positivity With Machine Learning”