Buried deep within all UNIX-based operating systems are vestiges of the earliest days of computing, when “hardware” more often than not meant actual mechanical devices with cams and levers and pulleys and grease. But just because UNIX, and by extension Linux, once supported mechanical terminals doesn’t mean that getting a teletype from the 1930s to work with it is easy.
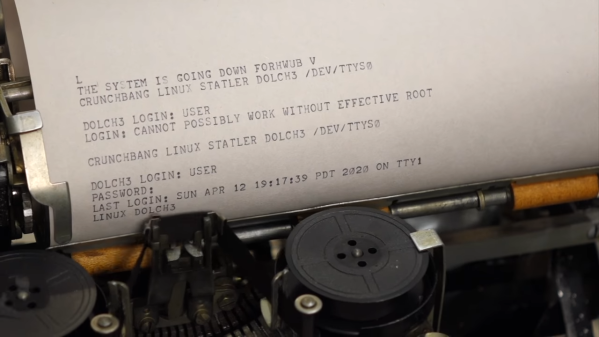
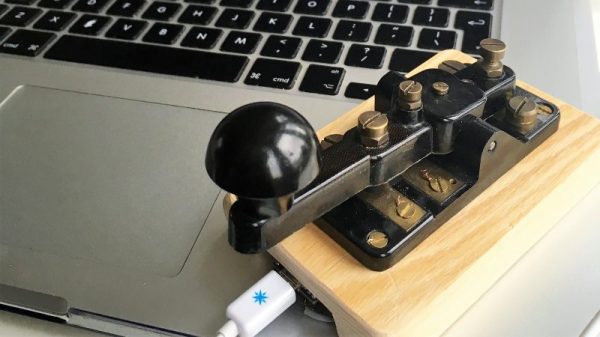
Such was the lesson learned by [CuriousMarc] with his recently restored Model 15 Teletype; we covered a similar Model 19 restoration that he tackled. The essential problem is that the five-bit Baudot code that they speak predates the development of ASCII by several decades, making a converter necessary. A task like that is a perfect job for an Arduino — [Marc] put a Mega to work on that — but the interface of the Teletype proved a bit more challenging. Designed to connect two or more units together over phone lines, the high-voltage 60-mA current loop interface required some custom hardware. The testing process was fascinating, depending as it did on an old Hewlett-Packard serial signal generator to throw out a stream of five-bit serial pulses.
The big moment came when he used the Teletype to log into Linux on a (more or less) modern machine. After sorting out the mysteries of the stty command, he was able to log in, a painfully slow process at 45.5 bps but still a most satisfying hack. The ASCII art — or is it Baudot art? — is a nice bonus.
We love restorations like these, and can practically smell the grease and the faint tang of ozone around this device. We’re not thrilled by the current world situation, but we’re glad [CuriousMarc] was able to use the time to bring off a great hack that honors another piece of our computing history.
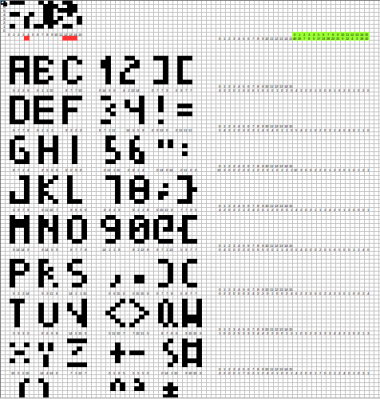 Rather than a pixel-by-pixel representation of the characters, [Jaromir] created a palette of 16 single byte vectors of commonly used patterns. Characters are created by combining these vectors. Each character is 4 x 8 pixels, so 4 vectors are used per character. The hard part was picking commonly used bit patterns for the vectors.