330k volts

Sparks Fly: Building A 330 KV Supply From A PC PSU

If you’re hunting for a bench power supply, you’ll quickly notice options dry up above 48 V or so, and you definitely won’t find a 330 kV supply on the shelf at your local electronics shop. But with just a few parts, [Mircemk] has crafted a high-voltage source from a modified PC power supply that delivers electrifying results.

The sparks arcing over a foot of thin air are a dead giveaway, but let’s be clear: this project is not for beginners. High voltage — defined as around 1,000 V and up, with this project hitting 350 times that — carries risks of severe injury or death. Only tackle it if you fully understand the dangers and take precautions like proper insulation and never working alone.

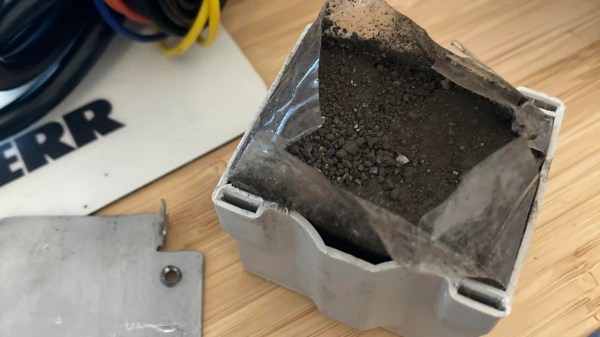
This project showcases a Cockcroft-Walton voltage multiplier, a clever setup using diodes and capacitors to step up voltage. The capacitors charge and discharge in an alternating pattern, doubling the voltage after each diode pair. [Mircemk] uses 3 mm thick Plexiglas as an insulator, providing both structure and electrical isolation for the diode-capacitor cascade.

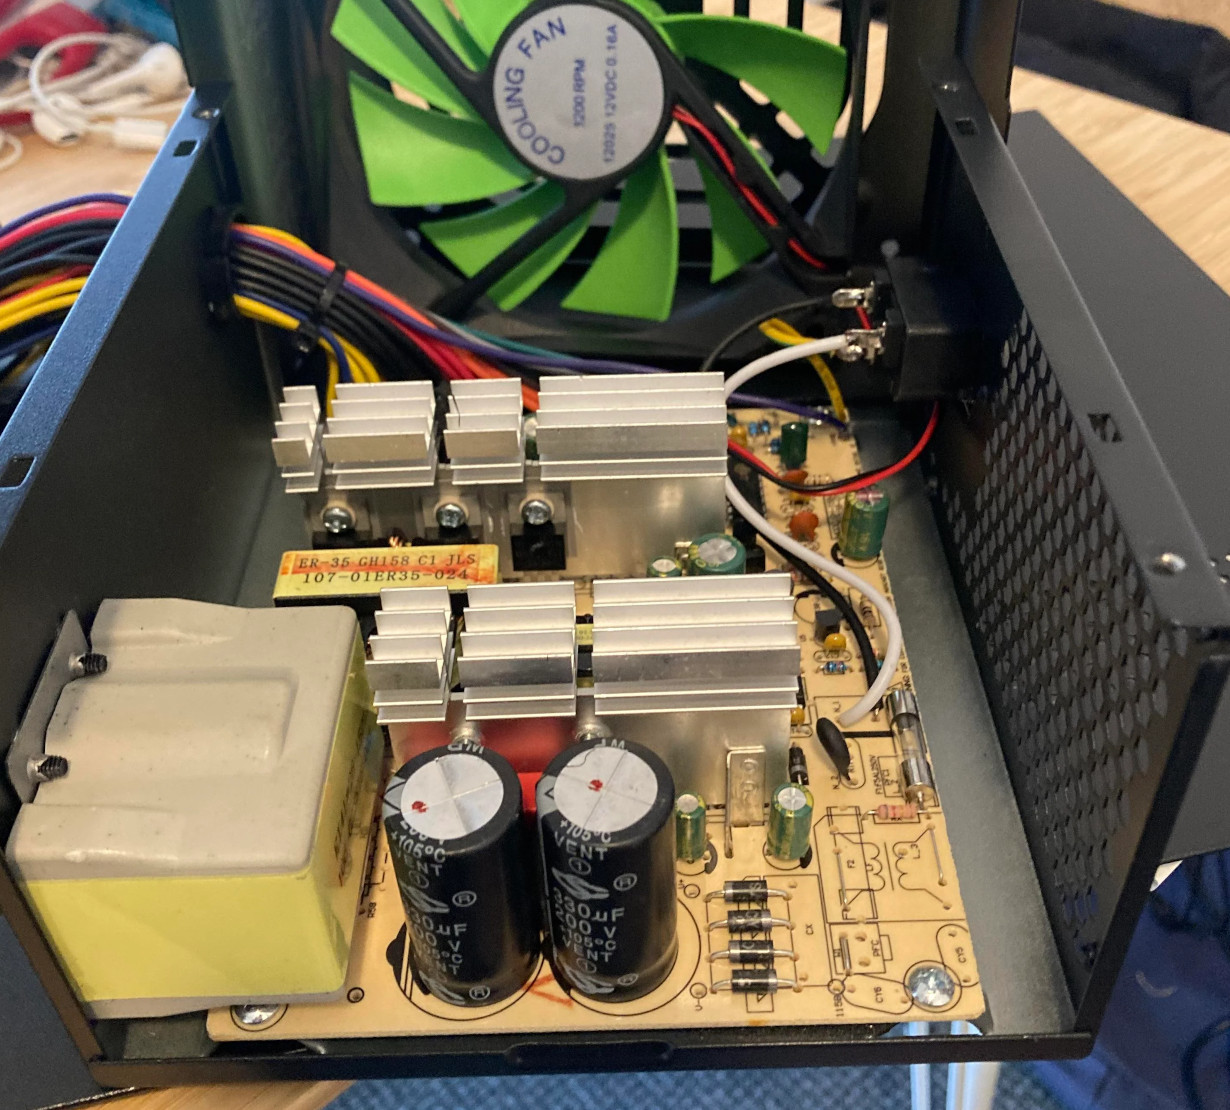
To achieve the 330,000 V output, [Mircemk] starts by modifying a standard PC ATX power supply, removing the Schottky diodes from the secondary winding’s output to produce a roughly 15 V square wave. This feeds into another transformer, boosting the voltage before it enters the Cockcroft-Walton multiplier. At first glance, the multiplier’s sides look identical, but their opposite polarities create a massive potential difference across the spark gap.

[Mircemk]’s benchtop exploration into high-voltage territory is a shocking success. If this project lights up your curiosity, dive into our other high-voltage adventures, like DIY Tesla coils or plasma speakers, for more electrifying inspiration.

Continue reading “Sparks Fly: Building A 330 KV Supply From A PC PSU”

Cheap Computer PSU Puts On Weight With Box Of Iron

Humans are funny creatures. For whatever reason, when handling a piece of electronics, we tend to equate heft with value.  If something feels too light, it gives the impression of being cheap or inferior. As such, it’s not unheard of for gadgets to include a little chunk of metal that serves no purpose other than to add weight.

But a recent discovery by the aptly named [RedditCringe990] really takes things to a new low. Upon opening up the cheap power supply that came with their computer case, they noticed an odd little box that didn’t appear to have any electrical connection to the rest of the device. After unscrewing it from the metal body of the power supply and pulling the bottom panel off, they found it was packed full of iron filings.

At some level, you have to appreciate the attention to detail here. At first glance, especially if you were peeking through the PSU’s air vents, you could be forgiven for thinking the box was some kind of transformer. It’s even got some alphanumeric gibberish written on the side to help complete the look. Makes us wonder how many of these things might actually have gone undetected by less curious PC-builders.

As you might expect, the weighted box is only one of the issues with this particular PSU. As pointed out by fellow Redditor [Hattix], even the functional components are worthy of suspicion. There’s no protection on the input or output, no safety capacitor, and (unsurprisingly) no regulatory marks.

We’d say the thing might still be useful as a boat anchor, but now that the box of iron fillings has been removed, it’s probably not even heavy enough. Stay safe out there, folks.

A Very Tidy ATX Bench PSU

If there’s one thing that for decades of desktop PCs have given us, it’s a seemingly endless supply of relatively capable power supplies. If you need 5 volts or 12 volts at a respectable current they’re extremely useful, so quite a few people have used them as bench power supplies. Some of these builds box up the mess of wires into a set of more useful connectors, but [Joao Pinheiro] has taken his to the next level with a very neat 3D printed case and a set of variable switching regulators to make a variable bench supply with a top voltage of 60 volts.

In many ways it’s a straightforward wiring job to build, but there’s an unexpected power resistor involved. It’s sinking the 5 volt line, and we’re guessing that some current is required here for the PC power supply to run reliably. The thought of a high power resistor dumping heat into a 3D printed case leads us to expect that things might become a little melty though.

ATX power supplies are so numerous as to be expendable, so it’s always worth regarding them as a source of parts as well as a power supply.

A Particularly Polished ATX Bench Power Supply

Let’s be real, yanking the ATX power supply out of an old desktop computer and turning it into something you can use on the workbench isn’t exactly an advanced project. In fact, you could probably argue it’s one of the first DIY builds a budding electronic hobbyist should tackle — after all, you’re going to need a reliable bench supply if you want to do any serious work anyway.

But of course, there’s a big difference between doing the minimum and really giving something your all, and we think this ATX bench supply from [Steve Thone] of The Neverending Projects List is a phenomenal example of the latter. It not only looks impressive, but it’s been tricked out with plenty of bells and whistles to make it as capable as possible. What was once a basic 230 watt PSU pulled from an old Dell is now a piece of gear that any hacker or maker would love to have in their collection. Continue reading “A Particularly Polished ATX Bench Power Supply”

Keep The Kids Entertained With A Time Machine

We often hear it said that today’s kids don’t go out and play as much as they did in the past, but honestly, it’s hard to really blame them. Have you seen some of the games they have now? It’s going to take something a little more exciting than a game of stickball to get them off the couch when they’ve got 4K and VR game systems to play with.

Circuit to control ATX PSU

Which is exactly why [Bobek] is building his kids a time machine. Not a literal one, of course. The Flux Capacitor technology required has yet to be mastered. But it does allow the player to “travel” through time through videos which are played by punching in specific codes they have to unlock by solving puzzles in the real world. Then again, keeping keeping kids active and mentally engaged might as well be “going back in time” in some people’s eyes.

By the looks of things, [Bobek] still has a little work to do on the project, but it’s far enough along that we can get an idea. Inside the bottom of the heavy duty plastic case he’s installed an ATX power supply and a Raspberry Pi 3, and an top of that, there’s a metal plate that holds the power button, an RGB backlit keyboard, and a Vacuum Florescent Display.

After powering on the system, the kids punch in the codes they’ve earned on the keyboard. If accepted, it starts the corresponding presentation which goes over the sights and sounds of the time period they’ve unlocked. In the video after the break you can see [Bobek] test the device with a small display hanging off the end of an HDMI cable, but presumably the system will eventually get an integrated display. The kids could also plug it into the TV, but at that point you might be going full circle.

We’ve seen several examples of hackers creating their own electronic gadgets to keep their children entertained. The line might be a little blurry, but we’d rather see kids use their imagination to “fly” a spaceship in their bedroom than play Roblox on their phone.

Continue reading “Keep The Kids Entertained With A Time Machine”

The Engineering Case For Fusing Your LED Strips

Modern LED strips are magical things. The WS2812 has allowed the quick and easy creation of addressable RGB installations, revolutionizing the science of cool glowy things. However, this accessibility means that it’s easy to get in over your head and make some simple mistakes that could end catastrophically. [Thomas] is here to help, outlining a common mistake made when building with LED strips that is really rather dangerous.

The problem is the combination of hardware typically used to run these LED strings. They’re quite bright and draw significant amounts of power, each pixel drawing up to 60 mA at full-white. In a string of just 10 pixels, the strip is already drawing 600 mA. For this reason, it’s common for people to choose quite hefty power supplies that can readily deliver several amps to run these installations.

It’s here that the problem starts. Typically, wires used to hook up the LED strips are quite thin and the flex strips themselves have a significant resistance, too. This means it’s possible to short circuit an LED strip without actually tripping the overcurrent protection on something like an ATX power supply, which may be fused at well over 10 amps. With the resistance of the wires and strip acting as a current limiter, the strip can overheat to the point of catching fire while the power supply happily continues to pump in the juice. In a home workshop under careful supervision, this may be a manageable risk. In an unattended installation, things could be far worse.

Thankfully, the solution is simple. By installing an appropriately rated fuse for the number of LEDs in the circuit, the installation becomes safer, as the fuse will burn out under a short circuit condition even if the power supply is happy to supply the current. With the example of 10 LEDs drawing 600 mA, a 1 amp fuse would do just fine to protect the circuit in the event of an accidental short.

It’s a great explanation of a common yet dangerous problem, and [Thomas] backs it up by using a thermal camera to illustrate just how hot things can get in mere seconds. Armed with this knowledge, you can now safely play with LEDs instead of fire. But now that you’re feeling confident, why not check out these eyeball-searing 3 watt addressable LEDs?

Continue reading “The Engineering Case For Fusing Your LED Strips”

Modder Puts Computer Inside A Power Supply

When building a custom computer rig, most people put the SMPS power supply inside the computer case. [James] a.k.a [Aibohphobia] a.k.a [fearofpalindromes] turned it inside out, and built the STX160.0 – a full-fledged gaming computer stuffed inside a ATX power supply enclosure. While Small Form Factor (SFF) computers are nothing new, his build packs a powerful punch in a small enclosure and is a great example of computer modding, hacker ingenuity and engineering. The finished computer uses a Mini-ITX form factor motherboard with Intel i5 6500T quad-core 2.2GHz processor, EVGA GTX 1060 SC graphics card, 16GB DDR4 RAM, 250GB SSD, WiFi card and two USB ports — all powered from a 160 W AC-DC converter. Its external dimensions are the same as an ATX-EPS power supply at 150 L x 86 H x 230 D mm. The STX160.0 is mains utility powered and not from an external brick, which [James] feels would have been cheating.

For those who would like a quick, TL;DR pictorial review, head over to his photo album on Imgur first, to feast on pictures of the completed computer and its innards. But the Devil is in the details, so check out the forum thread for a ton of interesting build information, component sources, tricks and trivia. For example, to connect the graphics card to the motherboard, he used a “M.2 to powered PCIe x4 adapter” coupled with a flexible cable extender from a quaint company called Adex Electronics who still prefer to do business the old-fashioned way and whose website might remind you of the days when Netscape Navigator was the dominant browser.

As a benchmark, [James] posts that “with the cover panel on, at full load (Prime95 Blend @ 2 threads and FurMark 1080p 4x AA) the CPU is around 65°C with the CPU fan going at 1700RPM, and the GPU is at 64°C at 48% fan speed.” Fairly impressive for what could be passed off at first glance as a power supply.

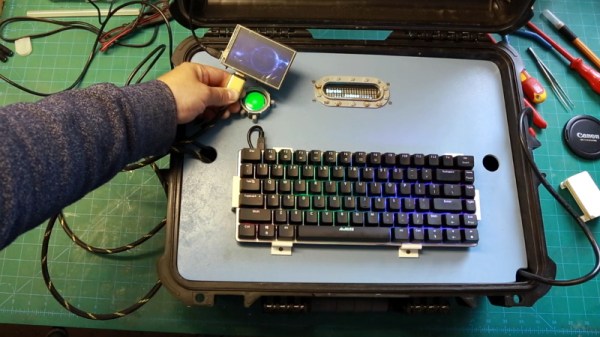
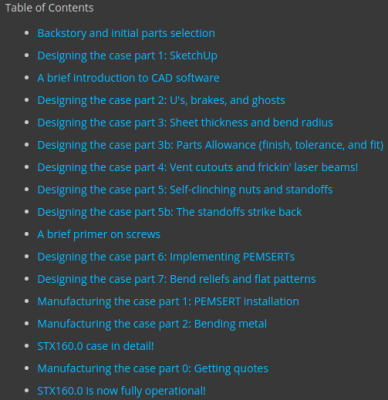
The two really interesting take away’s for us in this project are his meticulous research to find specific parts that met his requirements from among the vast number of available choices. The second is his extremely detailed notes on designing the custom enclosure for this project and make it DFM (design for manufacturing) friendly so it could be mass-produced – just take a look at his “Table of Contents” for a taste of the amount of ground he is covering. If you are interested in custom builds and computer modding, there is a huge amount of useful information embedded in there for you.

Thanks to [Arsenio Dev‏] who posted a link to this hilarious thread on Reddit discussing the STX160.0. Check out a full teardown and review of the STX160.0 by [Not for Concentrate] in the video after the break.

Continue reading “Modder Puts Computer Inside A Power Supply”