Making bread dough is simple — it’s just flour and water, with some salt and yeast if you want to make things easy on yourself. Turning that dough into bread is another matter entirely. You need to punch that dough down, you need to let it rise, and you need to knead it again. At home, you’re probably content with letting the dough rise on the kitchen counter, but there’s a reason your home loaf doesn’t taste like what you would get at a good bakery. A bakery has a proofer, or a box that lets dough rise at a temperature that would be uncomfortable for humans, but perfect for yeast.
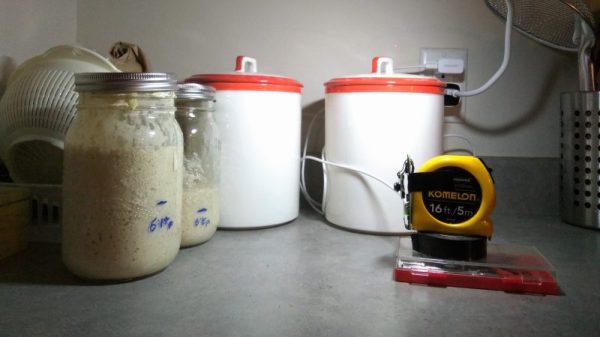
The leavening cell is a DIY proofing box that keeps dough at a steady 26° C to 28° C, the perfect temperature for making bread, pizza dough, and even yogurts. [vittorio] made this and the results look great.
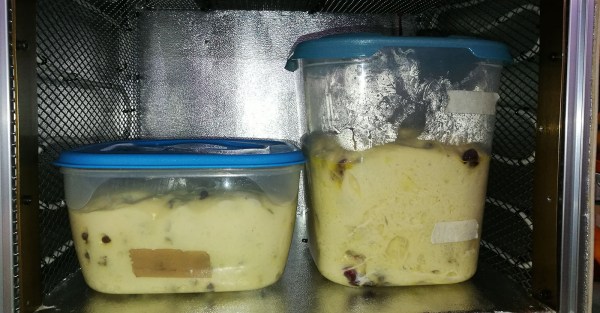
The design of this build is simple enough and made out of 20×20 aluminum profiles shaped into a cubic frame. The outside of this box is 6mm thick wooden panels coated on the inside with a heat-reflective insulating mesh. Inside of that is a frame of metal mesh to which a six-meter long cable heating element is attached. This heating element is controlled via a thermostat with a probe temperature sensor on a timer. No, it’s not very complicated but the entire idea of a proofer is to have a slightly warm box.
You can check out the promo video for the Leavening Cell below.