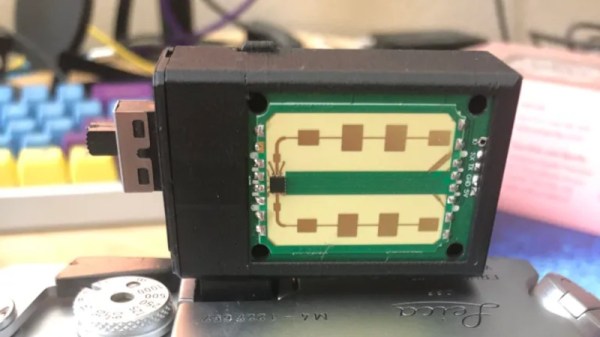
As the art of film photography has gained once more in popularity, some of the accessories from a previous age have been reinvented, as is the case with [tdsepsilon]’s radar rangefinder. Photographers who specialized in up-close-and-personal street photography in the mid-20th century faced the problem of how to focus their cameras. The first single-lens reflex cameras (SLRs) were rare and expensive beasts, so for most this meant a mechanical rangefinder either clipped to the accessory shoe, or if you were lucky, built into the camera.
The modern equivalent uses an inexpensive 24 GHz radar module coupled to an ESP32 board with an OLED display, and fits in a rather neat 3D printed enclosure that sits again in the accessory shoe. It has a 3 meter range perfect for the street photographer, and the distance can easily be read out and dialed in on the lens barrel.
Whenever the revival of film photography is discussed, it’s inevitable that someone will ask why, and point to the futility of using silver halides in a digital age. It’s projects like this one which answer that question, with second-hand SLRs being cheap and plentiful you might ask why use a manual rangefinder over one of them, but the answer lies in the fun of using one to get the perfect shot. Try it, you’ll enjoy it!
Some of us have been known to dabble in film photography, too.
Thanks [Joyce] for the tip.

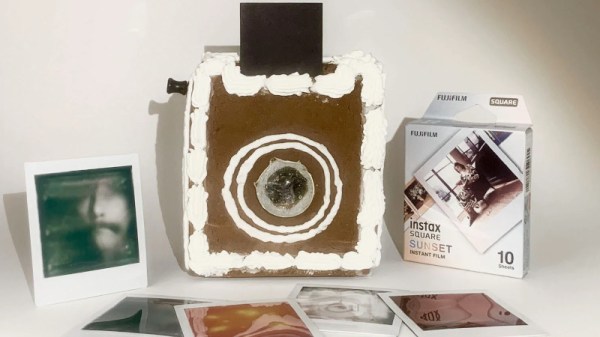
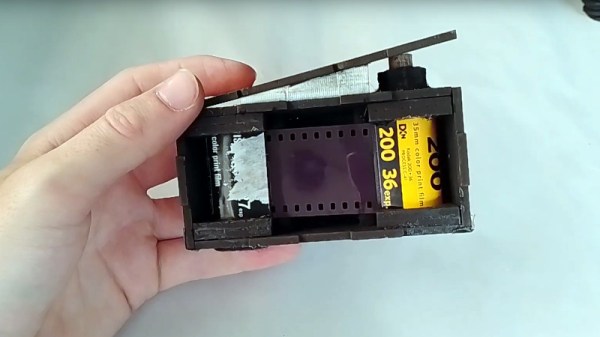
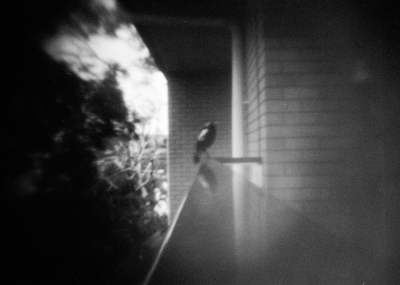 It can be built from almost any flat light-proof 3 mm thick stock, though something that you can run through a laser cutter is probably ideal. Once snapped together to make to box-like structure, tape is added along the joins for light-proofing. The film is reeled from a full 35 mm cartridge to an empty one, and cranked back frame-by-frame by means of a wooden key that engages with the spindle.