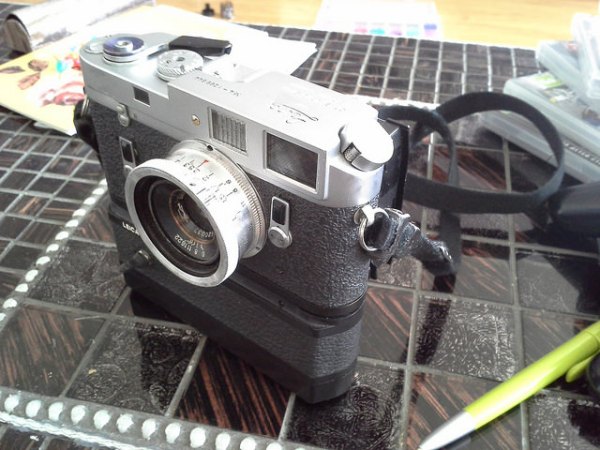
[Eugene] wanted to use his vintage Leica M4 as a digital camera, and he had a Canon EOS 350D digital camera sitting around unused. So he Frankensteined them together and added a digital back to the Leica’s optical frontend.
It sounds simple, right? All you’d need to do is chop off the back from the EOS 350D, grind the digital sensor unit down to fit into exactly the right spot on the film plane, glue it onto an extra Leica M4 back door, and you’re set. Just a little bit of extremely precise hackery. But it’s not even that simple.
Along the way [Eugene] reverse-engineered the EOS 350D’s shutter and mirror box signals (using a Salae Logic probe), and then replicated these signals when the Leica shutter was tripped by wedging an Arduino MiniPro into an old Leica motor-winder case. The Arduino listens for the Leica’s bulb-flash signal to tell when the camera fires, and then sends along the right codes to the EOS back. Sweet.
There are still a few outstanding details. The shutter speed is limited by the latency in getting the signal from the Leica to the 350D back, so he’s stuck at shutter speeds longer than 1/8th of a second. Additionally, the Canon’s anti-IR filter didn’t fit, but he has a new one ordered. These quibbles aside, it’s a beautiful hack so far.
What makes a beautiful piece of work even more beautiful? Sharing the source code and schematics. They’re both available at his Github.
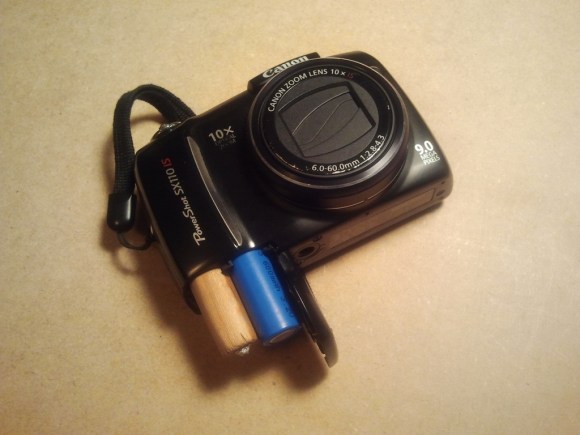
Of course, if you don’t mind completely gutting the camera, you could always convert your old Leica into a point and shoot.