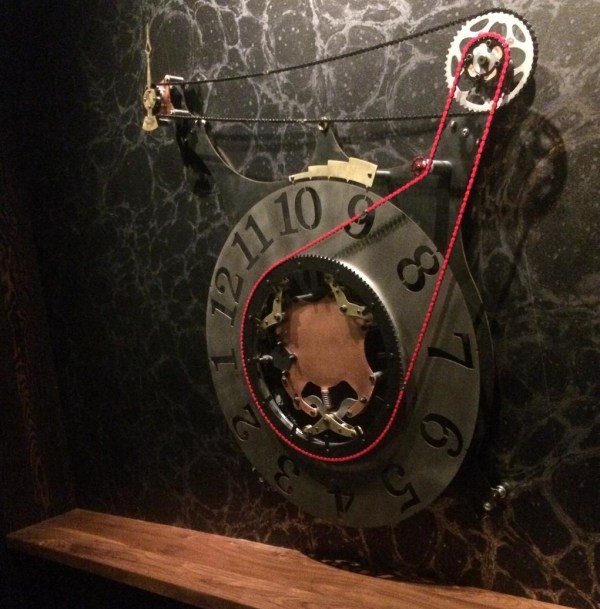
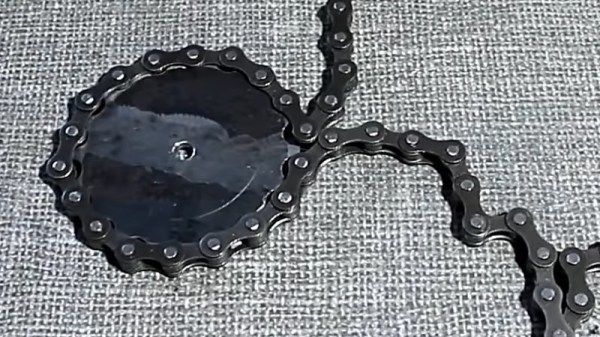
When it comes to building quirky clocks that also double up as beautiful animated sculptures, [Ekaggrat Singh Kalsi] is a master par excellence. His latest offering is the Getula, a time piece inspired by an old, discarded bicycle chain, while the name seems inspired by the chain kingsnake — Lampropeltis getula – due to its snake like movements. Getula shows time by manipulating eight short pieces of chain to show four digits representing hours and minutes. But wrangling a flexible piece of chain to morph in to numerals turned out to be a far more complex endeavour than he bargained for, and he had to settle for a few compromises along the way.

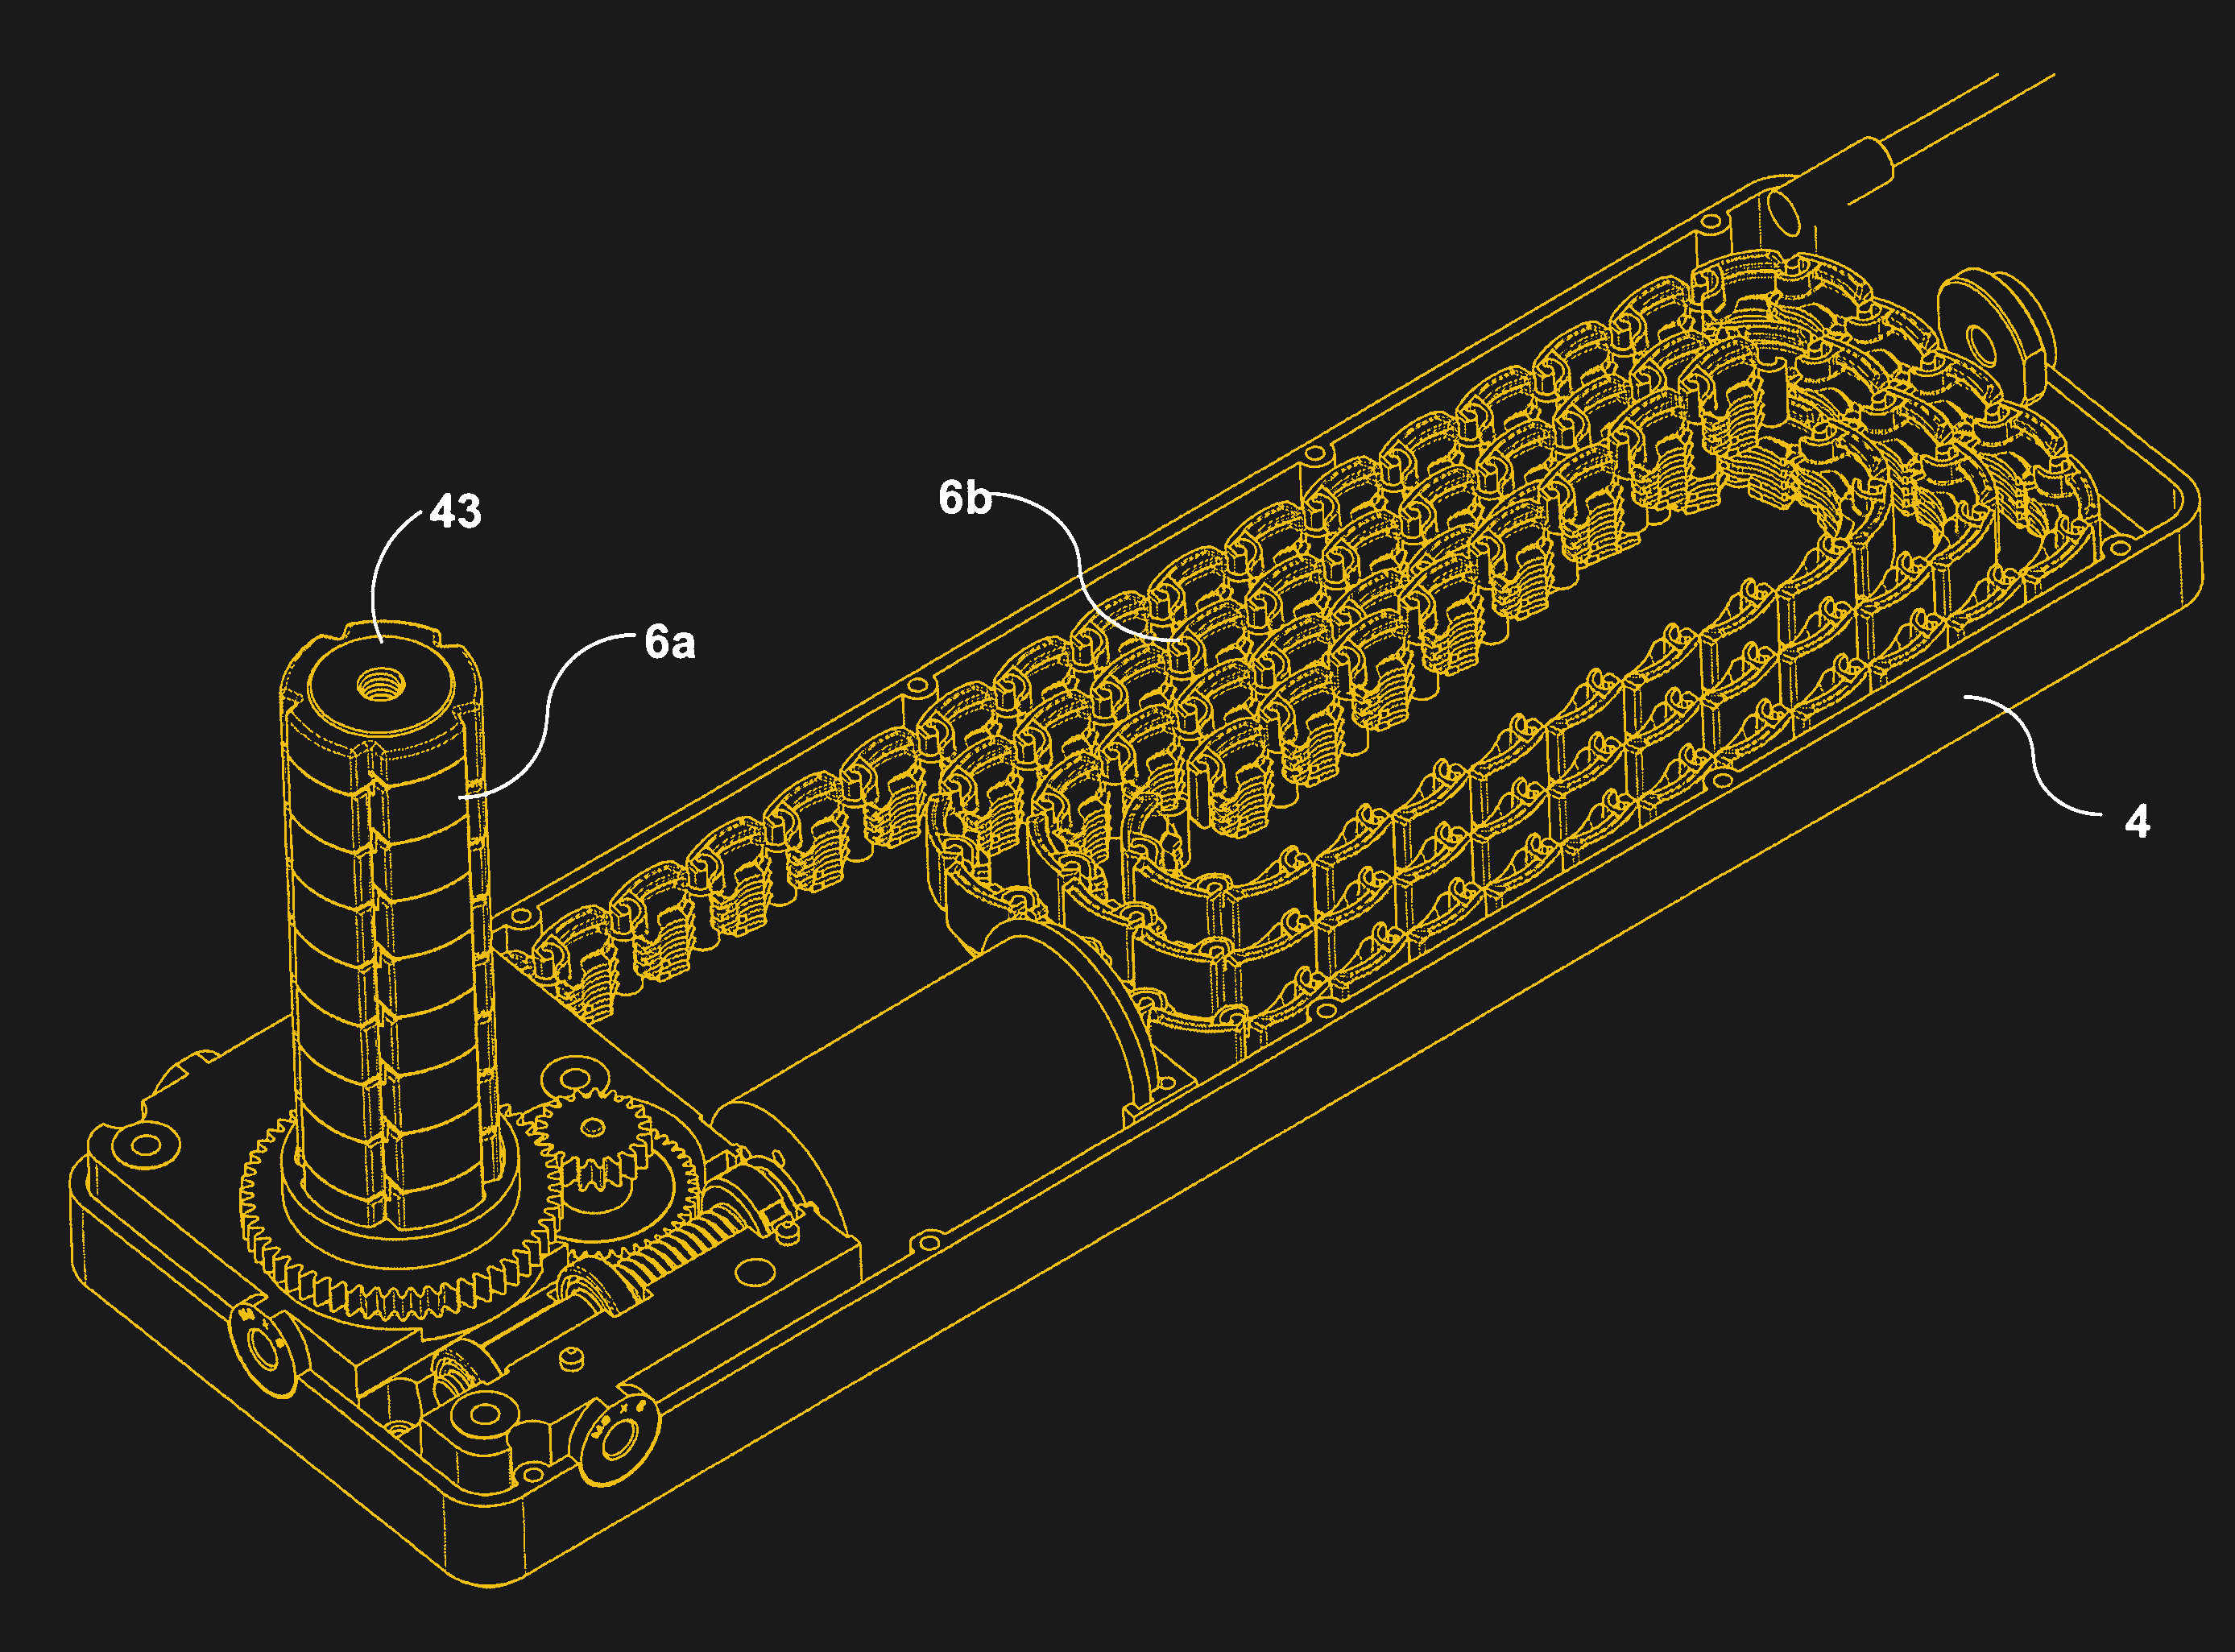
He could not use real bicycle chains because they are too flexible and heavy, which made it impossible for them to hold the shapes he desired. Instead, he designed custom 3D printed chains similar to drag link chains used for cable management. For rigidity, he added O-rings in the chain joints to increase friction. But even this was not sufficient to completely form each digit using a single piece of chain.
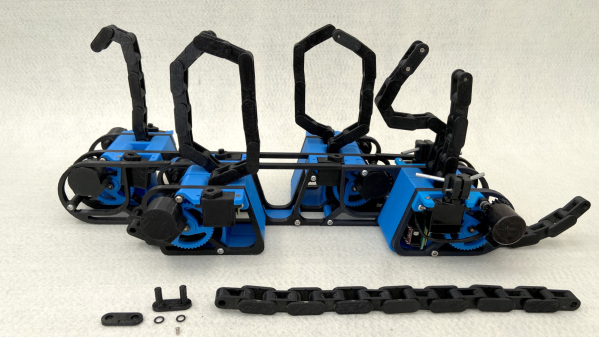
The compromise was to use two pieces of chain per digit, which results in a more artistic expression of time keeping. Each piece of chain is pushed or pulled using stepper motors, and bent in to shape using servos. The end result is a mesmerising dance of chain links, steppers and servos every minute, around the clock.
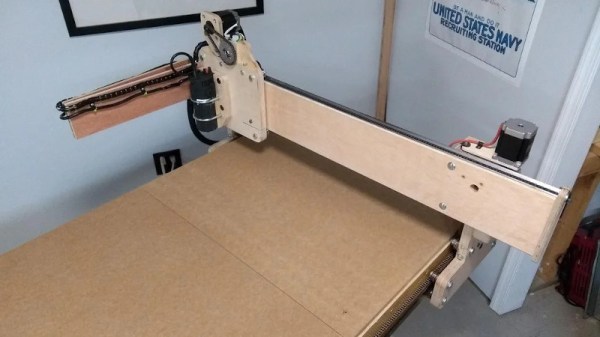
Designing the clock was no trivial exercise, so [Ekaggrat] improved it over a couple of iterations. There are four modular blocks working in synchronism — each consisting of an Arduino Nano, two stepper motor drives with motors and two servos. Each chain has an embedded magnet at its start, which is sensed by a hall sensor to initialise the chain to a known position. A DS1307 RTC module provides timekeeping. The project is still work in progress, and [Ekaggrat] has managed to finish off just one module out of four — giving us a tantalizing glimpse of Getula welcoming 2021.
If you’d prefer something more shiny, check out his Unique Clock that finally unites Hackers and Sequins, while some of his other creations, such as the Edgytokei Clock and the Torlo Clock feature beautiful and intricate 3D printed mechanisms.
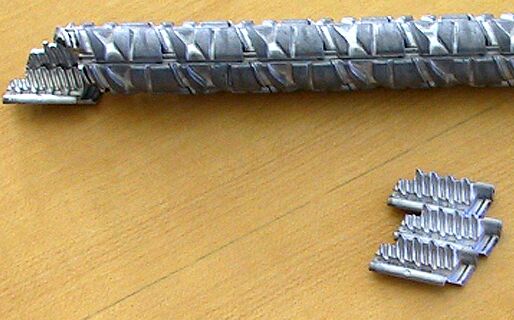


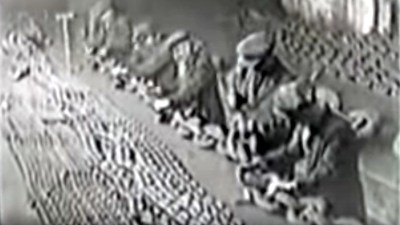 The first film follows the manufacture of the chain and anchor that would have been found on a ship around the turn of the twentieth century. One of the text frames mentions Netherton Works, allowing us to identify it as being filmed at
  The other video is contemporary, a How It’s Made look at chain manufacture. Here the chains involved are much smaller, everything is done by automated machinery, and once we have got over marveling at the intricacy of the process we can see that there is far more emphasis on the metallurgy. The wire is hard drawn before the chain is formed, and then hardened and annealed in a continuous process by a pair of induction heaters and water baths. I’m trying really hard to avoid a minor rant about the propensity of mass-market entertainment such as this for glossing over parts of the process. A keen eye notices that each link has become welded but we are not shown the machine that performs the task.