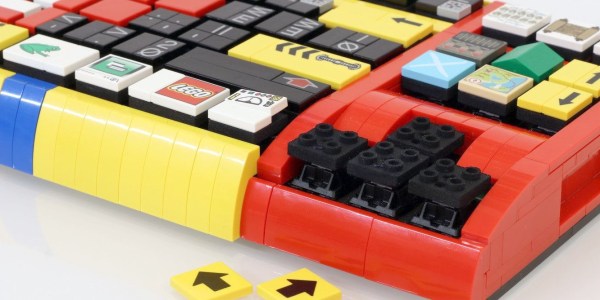
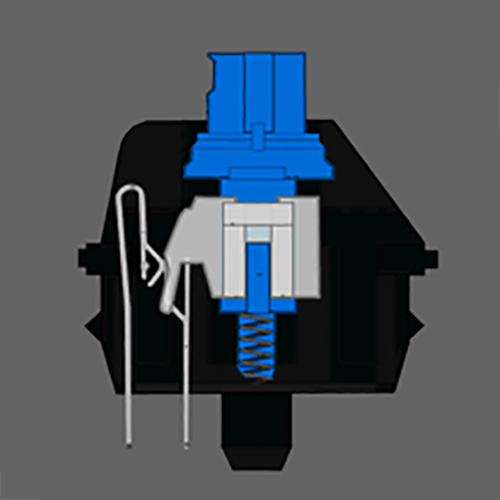
Here on Hackaday, we like keyboard hacks. Given how much time we all spend pounding away on them, they’re natural hacks to come up with. If you’re pulling the circuitry from an existing keyboard then chances are the keys are pressed either by pushing down on rubber domes (AKA the membrane type), or on mechanical switches. [Jason Allemann] has just made it easier to do keyboard hacks using LEGO by building one for a circuit board with mechanical Cherry MX key switches. That involved designing parts to connect LEGO bricks to the switches.
For those custom parts, he recruited his brother [Roman], who’s a mechanical engineer. [Roman] designed keycaps with a Cherry MX stem on one side for snapping onto the key switches, and LEGO studs on the other side for attaching the LEGO bricks. The pieces also have a hole in them for any keys which have LEDs. Of the 100 which [Jason] ordered from Shapeways, around ten were a bit of a loose fit for the LEGO bricks, but only if you were doing extreme button mashing would they come off.
The easy part was the keyboard circuit board itself, which he simply removed from an old Cooler Master Quick Fire Rapid keyboard and inserted into his own LEGO keyboard base.
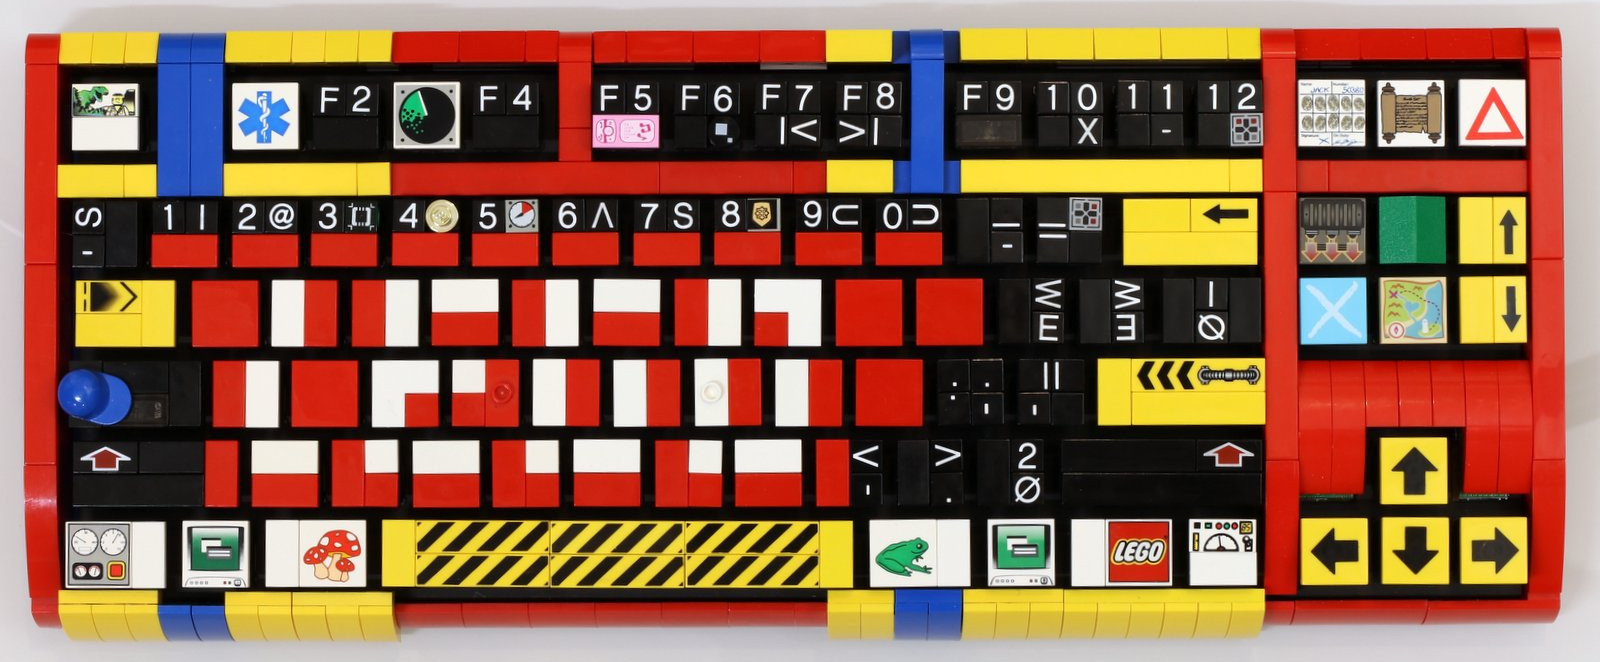
We do like his creative use of bricks for the keys. For one thing, the letter keys have no letters on them and so is for toufh-typosts touch-typists only. The Caps Lock is a baseball cap, which would be awkward to press except that no one ever does anyway. ESC is a picture of a person running from a dinosaur and F1, which is often the help-key, is the Star of Life symbol for medical emergency services such as ambulances. Scroll Lock is, of course, a scroll. And to make himself type faster, he incorporated blue racing stripes into the frame, but you can judge for yourself whether or not that trick actually works by watching his detailed build-video below.
Continue reading “Connecting Cherry MX Key Switches To LEGO Just Got Easier”


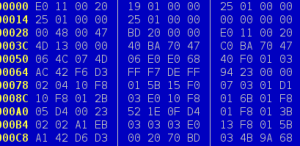 The firmware wasn’t complete, though; there were jumps to places outside the code [Sprite] had and a large block looked corrupted. There’s another thing you can do with an executable file: run it. With