Voltmeters are cheap, and have a great industrial aesthetic about them. This makes them prime candidates for hackers looking to do a clock build. [Brett Oliver] went down this very road, and built a very stylish timepiece along the way.
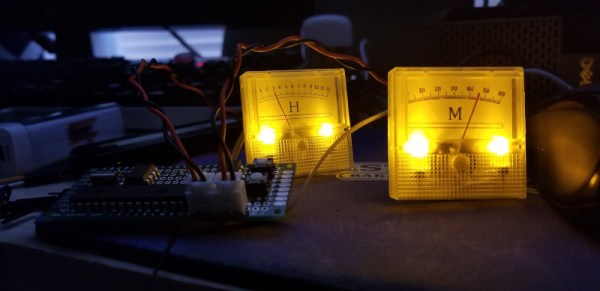
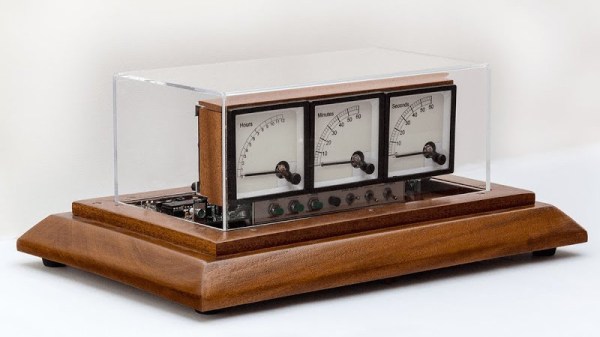
[Brett] initially wanted to go with 240-degree voltmeters, however the cost was prohibitive, so settled for the more common 90-degree models. New dials were produced by first sanding down the old dials, repainting in an old-fashioned off-white, and then applying the new graphics with inkjet transfer paper.
The attention to detail continues with the case. [Brett] aimed to build the clock with an old-school lab equipment aesthetic. A large piece of mahogany was crafted into the base. A clear plastic cover was sourced from eBay, which really makes the piece. Large buttons and toggle switches were chosen to complete the look.
On the electronic side of things, it’s all run by a PIC16F628A, which controls the voltmeters via PWM. Running with a 20MHz crystal, the PIC is not a great timekeeper. Instead, the whole show is synchronized to [Brett]’s master clock we featured a few years back.
Building a clock is a rite of passage for a hacker, and [Brett]’s example goes to show how craftsmanship can really pay off in this pursuit. Video after the break.
Continue reading “Voltmeter Clock Looks Great On Display”