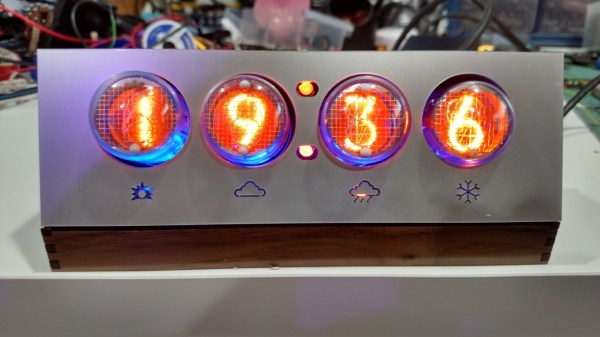
With everything that’s been happening in the news lately, [Jarek] decided it was finally time to finish up his latest project. The Internet of Things has been exploding with projects lately, and this clock that also alerts him of the weather is the latest addition. Plus it has the added bonus of using everybody’s favorite display: nixie tubes!
Of course, using high voltage for the nixies can be terror-inducing, but [Jarek] found a power supply on eBay that was able to power the tubes for not too much money. The controller is an HV5622 which can control up to 32 nixies while only using up three pins on a microcontroller which is pretty handy if you have a limited number of output pins.
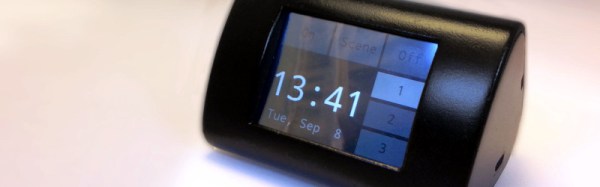
The clock also has another device hidden behind all of the wires for the tubes: an ESP8266 to give it network connectivity. The clock connects to the Internet and searches for the nine-hour weather forecast. There are a few nixie lights behind the display which illuminate cutouts in the case to indicate a few different weather statuses. It’s a very polished project, and since it’s enclosed in a nice case it’s not likely to be mistaken for any movie props. Of course, other nixie projects don’t have the same comforting look.
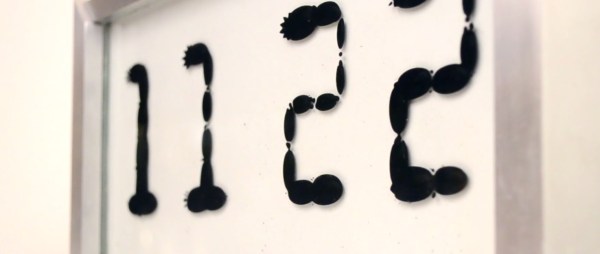
 There’s little to no information on the details of how the clock works other than the use of ferrofluid. But it’s not hard to guess that it uses dozens of electromagnets