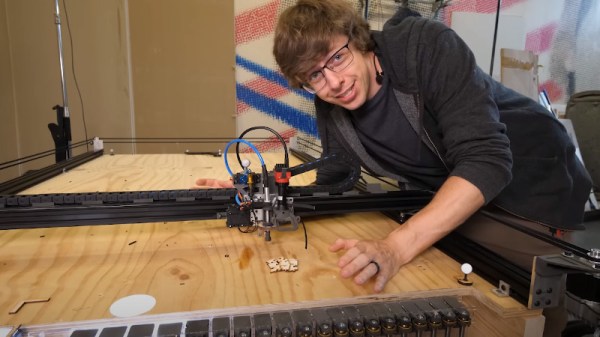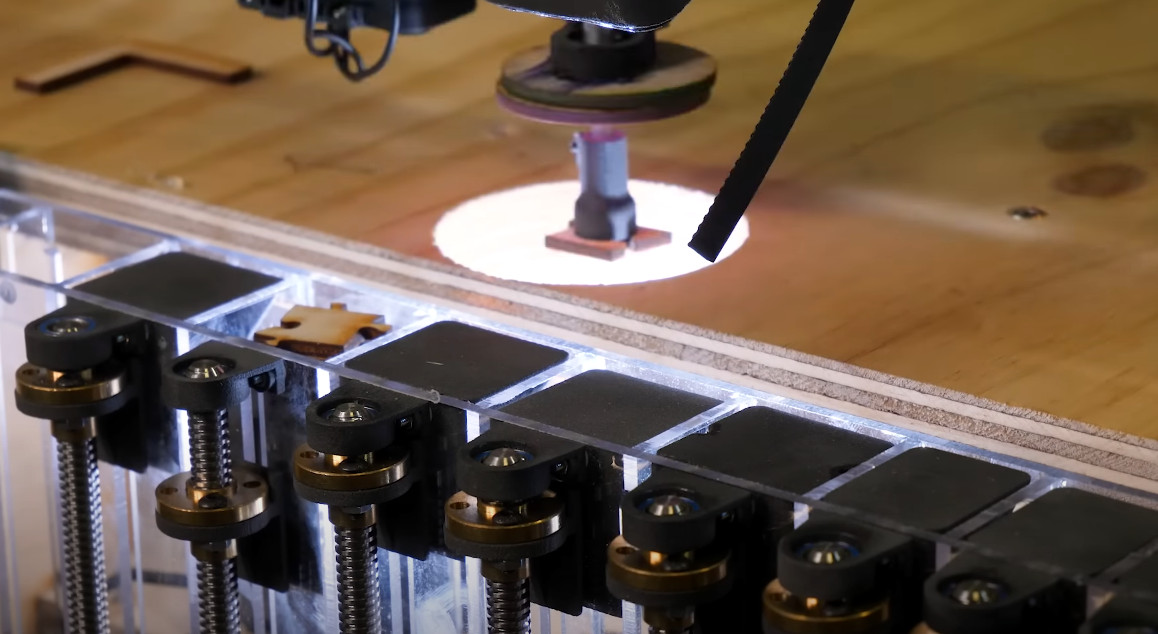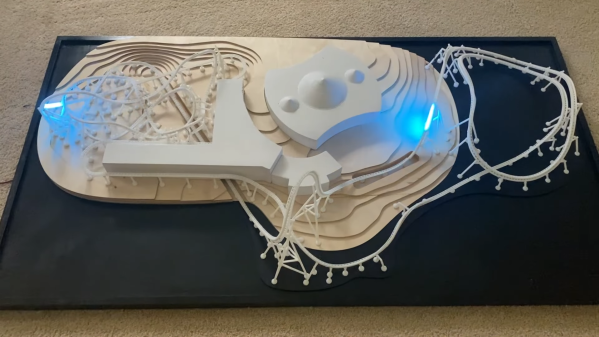
CNC machines are incredibly versatile tools. At a machine shop, they can machine all kinds of metal and plastic parts. Beyond that, they can engrave various materials including glass, and even create PCBs. [Steve] has a CNC machine of his own creation in his shop, and while he might be employing it for those common uses, his artistic creations are on the showcase for today with these 3D topographic relief maps.
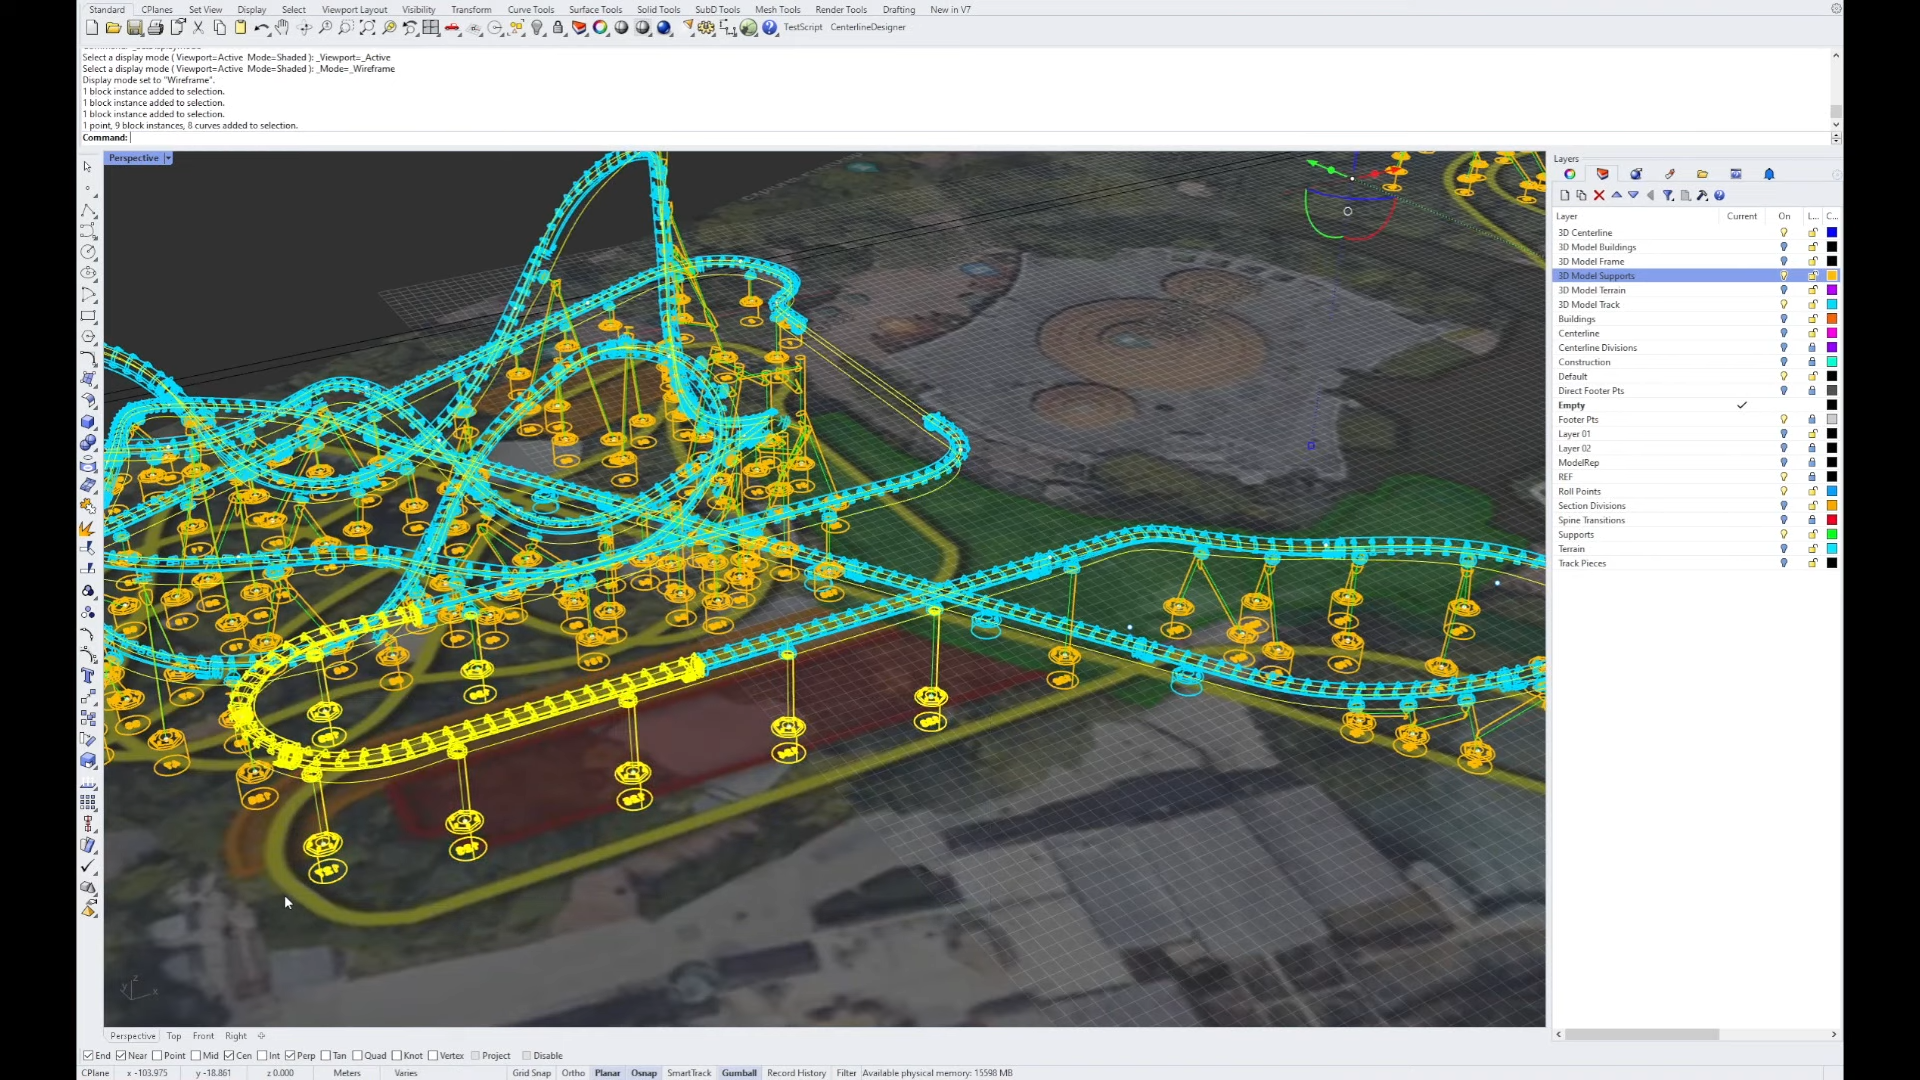
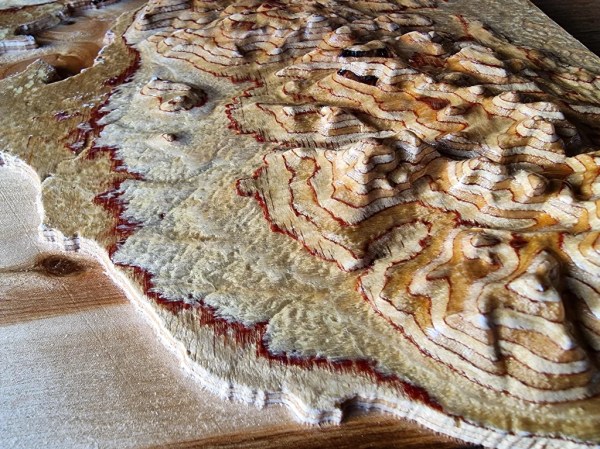
The key to creating a good topographic relief map is good material stock. [Steve] is working with plywood because the natural layering in the material mimics topographic lines very well, especially with the high-quality marine-grade birch plywood he is using. Making sure to select pieces without knots improves the final product substantially, as does taking the time to fill any voids. Selecting good stock is only part of the process though. [Steve] is using TouchTerrain, an open source project helmed by [Dr. Chris Harding] of Iowa State University, to create the model which gets fed to the CNC machine. Originally intended for 3D printing applications, the web-based tool lets you easily select an area on the globe and export its topographical data to a standard STL or OBJ file.
With good stock and the ability to easily create 3D topographic maps, anyone with a CNC machine like this could easily reproduce their terrain of choice. We imagine the process might be easily ported to other tools like 3D printers, provided the resolution is high enough. We have also seen similar builds using laser cutters, although the method used is a little different.