ESP32 Video Tricks Hack Chat With Bitluni

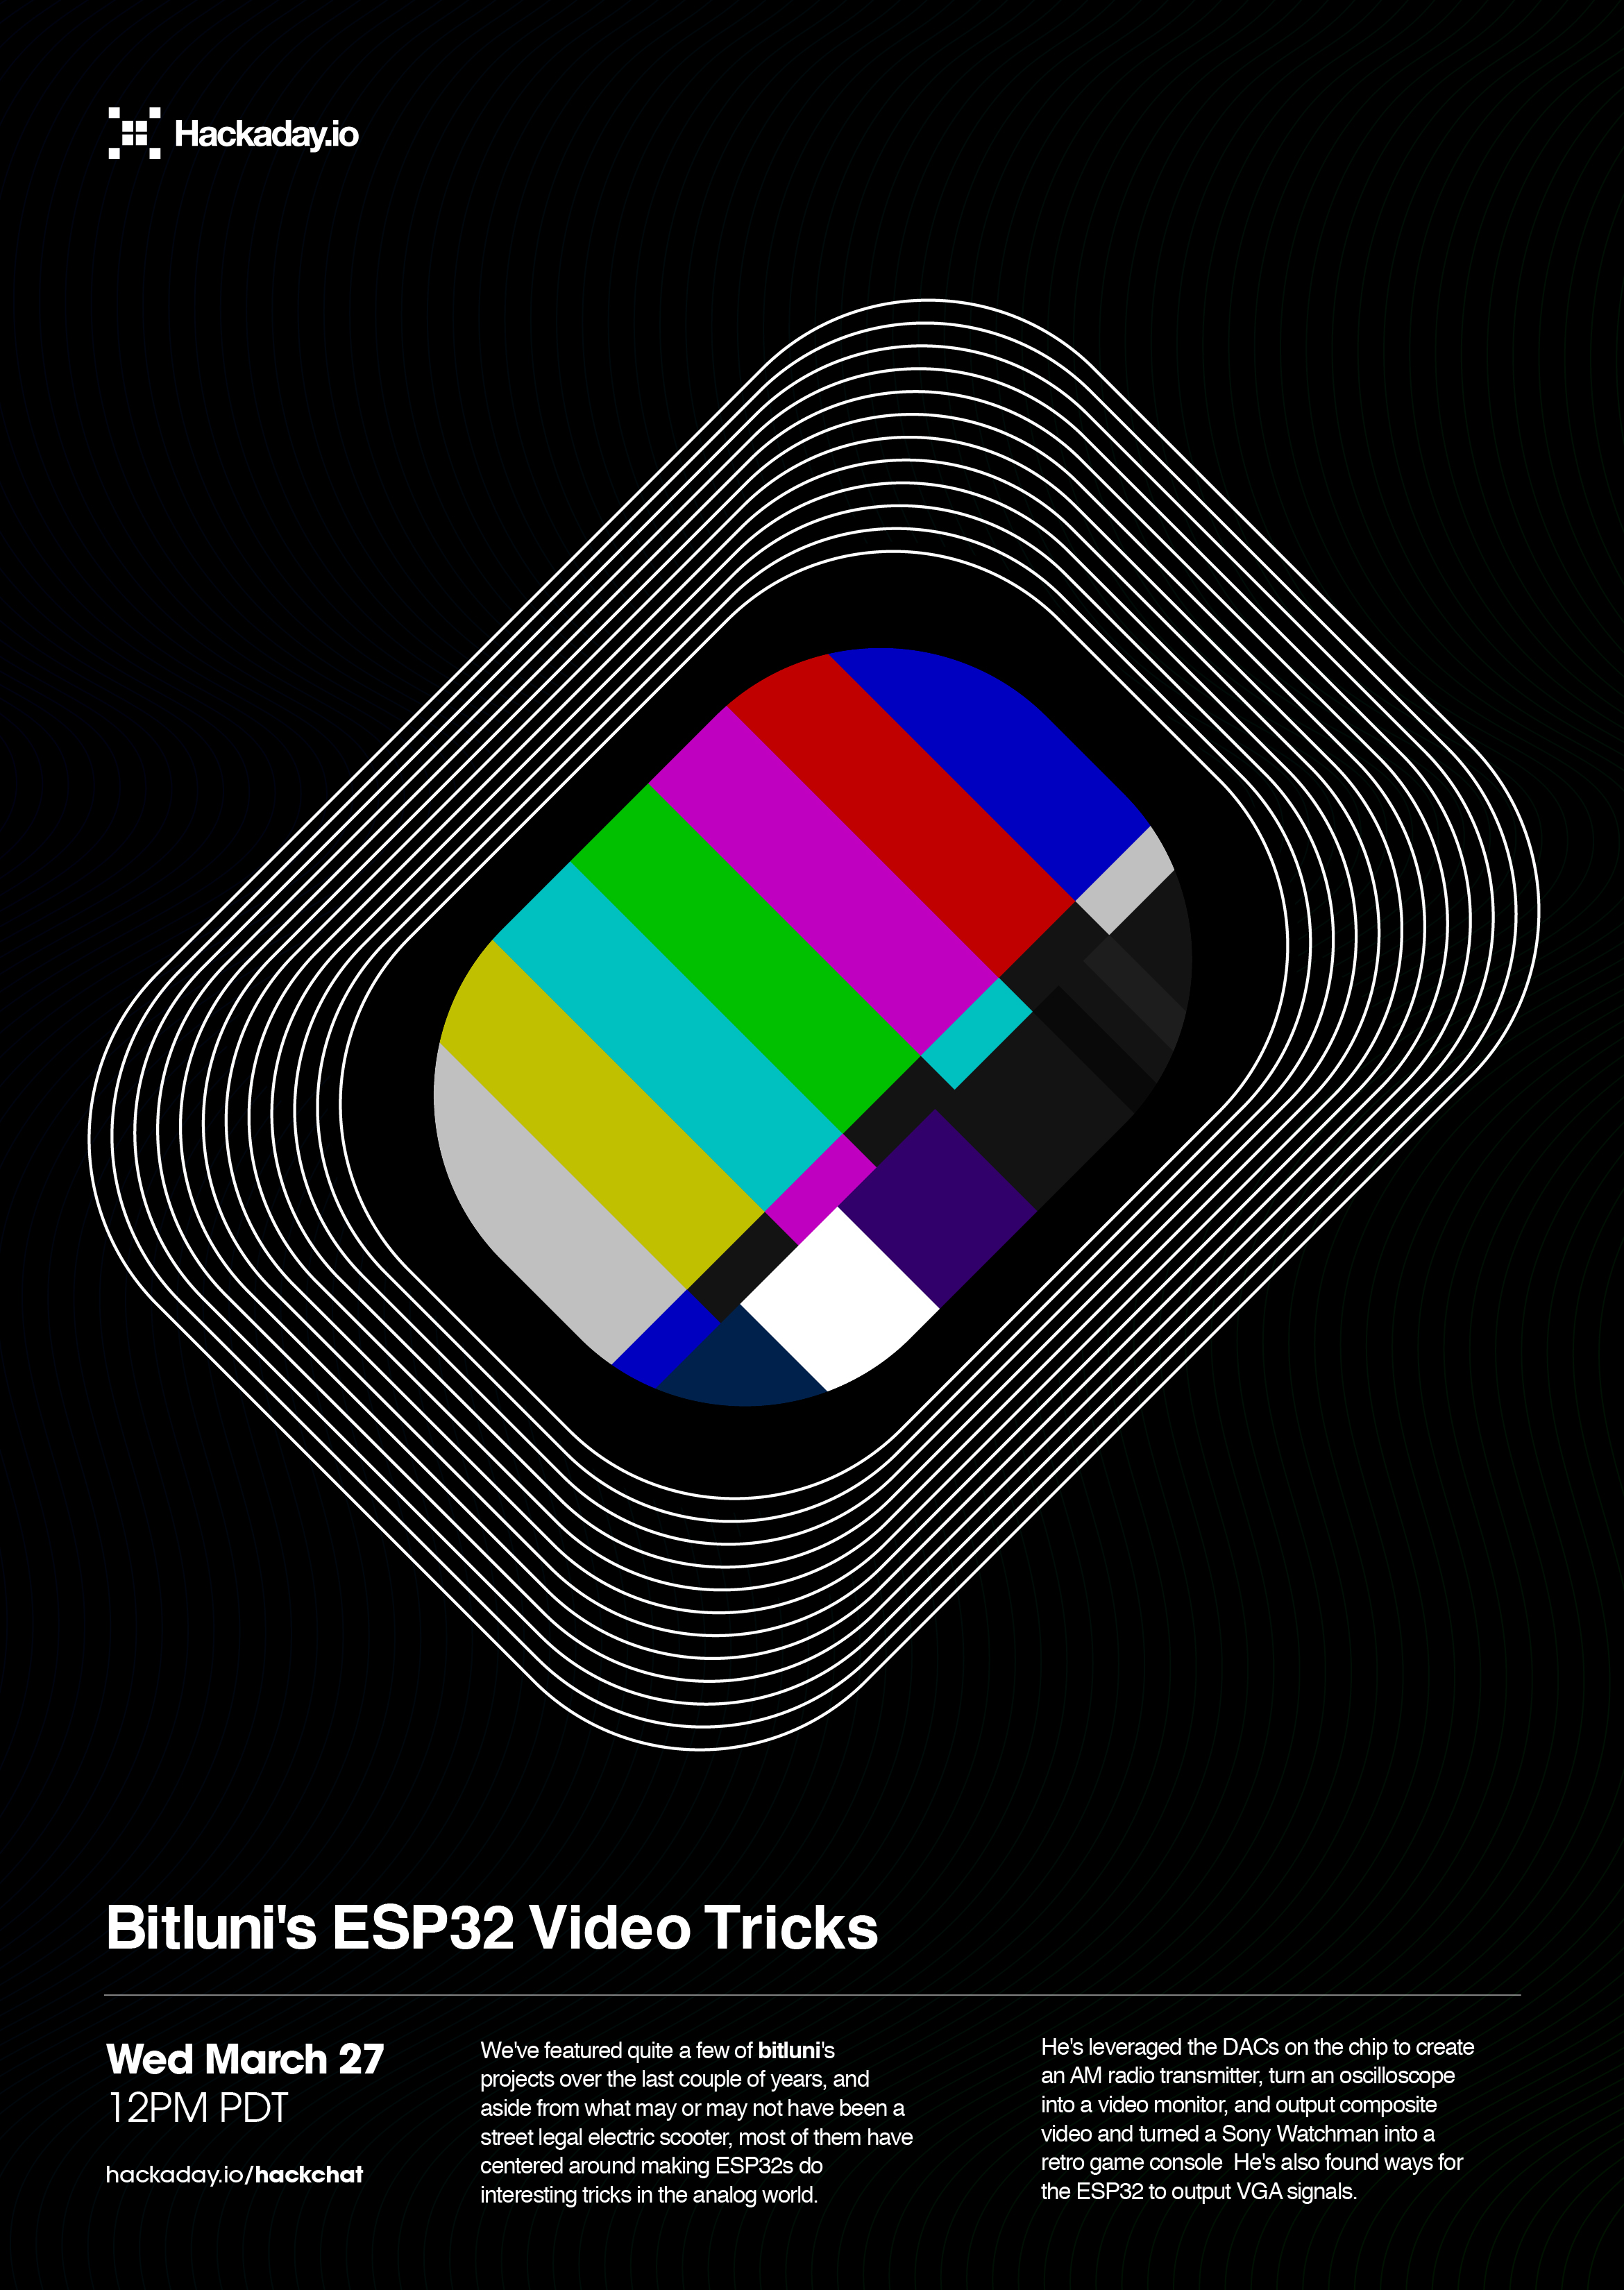
Join us Wednesday at noon Pacific time for the ESP32 Video Tricks Hack Chat!

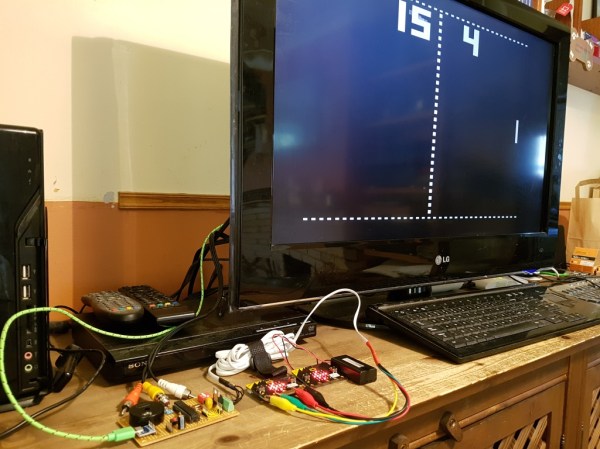
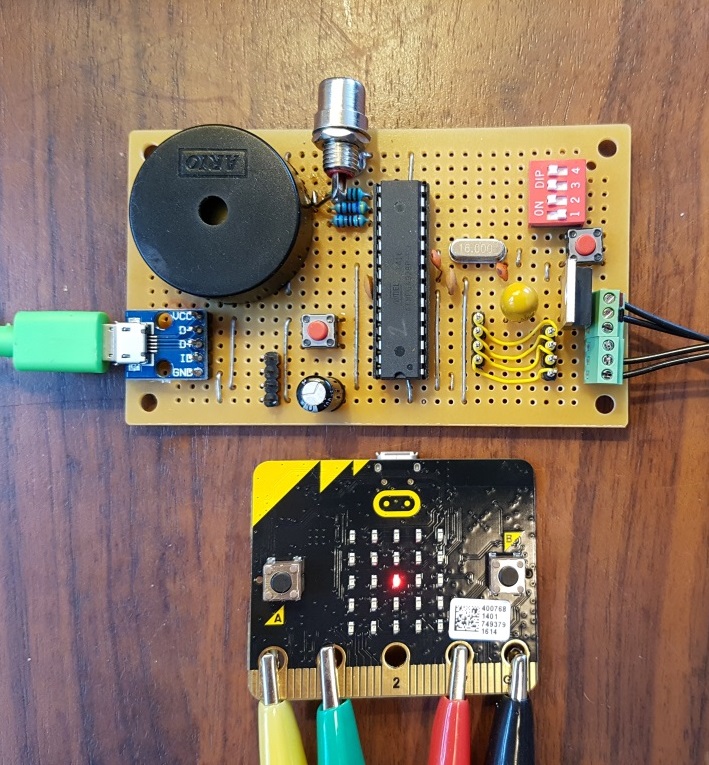
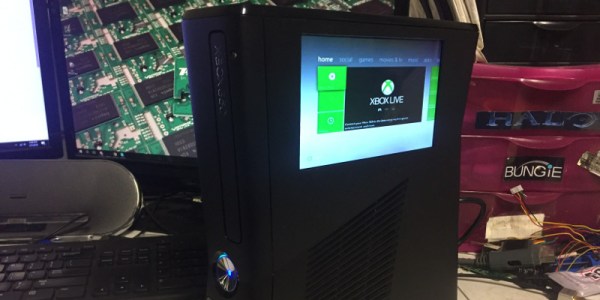
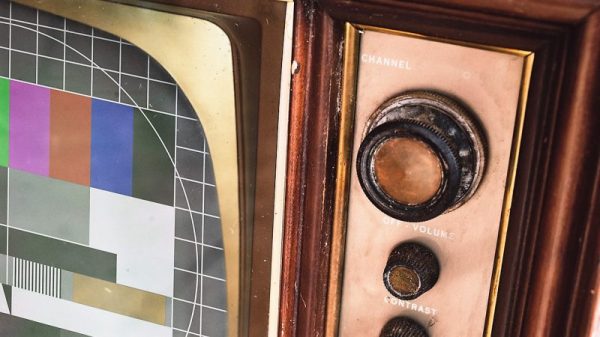
The projects that bitluni works on have made quite a few appearances on these pages over the last couple of years. Aside from what may or may not have been a street legal electric scooter, most of them have centered around making ESP32s do interesting tricks in the analog world. He’s leveraged the DACs on the chip to create an AM radio transmitter, turned an oscilloscope into a video monitor, and output composite video. That last one was handy for turning a Sony Watchman into a retro game console. He’s also found ways for the ESP32 to output VGA signals. Looks like there’s no end to what he can make the versatile microcontroller do.

Although the conversation could (and probably will) go anywhere, we’ll start with video tricks for the ESP32 and see where it goes from there. Possible topics include:

  • Tricks for pushing the ESP32 DACs to their limits;
  • When to use an external DAC;
  • Optimizing ESP32 code by running on separate cores; and
  • What about HDMI on the ESP32?

You are, of course, encouraged to add your own questions to the discussion. You can do that by leaving a comment on the ESP32 Video Tricks Hack Chat and we’ll put that in the queue for the Hack Chat discussion.

join-hack-chatOur Hack Chats are live community events on the Hackaday.io Hack Chat group messaging. This week we’ll be sitting down on Wednesday, March 27, at noon, Pacific time. If time zones have got you down, we have a handy time zone converter.

Click that speech bubble to the right, and you’ll be taken directly to the Hack Chat group on Hackaday.io. You don’t have to wait until Wednesday; join whenever you want and you can see what the community is talking about.

The Carbon Fiber Construction Of Large Propellers

Props for your little RC airplane or drone are effectively consumables. They’re made of plastic, they’re cheap, and you’re going to break a lot of them. When you start swinging something larger than 12 inches or so, things start getting expensive. If you’re building gigantic octocopters or big RC planes, those props start adding up. You might not think you can build your own gigantic carbon fiber propellers, but [Tech Ingredients] is here to prove you wrong with an incredible video demonstration of the construction of large propellers

The key ideas behind the build are laid out in a video demonstration for building a single prop. The base begins with a CNC wire cut foam air foil. This foam airfoil is first modified for the attachment point by cutting a plug out of the root of the airfoil which is filled with epoxy.

With the skeleton of the airfoil complete, the build then moves on to laminating the foam core with carbon fiber. The epoxy itself is West Systems Pro-Set laminating epoxy, although we suspect the ubiquitous West Systems epoxy used for all those live-edge ‘river’ coffee tables will also work as well. This epoxy is spread out on a table, the carbon fiber laid over it, and a second layer of carbon fiber (check ‘yo biases!) laid over that. This is wrapped around the foam core, then cured with an electric heating pad.

Of course, this is only a demonstration of making a single blade for a prop. The next trick is turning that single blade into a propeller. This is done with a cleverly machined hub, attached through that epoxy plug placed in the foam core. The results are just as good as any large prop you could buy, and this has the added benefit of being something you made, not bought.

This is really a master class in composite construction, and well worth an hour’s of YouTube viewing. You can check out the intro video below.

Continue reading “The Carbon Fiber Construction Of Large Propellers”

Industrial 3D Printing Uses Layers Like We’ve Never Seen Before

We’ve seen FDM printers lay down layers by extruding plastic in a line. We’ve seen printers use sintering and lithography to melt or cure one layer at a time before more print medium moves into place for the next layer. What we’ve never seen before is a printer like this that builds parts from distinct layers of substrate.

At the International Manufacturing Technology Show last week I spoke with Eric of Impossible Objects. The company is using a “sheet lamination process” that first prints each layer on carbon fiber or fiberglass, then uses a hydraulic press and an oven to bake the part into existence before bead-blasting the excess substrate away. Check out my interview with Eric and join me below for more pictures and details.

Continue reading “Industrial 3D Printing Uses Layers Like We’ve Never Seen Before”

Better Than Original Pong Using Arduino

Games like Pong are legendary, not only in the sense that they are classic hours fun but also that they have a great potential for makers in stretching their learning legs. In an attempt at recreating the original paddle games like Pong and Tennis etc, [Grant Searle] has gone into the depths of emulating the AY-2-8500 chip using an Arduino.

For the uninitiated, the AY-3-8500 chip was the original game silicon that powered Ball & Paddle that could be played on the domestic television. Running at 2 MHz, it presented a 500 ns pixel width and operated to a maximum of 12 Volts. The equivalent of the AY-3-8500 is the TMS1965NLA manufactured by Texas Instruments for those who would be interested.

[Grant Searle] does a brilliant job of going into the details of the original chip as well as the PAL and NTSC versions of the device. This analysis will come in handy should anyone choose to make a better version. He talks about the intricacies of redrawing the screen for the static elements as well as the ball that bounces around the screen. The author presents details on ball traversal, resolution, 2K memory limit and its workarounds.

Then there are details on the sound and the breadboard version of the prototype that makes the whole write-up worth one’s time. If you don’t fancy the analog paddles and would rather use a wireless modern-day touch, check out Playing Pong with Micro:bits

Thanks [Keith O] for the tip.

Playing Pong With Micro:bits!

Where would the world be today without Pong, perhaps a lot less fun? For people like [Linker3000] the game is an inspiration toward teaching the next generation of hackers to build and play their own version using Micro:bits as controllers!

Aiming for doing all manner of diligence, [Linker3000] says the code can simply be uploaded to an Arduino — foregoing throwing together a circuit of your own — if you want to jump right into things. For the workshop environment, this setup uses composite video outputs — but this shouldn’t be an issue as most TVs still retain these inputs.

Once built — or sketch uploaded — the Micro:bit paddles can be connected to the ATmega328p and played like an old-school controller, but [Linker3000] has enabled Bluetooth control of the paddles’ A and B buttons via the Bitty app. Additionally — if wires really aren’t your thing and Bluetooth is too new-school for such an old game — a second Micro:bit can control the wired paddle using their built-in radio, provided they’re configured accordingly.

On top of Pong, there are also squash and soccer game modes! Check out the demo after the break.

Continue reading “Playing Pong With Micro:bits!”

Xbox Needs No TV

If you want a custom video game system, you could grab a used computer, throw an emulator on it, and build yourself a custom arcade cabinet. On the other hand, if you’d rather not deal with emulators, you can always use a console and modify it into your own tiny arcade cabinet using the original hardware. That’s what the latest project from [Element18592] does, using an Xbox 360 Slim and a small LCD screen to make a mini-arcade of sorts.

The build uses a 7″ TFT LCD and a Flexible Printed Circuit (FPC) extension board. The screen gets 12V power from the Xbox and another set of leads are soldered directly to the composite output on the motherboard. The project also makes use of a special switch which can enable or disable the built-in monitor and allow the Xbox to function with a normal TV or monitor.

Admittedly, he does point out that this project isn’t the most practical to use. But it is still a deceptively simple modification to make to the Xbox compared to some of the more complicated mods we’ve seen before. The fact that almost anyone could accomplish this with little more than some soldering is an impressive feat in the world of console mods.

Continue reading “Xbox Needs No TV”

Junkyard Crossbow Aims To Be A Car Killer

[James], aka [Turbo Conquering Mega Eagle], is not your typical Hackaday poster boy. Most of his builds have a  “Junkyard Wars” vibe, and he’d clearly be a good man to have around in a zombie apocalypse. Especially if the undead start driving tanks around, for which purpose his current anti-tank compound crossbow is apparently being developed.

At its present prototype phase, [James]’ weapon o’ doom looks more fearsome than it actually is. But that’s OK — we’re all about iterative development here. Using leaf springs from a Toyota Hi-Lux truck, this crossbow can store a lot of energy, which is amplified by ludicrously large aluminum cams. [James] put a lot of effort into designing a stock that can deal with these forces, ending up with a composite design of laminated wood and metal. He put a lot of care into the trigger mechanism too, and the receiver sports not only a custom pistol grip cast from aluminum from his fire extinguisher foundry, but a hand-made Picatinny rail for mounting optics. Test shots near the end of the video below give a hint at the power this fully armed and operational crossbow will eventually have. The goal is to disable a running car by penetrating the engine block, and we’re looking forward to that snuff film.

If rubber band-powered crossbows are more your speed, take you pick — fully automatic, 3D-printed, or human-launching.

Continue reading “Junkyard Crossbow Aims To Be A Car Killer”