For as long as computers have been in the hands of programmers, they have offered frequent mildly tedious tasks that their operators have sought to automate. Who hasn’t written a shell script or a batch file that unites a string of commands into one just to save a bit of typing?
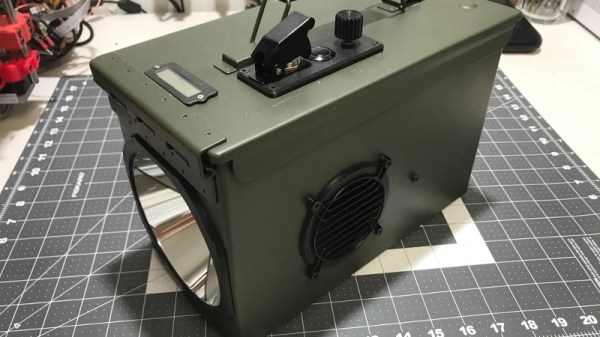
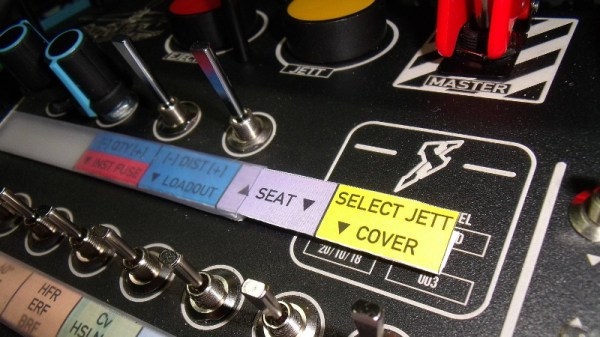
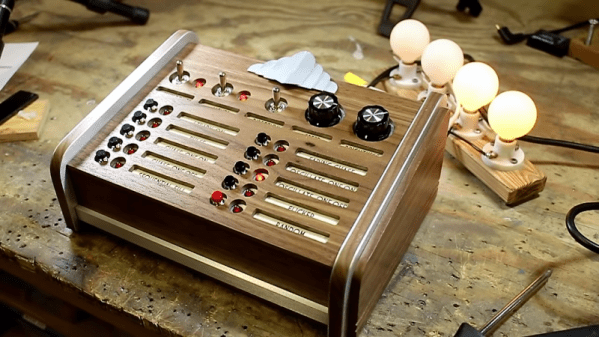
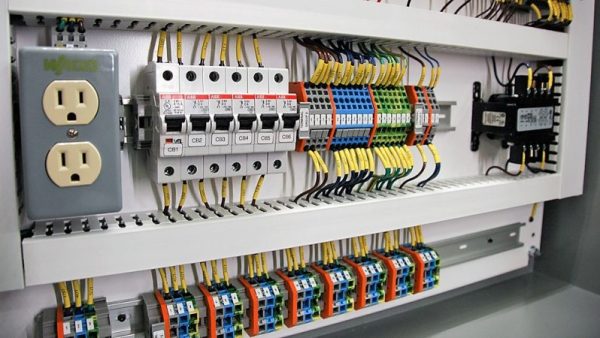
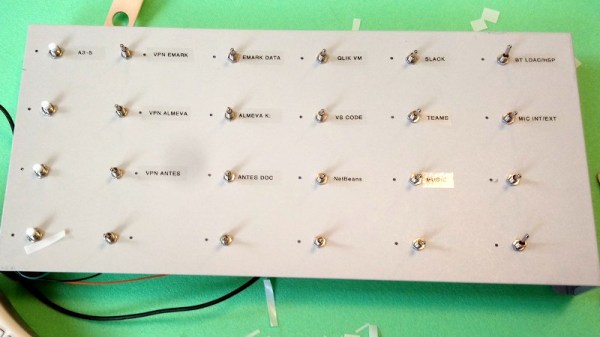
But even that effort can be reduced with a hardware add-on that ties the script to a physical control, and in this endeavor [Tomas] has created a beauty. His control panel project mimics the robust industrial panels of yesteryear with an array of metal buttons and toggle switches in a sturdy metal case sourced from an old KVM switch.
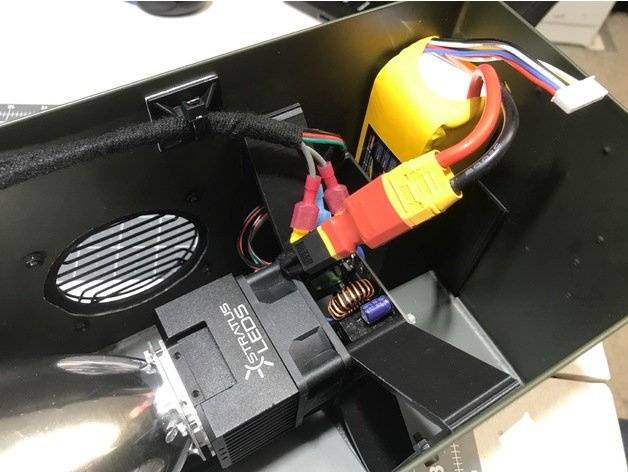
Behind the scenes are a pair of I/O extenders and a NodeMCU board, whose ESP8266 does the talking to the host computer on which a daemon awaits its call. Individual addressable LEDs next to each switch convey the state of operation, and the switches trigger useful operations such as connecting to a VPN. All the code is available in a handy GitHub repository, and you can see it in action in the video we’ve placed below the break.
We rather like the idea of a desktop control panel here at Hackaday, indeed this isn’t the first one we’ve brought you.
Continue reading “An Old-School Control Panel For Your Computer”