As a general rule, liquids and electronics don’t mix. One liquid bucks that trend, though, and can contribute greatly to the longevity of certain circuits: oil. Dielectric oil cools and insulates everything from the big mains transformers on the pole to switchgear in the substation. But what about oil for smaller circuits?
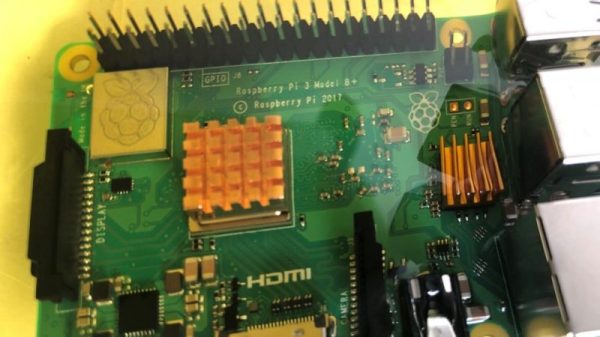
[Lord_of_Bone] was curious to see if an oil-cooled Raspberry Pi is possible, and the short answer is: for the most part, yes. The experimental setup seen in the video below is somewhat crude — just a Pi running Quake 3 for an hour to really run up the CPU temperature, which is monitored remotely. With or without heatsinks mounted, in free air the Pi ranges from about 50°C at idle to almost 70°C under load, which is pretty darn hot. Dunking the Pi in a bath of plain vegetable oil, which he admits was a poor choice, changes those numbers dramatically: 37°C at idle and an only warmish 48°C after an hour of gaming. He also tested the Pi post-cleaning, which is where he hit a minor hiccup. The clean machine started fine but suffered from a series of reboots shortly thereafter. Twelve hours later the Pi was fine, though, so he figures a few stray drops of water that hadn’t yet evaporated were to blame.
Is oil immersion a practical way to cool a Pi? Probably not. It doesn’t mean people haven’t tried it before, of course, but we applaud the effort and the careful experimentation.
Continue reading “Oil-Immersed Raspberry Pi Keeps Its Cool Under Heavy Loads”