Two-Key Keyboard Build Log Starts Small, But Thinks Big

Interested in making a custom keyboard, but unsure where to start? Good news, because [Jared]’s build log for an adorable “2% Milk” two-key mini-keyboard covers everything you need to know about making a custom keyboard, including how to add optional RGB lighting. The only difference is that it gets done in a smaller and cheaper package than jumping directly in with a full-size DIY keyboard.

[Jared] is definitely no stranger to custom keyboard work, but when he saw parts for a two-key “2% Milk” keyboard for sale online, he simply couldn’t resist. Luckily for us, he took plenty of photos and his build log makes an excellent tutorial for anyone who wants to get into custom keyboards by starting small.

The hardware elements are clear by looking at photos, but what about the software? For that, [Jared] uses a Teensy  Pro Micro clone running QMK, an open source project for driving and configuring custom input devices. QMK drives tiny devices like the 2% Milk just as easily as it does larger ones, so following [Jared]’s build log therefore conveys exactly the same familiarity that would be needed to work on a bigger keyboard, which is part of what makes it such a great project to document.

Interested in going a little deeper down the custom keyboard rabbit hole? You can go entirely DIY, but there’s also no need to roll everything from scratch. It’s possible to buy most of the parts and treat the project like a kit, and Hackaday’s own [Kristina Panos] is here to tell you all about what that was like.

PinePhone Gets 3D Printed Mechanical Keyboard

Do you remember when smartphones had real physical keyboards? Working the command line on some remote machine over SSH was a breeze, and you could even knock out a few lines of code if you were so inclined. But these days you’ve either got to lug around an external keyboard, or suffer through pecking out a few words per minute on a piece of glass. Doesn’t sound much like progress to us.

By the looks of it, [James Williams] doesn’t think so either. He’s designed a physical keyboard add-on that snaps onto the back of the PinePhone to deliver a proper, albeit condensed, typing experience. This is no repurposed BlackBerry board either; he’s created a custom mechanical keyboard that manages to fold into an incredibly small size thanks to resin printed keycaps and Kailh low profile switches. Other than the hand-drawn legends, it’s probably not a stretch to say this is a better keyboard than what many people have on their actual computers.

In addition to the 3D printed frame and Kailh switches, there’s also an Arduino Pro Micro onboard to communicate with the phone. Rather than use USB, the keyboard is wired to the I2C accessory port on the rear of the PinePhone. It sounds like [James] needs a little more time to polish his QMK build before its ready to release, so you might want to wait a bit before you start printing off your own copy of the parts.

Those following along with the development of the PinePhone know there’s supposedly an official keyboard accessory in the works, but who wants to wait when we’re so close to mobile Linux nirvana? Besides, we doubt it will be nearly as pleasant to type on as the board [James] has put together.

Micro Macro Keyboard Is ‘Mega-Based

There’s a certain kind of joy that comes in throwing something together from spare parts, or from finding utility in a proof of concept for another project. [Clewsy] is cooking up something clacky and built this baby keeb to prove some stuff out, such as reading a key matrix. Now it’s become a music/media controller that looks great next to a giant matching volume knob.

Beneath the gently backlit Gateron blues is a custom ATMega32u4-based board, which is viewable through the clear acrylic bottom plate. That’s a nice touch. We’re not sure if the wood came from a picture frame, but if not, they seem like a great candidates for enclosure material.

This keeb looks fantastic, and we are partial to both the clear and the chrome keycaps. We can only hope [Clewsy] sends the details of the next build our way.

If you want to get started building keyboards, you can’t go wrong with a macro keyboard like this one. If you have way more than four macros in mind, build something bigger, like a custom game pad with a joystick.

Arduino Gets Old PC Booted And Back Into Action

How many people still have a PS/2 keyboard kicking around in 2020? Admittedly asking such a question of the Hackaday audience is probably cheating (there’s a decent chance one of you will type a comment on one just to prove a point), but even the most pedantic reader has to admit that it’s a long dead standard. So we’re hardly surprised to hear that [Turbaned Engineer] didn’t have one handy when he tried to boot a motherboard so old that he couldn’t access the BIOS with a USB keyboard.

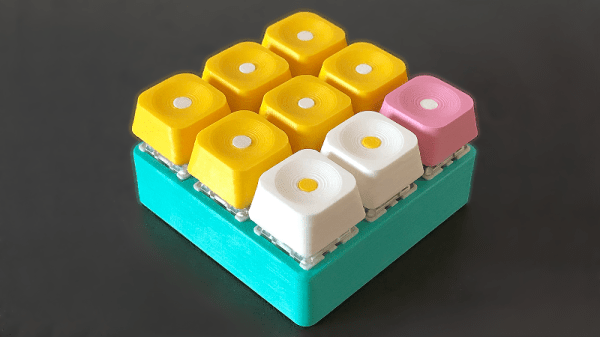
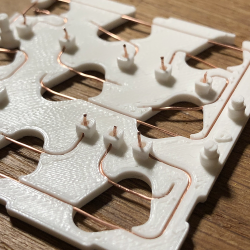
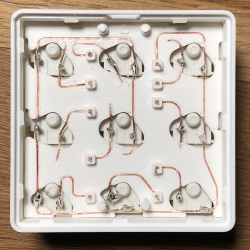
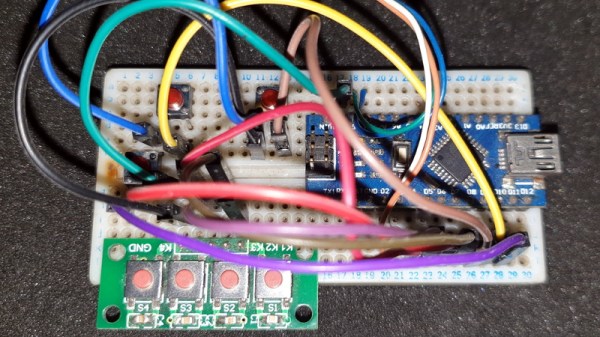
But rather than waiting for an adapter to show up in the mail, he decided to rig up an Arduino Nano to mimic a PS/2 keyboard just long enough for him to navigate the system configuration. Since that basically meant he only needed the arrow keys and Enter, he was able to rig up a handful of momentary buttons to serve as input. We wouldn’t recommend typing out your memoirs with such a spartan board, but it’s certainly good enough to juggle around the order of boot devices.

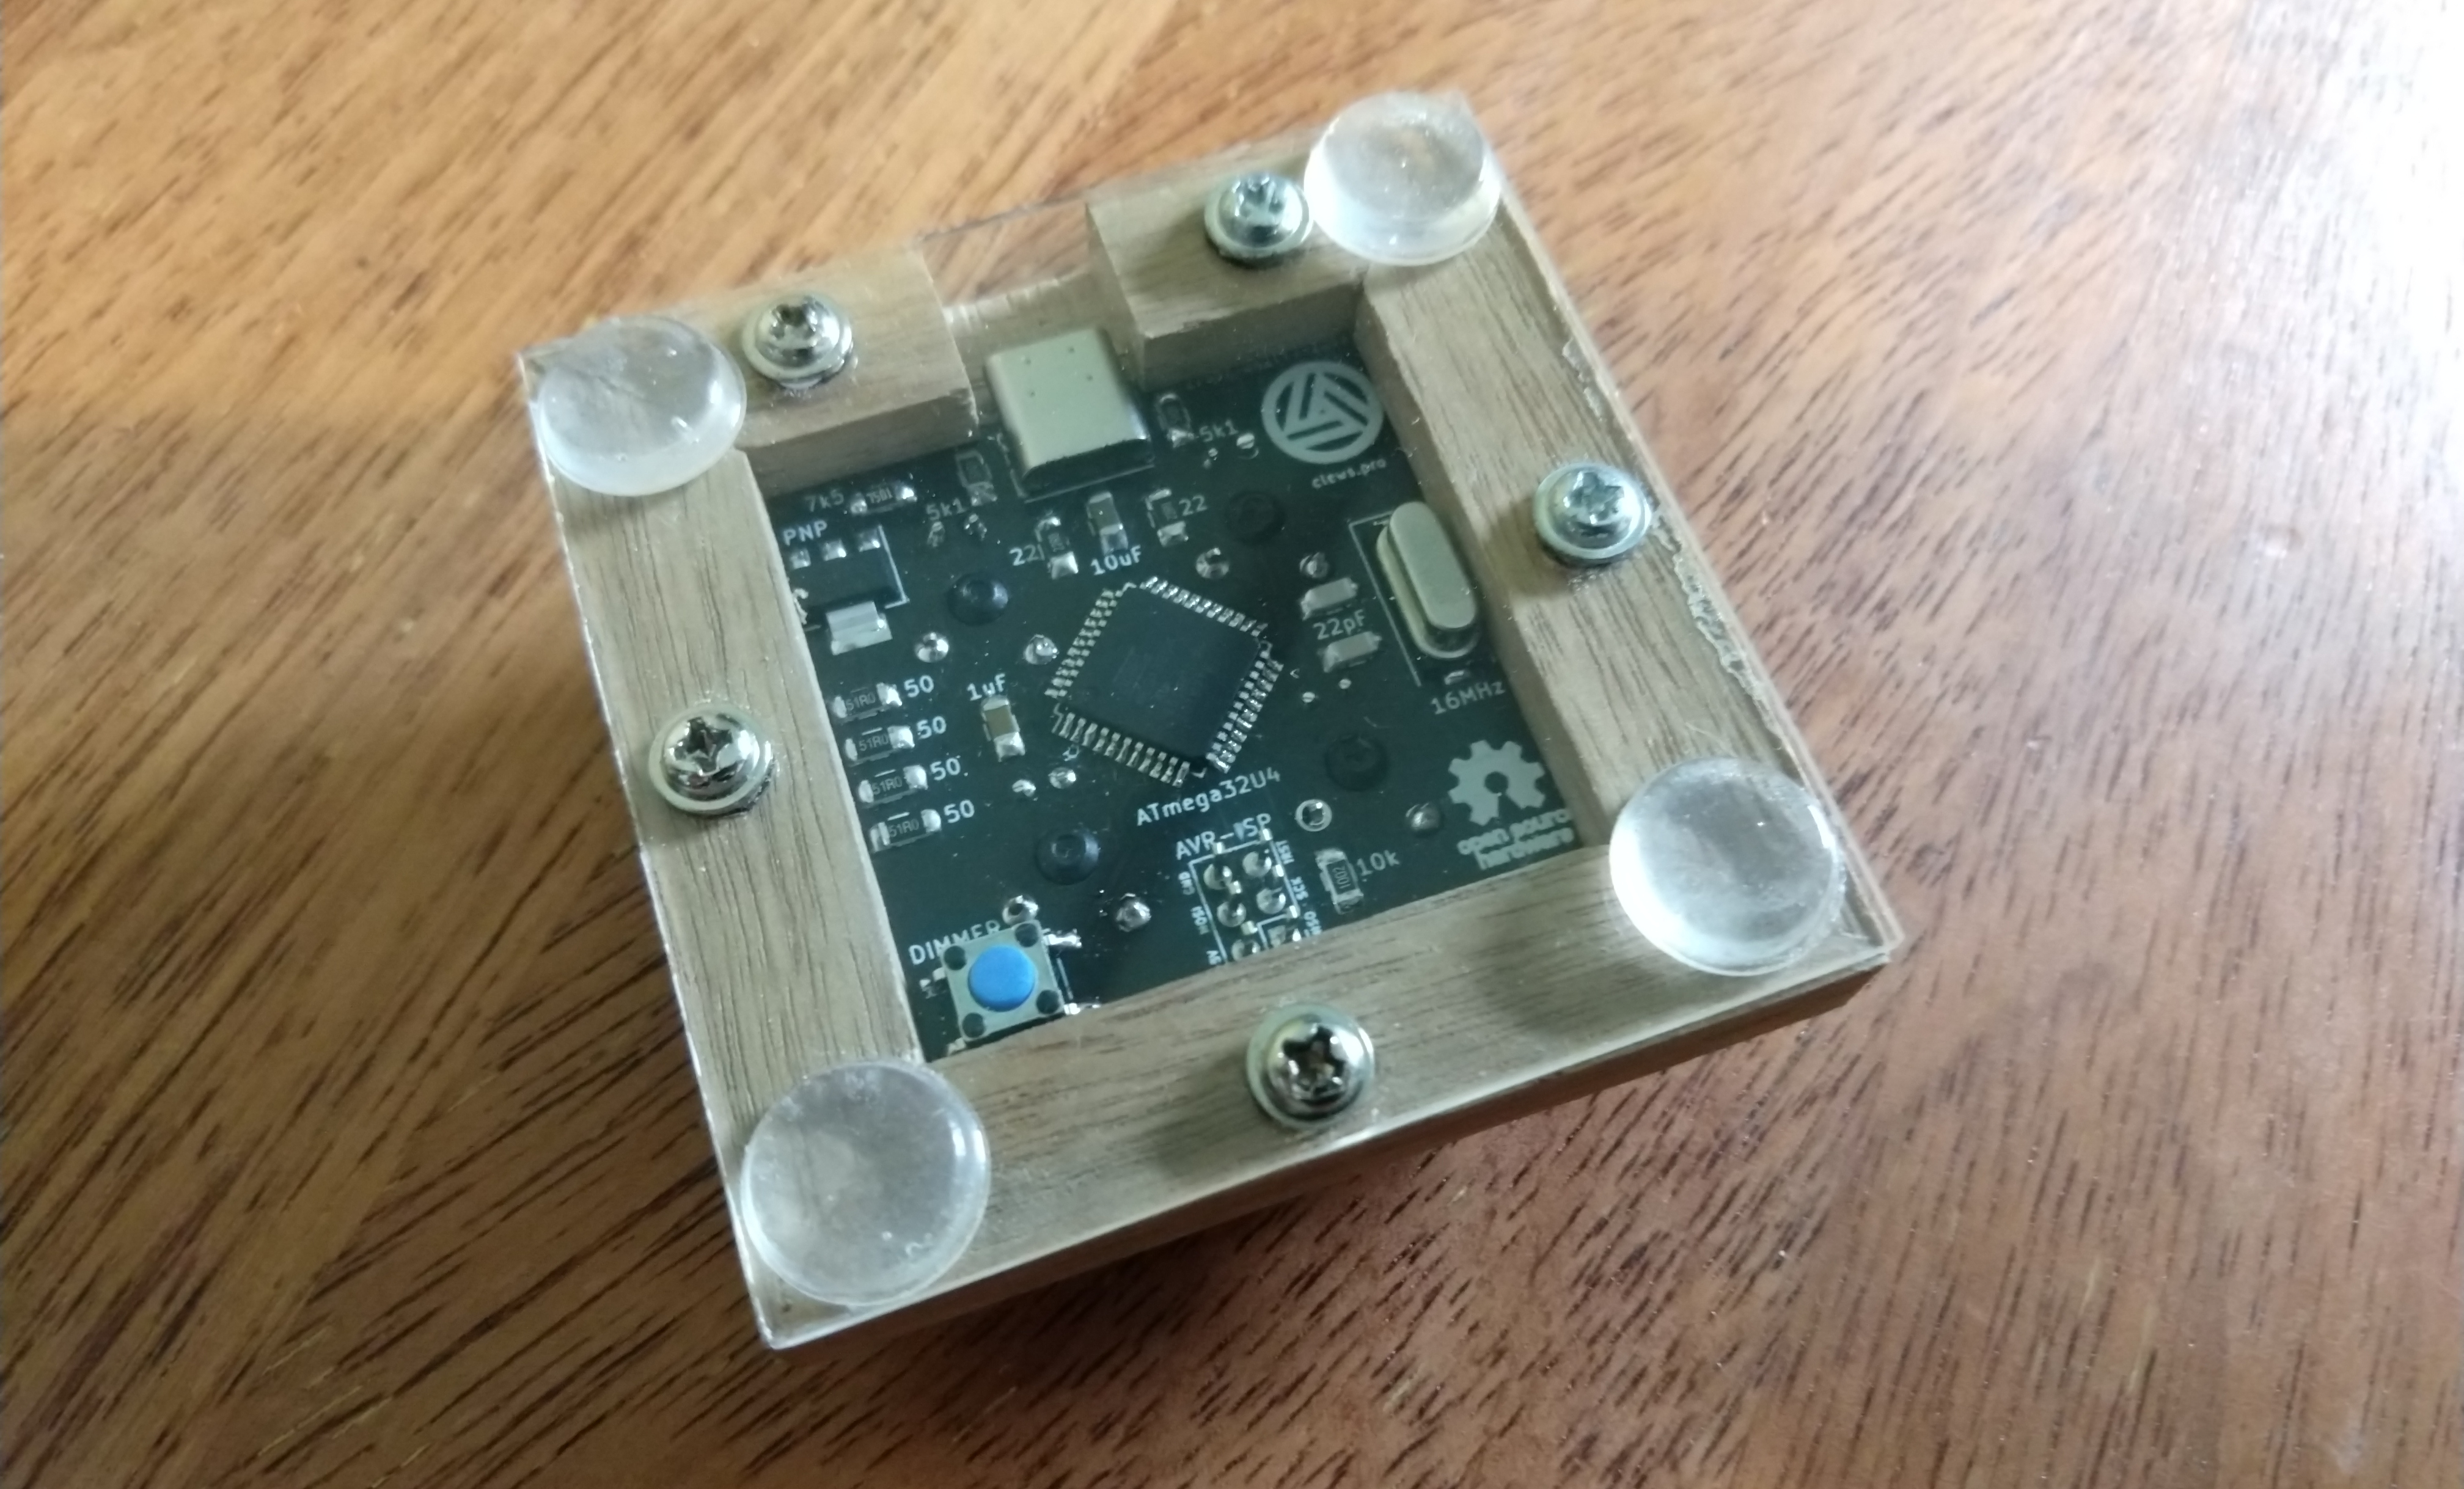
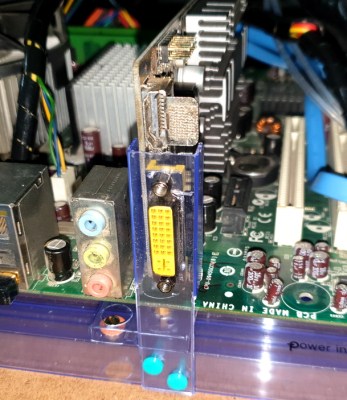
The fun didn’t stop there, though. [Turbaned Engineer] also had to clean some corrosion and fix a blown resistor on a bank of RAM to drag this old soldier over the finish line. He didn’t have a case handy, so he made a free-form one using the polycarbonate packaging that ICs ship in. The final machine isn’t exactly a sleeper, but it’s good enough to play Super Mario Bros. 3 on the TV.

At the end of the day, the minimal input device [Turbaned Engineer] put together isn’t so far removed from other homebrew keyboards we’ve seen recently. It seems that QMK even has some basic support for the PS/2 interface. Not that it would come up very often, but a “retro” mode might be an interesting addition to your next custom keyboard build.

Custom Keyboard Goes Split, Gets Thin, Acquires Stained Wood

The hardware and software required to make DIY keyboards happen has gotten more and more accessible, and that means it’s easier than ever to make one’s ideal input device a reality from the ground up. For [Cameron Sun], his Ellipsis Split mechanical keyboard buildlog details his second effort, refining his original design from lessons learned the first time around. The new keyboard is slim, split into two, and has integrated wrist supports made from stained wood. The painting and wood treatment took a lot of work and patience, but it certainly paid off because the result looks amazing!

Small integrated OLED screen shows the current mode.

When we saw [Cameron]’s first custom keyboard, we admired the unique aluminum case and some nice touches like the physical toggle switches. Those tactile switches allow changing the keyboard to different modes, while also serving as a visual indicator. [Cameron] liked those switches too, but alas they just didn’t fit into the slim new design. However, he’s very happy with swapping modes in software and using a small OLED display as an indicator. What kind of different modes does his keyboard have? There’s Windows mode and Mac mode (which changes some hotkeys) as well as modes that change which keys in the thumb clusters do what (moving the space key to the left for easier gaming, for example.) After all, it’s not just the physical layout that can be customized with a DIY keyboard.

Interested in making your own custom keyboard? Be sure to look into this breakaway keyboard PCB concept before you start, because it just might make your custom build a lot easier.

Hand-Stitched Keycaps For Truly Luxurious Typing

We’ve seen some very unique custom keycaps recently, but nothing quite like the embroidered ones that [Billie Ruben] has been experimenting with. Using a clever 3D printed design, she’s crafted what could well be one of the most easily customizable keycaps ever made…assuming you’ve got a needle and thread handy.

The idea is to take a standard keycap blank and pop an array of 25 holes in the face. Your thread or yarn is run through these holes, allowing you to create whatever shape you wish within the 5 x 5 matrix. While it’s somewhat tight quarters on the underside of the cap, nothing prevents you from using multiple colors or even materials to do your stitching. As an added bonus, the soft threads should provide a very comfortable and particularly tactile surface to tap on.

Now the most obvious application is to simply stitch up versions of all the alphanumeric keys, but there’s clearly room for some interpretation here. [Billie] has already shown off some simple iconography like a red heart and we’re sure creative folks will have no trouble coming up with all sorts of interesting needlepoint creations to top their prized mechanical keyboards.

The intricate details necessary to make this idea work may be beyond the common desktop FDM 3D printer, so [Billie] ran these prototypes off on a resin printer (she attributes the visible layer lines to a hasty print). She’d love to hear feedback from other keyboard aficionados who’ve made the leap to liquid goo printing, so be sure to drop her a line if you print out a set of your own. It sounds like a new version is in the works which will provide a false bottom to cover the stitching from below, but functionally these should get you started.

Vintage Keyboard Gets The QMK Treatment

While nobody could deny that computing technology has some a long way in the last few decades, there are many out there who believe peak keyboard was sometime before the turn of the new millennium. They prefer the look, feel, and especially the sounds, of those classic keyboards to what passes for an input device these days. So much so that it’s not uncommon to see one of these old mammoths get freshened up and pushed into service with a modern computer.

Which is exactly what [Juan Pablo Kutianski] has done with his Compaq MX-11800. This keyboard, which is actually a branded version of the Cherry G80-11800, really stands out in a crowd. With an integrated trackball and a two-row arrangement for the function keys, it’s not hard to see why he’d want to show it off. But while the hardware itself was solid, the features and capabilities of this old school keyboard left something to be desired.

The solution was to replace the keyboard’s original electronics with a Teensy++2.0 running the popular QMK firmware. This not only made the keyboard USB, but allowed [Juan] to tweak things such as the trackball sensitivity and add in support for layers and macros. All of which can be managed through VIA, a graphical configuration tool for QMK.

As we’ve seen in so many projects, the combination of QMK running on the Teensy is a powerful tool for getting the most out of your keyboard. Whether breathing new life into a vintage piece of hardware or creating something truly custom like our very own [Kristina Panos] recently did, it’s definitely something to keep in mind if you’re considering any keyboard hacking.