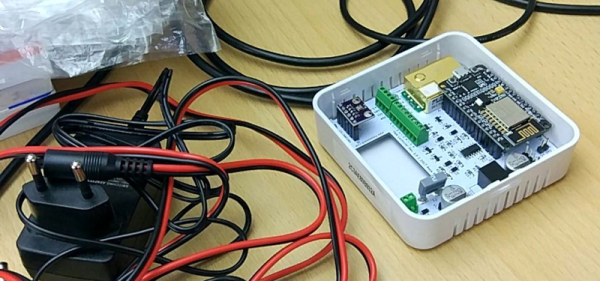
Setting up an environment for Embedded Development was traditionally a pain and so vendors provide integrated development environments to help bridge the gap. Google has open-sourced their version of an embedded targeted environment designated as embedded-targeted libraries which they trademarked Pigweed.
 Google trademarked Pigweed with the U.S. Patent and Trademark Office in February and it popped up on the Google Open Source Blog along with some details.
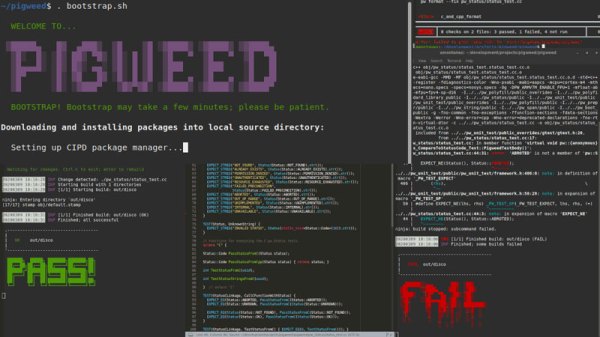
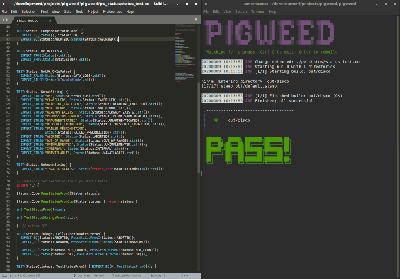
The repository contains what Google is calling modules but taking a better look reveals that it a little more than that. Packaged in a Python Virtual Environment is a number of tools including an ARM compiler, the clang-format tool and Python 3.8 interpreter which runs more than a few things. The modules that come with Pigweed assist developers by running micro-automations such as the pw_watch module that monitors files for change and triggers a build, test and even flash and debug on hardware. There is also a module that allows pre-submit checks such as linting and formatting.
Google still does not consider this offering production ready though from what we have seen so far, it is a great place for many to start experimenting with for their embedded development automation needs. Anyone tried it out yet?
If you have been inspired with the amazing powers of automation and want to dive in yourself, have a look at Software Development in BASH and Continuous Integration with Python.