For a device advertised as the “Multi-tool Device for Hackers”, the Flipper Zero already offers a considerable list of onboard capabilities. But some hard decisions had to be made to get the retail price down, so features like WiFi and Bluetooth had to be left off. Luckily, there’s an expansion interface along the top of the device which makes it possible to plug in additional hardware.
One of those expansions is the “Mayhem Hat” from [Erwin Ried]. This board adds many requested features to the Flipper Zero, as well as some that might not seem as obvious. The addition of an ESP32-CAM brings WiFi and Bluetooth to the party, while also unlocking access to the highly-capable ESP32Marauder firmware and the plethora of security research tools therein.
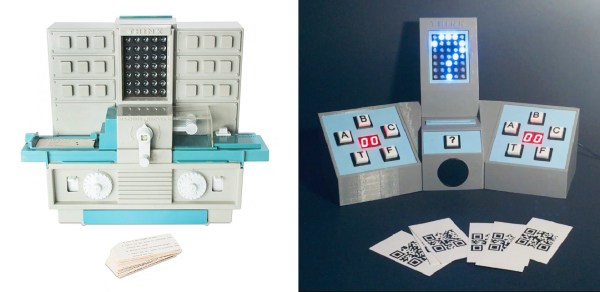
 But the camera also enables some interesting features, such as motion detection and the ability to read QR codes. It even lets you use the Flipper as an impromptu digital camera, complete with an onscreen viewfinder reminiscent of the Game Boy Camera.
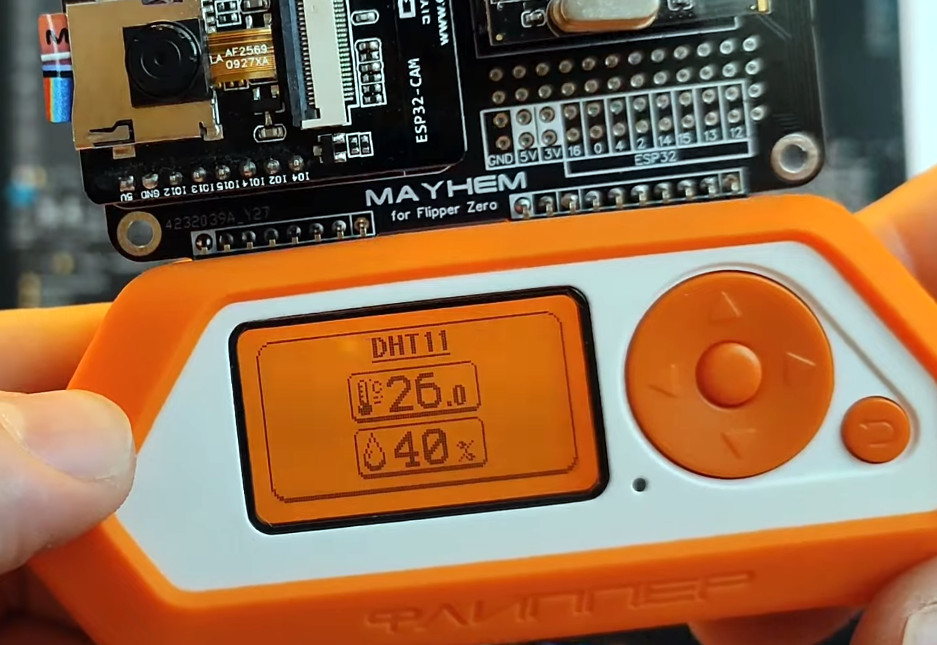
What’s more, the Mayhem Hat features its own expansion capabilities. There’s a spot to plug in either a CC1101 or NRF24l01 radio module, both of which are supported by community developed plugins that allow the user to sniff out and hijack signals. There are also extra pins for connecting your own sensors or hardware. In the demo video below you can see the device automatically detect the popular DHT11 environmental sensor and display the current temperature and humidity readings.
[Erwin] has the Mayhem Hat up for sale on Tindie, but as of this writing, is currently out of stock. Apparently, demand for the add-on boards is just as high as for the Flipper Zero itself — not a huge surprise, given the excitement we saw around this platform during its $4.8 million Kickstarter campaign.
Continue reading “Flipper Zero Mayhem Hat Adds Camera, More Radios”