Whether it was here on Hackaday or elsewhere on the Internet, you’ve surely heard more than a few cautionary tales about the “Internet of Things” by now. As it turns out, giving every gadget you own access to your personal information and Internet connection can lead to unintended consequences. Who knew, right? But if you need yet another example of why trusting your home appliances with your secrets is potentially a bad idea, [Limited Results] is here to make sure you spend the next few hours doubting your recent tech purchases.
In a series of posts on the [Limited Results] blog, low-cost “smart” bulbs are cracked open and investigated to see what kind of knowledge they’ve managed to collect about their owners. Not only was it discovered that bulbs manufactured by Xiaomi, LIFX, and Tuya stored the WiFi SSID and encryption key in plain-text, but that recovering said information from the bulbs was actually quite simple. So next time one of those cheapo smart bulb starts flickering, you might want to take a hammer to it before tossing it in the trash can; you never know where it, and the knowledge it has of your network, might end up.
 Regardless of the manufacturer of the bulb, the process to get one of these devices on your network is more or less the same. An application on your smartphone connects to the bulb and provides it with the network SSID and encryption key. The bulb then disconnects from the phone and reconnects to your home network with the new information. It’s a process that at this point we’re all probably familiar with, and there’s nothing inherently wrong with it.
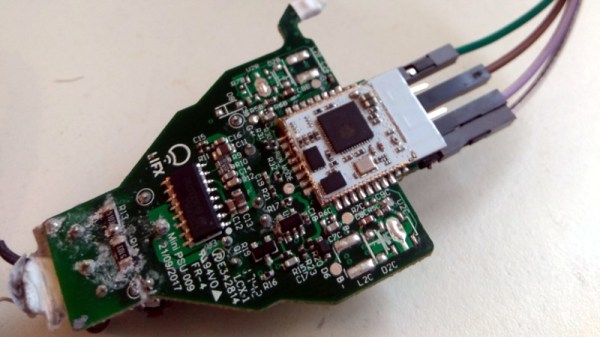
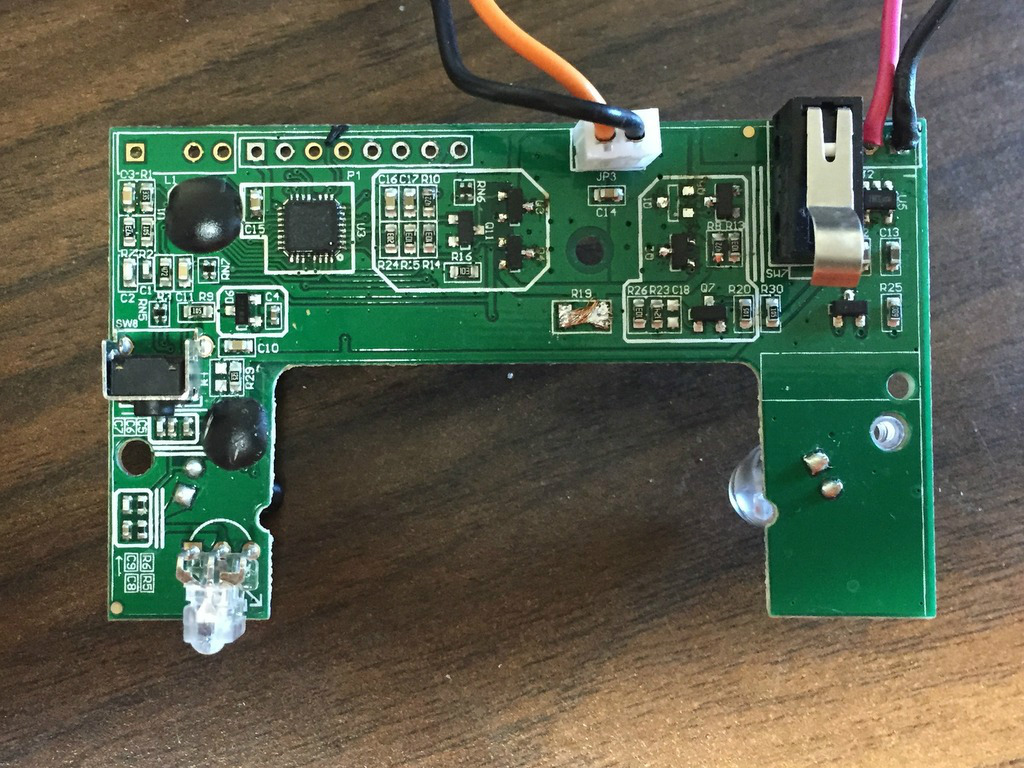
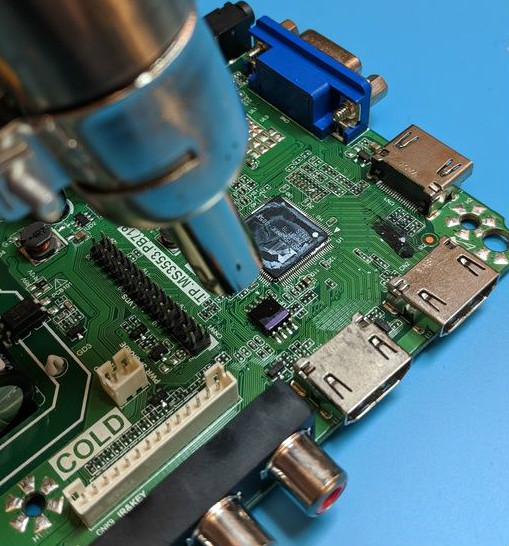
The trouble comes when the bulb needs to store the connection information it was provided. Rather than obfuscating it in some way, the SSID and encryption key are simply stored in plain-text on the bulb’s WiFi module. Recovering that information is just a process of finding the correct traces on the bulb’s PCB (often there are test points which make this very easy), and dumping the chip’s contents to the computer for analysis.
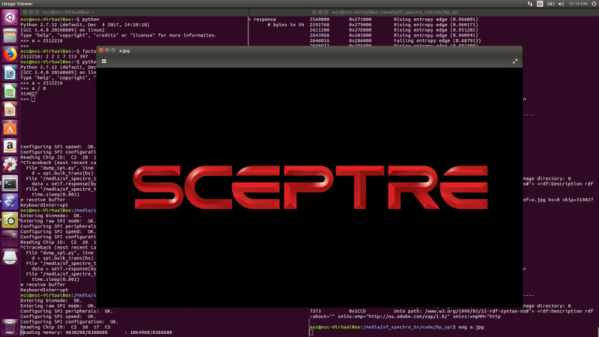
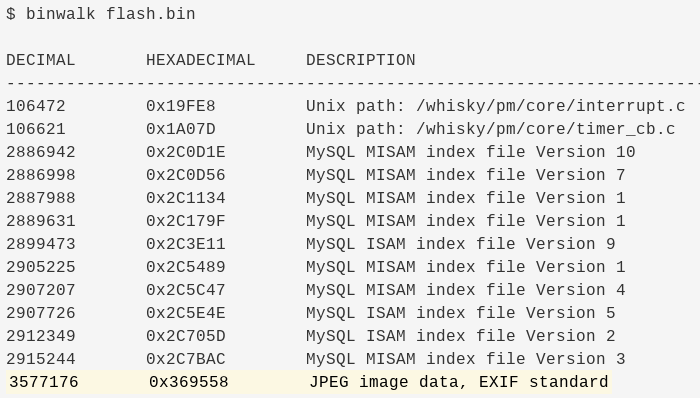
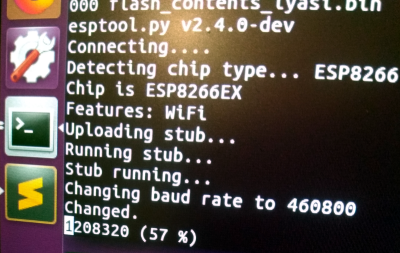
It’s not uncommon for smart bulbs like these to use the ESP8266 or ESP32, and [Limited Results] found that to be the case here. With the wealth of information and software available for these very popular WiFi modules, dumping the firmware binary was no problem. Once the binary was in hand, a little snooping around with a hex editor was all it took to identify the network login information. The firmware dumps also contained information such as the unique hardware IDs used by the “cloud” platforms the bulbs connect to, and in at least one case, the root certificate and RSA private key were found.
On the plus side, being able to buy cheap smart devices that are running easily hackable modules like the ESP makes it easier for us to create custom firmware for them. Hopefully the community can come up with slightly less suspect software, but really just keeping the things from connecting to anything outside the local network would be a step in the right direction.
(Some days later…)
[Limited Results] had hinted to us that he had previously disclosed some vulnerabilities to the bulb’s maker, but that until they fixed them, he didn’t want to make them public. They’re fixed now, and it appears that the bulbs were sending everything over the network unencrypted — your data, OTA firmware upgrades, everything. They’re using TLS now, so good job [Limited Results]! If you’re running an old version of their lightbulbs, you might have a look.
On WiFi credentials, we were told: “In the case where sensitive information in the flash memory wasn’t encrypted, the new version will include encrypted storage processing, and the customer will be able to select this version of the security chips, which can effectively avoid future security problems.” Argue about what that actually means in the comments.