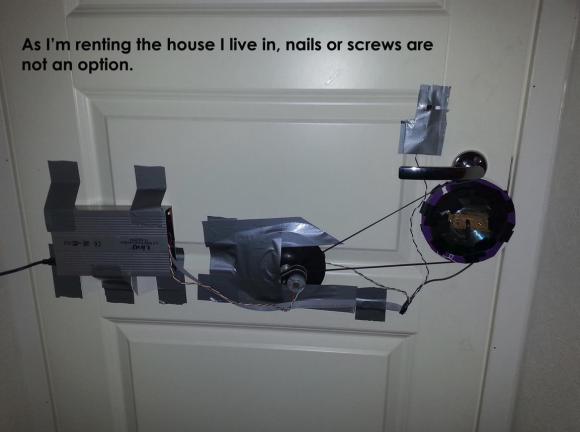
[Andrea] just sent us this great student hack he made for his room. He’s constructed an Arduino keypad door lock — without using any proper fastening hardware!
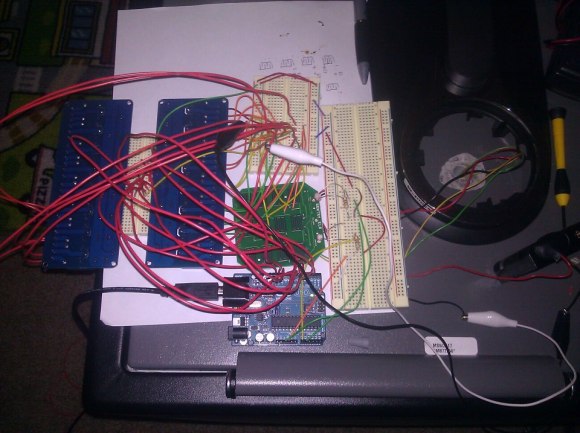
The entire build is made out of scrap parts he had lying around: some DVD’s, a bit of wood, an allen key, a motor and belt from a broken printer, an old hard drive enclosure, and a few power supplies. As you can see the entire setup is held up rather artistically using good old duct tape.
The system auto-locks after 5 seconds, and just in case, [Andrea] has hard-coded in a few safety codes into the firmware to allow him to forcefully open the door — you know, if it malfunctions or something. Not overly confident in his code, he also has it reset every 5 minutes of idling to safeguard against potential memory leaks — probably a good idea! All in all it’s a very cool build, and we have to give him props for not damaging the door to mount it! Down the road he’s also planning on adding a knock sensor using the small speaker that is already part of the circuit, because, why not?
Stick around after the break to see this magnificent contraption that would make Red Green proud.