You’ve seen a landline phone converted into a Bluetooth headset. There’s nothing new there. It’s great for confusing kids when asking them to dial a rotary phone, but that’s about it. It’s the same phone, built by Ma Bell for fifty years, converted with a little Bluetooth breakout board.
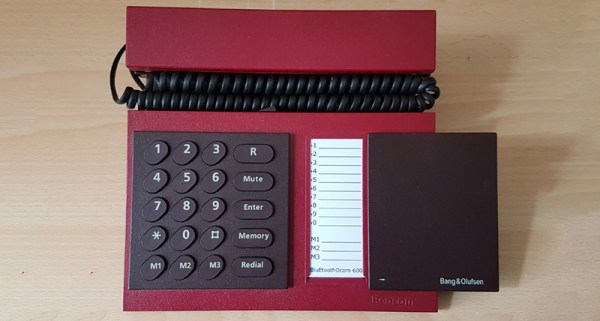
You’ve never seen a landline conversion like this. This is [Alessandro]’s Bluetooth-converted Beocom 600, complete with a drop-in replacement circuit board that turns this beautiful Bang & Olufsen design into a useful device for the smartphone era.
This phone was designed as Bang & Olufsen’s entry into phone design, and we’re shocked, simply shocked, that Apple hasn’t tried to lift this design yet. Unfortunately, it’s designed for landlines, making it horrifically inconvenient to take to Starbucks. That’s where the Bluetooth comes in, and [Alessandro]’s custom board that is meant to replace the guts of this vintage phone. Honestly, with Bluetooth modules it’s probably easier to deal with that instead of a telephone line.
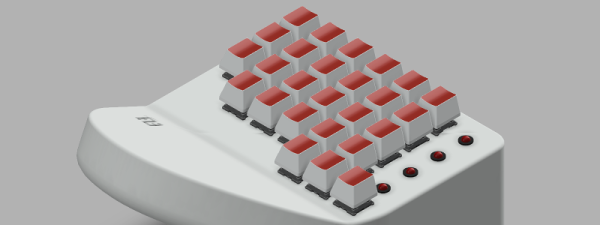
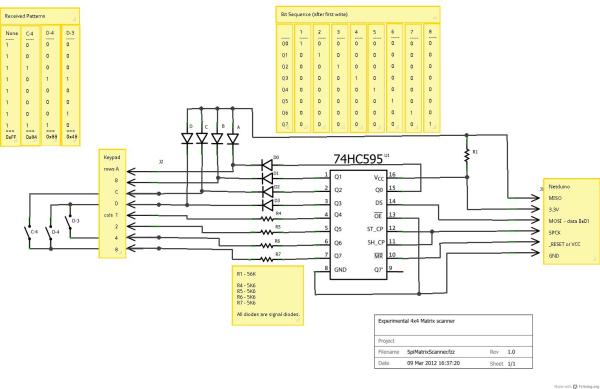
Right now, the work is concentrated on the user interface, which means taking apart and mapping the pinout of the buttons. This keypad is plastic over rubber domes contacting a polyester sheet with contacts, feeding out to a ribbon cable. It’s fantastic work and finally some of the best design out there will be brought into the modern era.