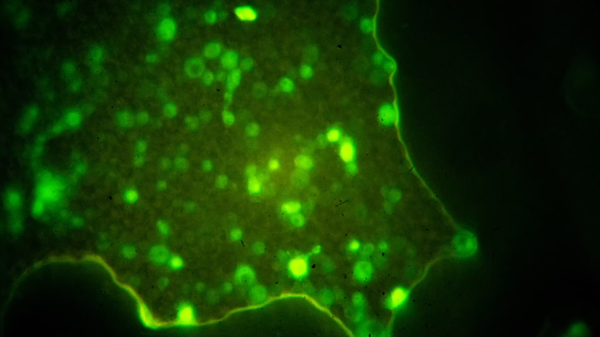
Some of biology’s most visually striking images come from fluorescence microscopes. Their brilliant colors on black look like a neon sign from an empty highway. A brand new fluorescence microscope is beyond a hacker’s budget and even beyond some labs’, but there are ways to upgrade an entry-level scope for the cost of a few cups of coffee. [Justin Atkin] of The Thought Emporium published a scope hacking video which can also be seen below. He is becoming a reputed scope modder.
This video assumes a couple of things for the $10 price tag. The first premise is that you already have a scope, a camera adapter, and a camera capable of shooting long exposures. The second premise is that you are willing to break the seals and open the scope to make some reversible mods. Since you are reading Hackaday, maybe that is a given.
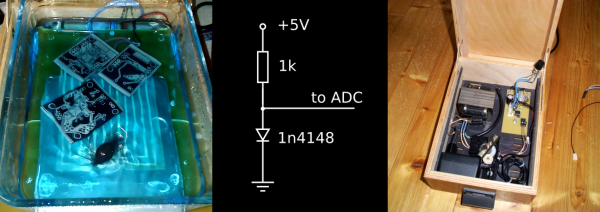
The premise is simple compared to the build, which is not rocket surgery, the light source from below illuminates the subject like a raver, and the filter removes any light that isn’t spectacular before it gets to the camera.
Continue reading “Fluorescence Microscope On A Hacker’s Budget”