PC Watercooling Uses Everything But CNC Machining

Names and labels are difficult. Take this “3D Printed” water-cooling loop by [Visual Thinker] on YouTube. It undeniably uses 3D printing — but it also uses silicone casting and laser-cut acrylic, too. All of these are essential parts, yet only 3D printing gets top billing in his thumbnail. At least the version we saw, anyway; the A/B testing game YouTubers play means that may change.

Perhaps that’s simply due to the contrast with [Visual Thinker]’s last build, where the “distro plate” that acts to plumb most of the coolant was made of layers of CNC-routed acrylic, held water-tight with O-rings. Not wanting to wait for his next build to be fabricated, and not wanting to take up CNC machining himself, [Visual Thinker] fell back on tools many of us have and know: the 3D printer and laser cutter.

In this project, the end plates of the cooling loop are still clear acrylic, but he’s using a laser cutter to shape them. That means he cannot route out gaps for o-rings like in the last project, so that part gets 3D printed. Sort of. Not trusting the seal a 3D printed gasket would be able to give him, [Visual Thinker] opts to use his 3D printer to create a mold to cast a seal in silicone. Or perhaps “injection-mold” would be a better word than cast; he’s using a large syringe to force the degassed silicone into the mold. The end part is three pieces: a 3D printed spacer holding two acrylic plates, with the cast-silicone gasket keeping the whole thing water-tight to at least 50 psi, 10x the operating pressure of his PC.

After that success, he tries replacing the printed spacer with acrylic for a more transparent look. In that version only temporary shims that are used to form the mold are 3D printed at all, and the rest is acrylic. Even if you’re not building a water-cooled art PC, it’s still a great technique to keep in your back pocket for fluid channeling.

In some ways, this technique is the exact opposite of the copper-pipe steampunk builds we’ve featured previously. Those were all about pretty plumbing, while with a distro plate you hardly need pipes at all. Like any water-cooled project, it’ll need a radiator, which could be a hack in and of itself.

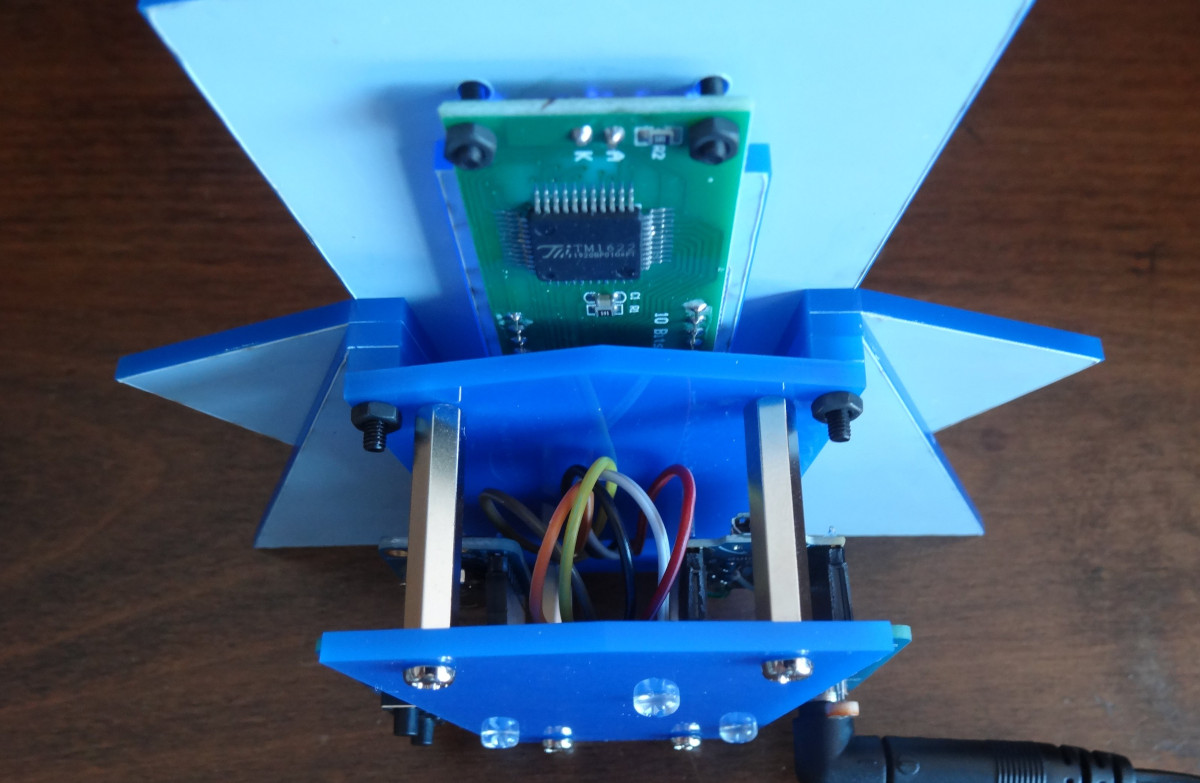
Continue reading “PC Watercooling Uses Everything But CNC Machining”

There’s Nothing Backwards About This Laser Cut Retrograde Clock

It’s clock time again on Hackaday, this time with a lovely laser-cut biretrograde clock by [PaulH175] over on Instructables. If you’ve never heard of a ‘biretrograde clock,’ well, we hadn’t either. This is clearly a form of retrograde clock, which unlike the name implies doesn’t spin backwards but oscillates in its motion– the hands ‘go retrograde’ the same way the planets do.

The oscillating movement is achieved via a pair of cams mounted on the hour and minute shafts of a common clock mechanism. As the shafts (and thus cams) turn, the minute and hour arms are raised and drop. While that could itself be enough to tell the time, [Paul] goes one further and has the actual hands on pivots driven by a gear mechanism on the cam-controlled arms. You might think that that extra reversal is what makes this a ‘biretrograde clock’ but in the clockmaker’s world that’s just saying it’s a retrograde clock with two indicators: in this case, minute and hour.

It’s a fairly rare way to make a clock, but we’ve seen one before. That older project was 3D printed, which might be more your speed; if you prefer laser-cutting, though, [Paul]’s Instructable includes SVG files. Alternatively, you could take a different approach and use voltmeters to get the same effect.

DIY Telescope Uses Maker Tools

You’ve got a laser cutter. You’ve got a 3D printer. What do you make? [Ayushmaan45] suggests a telescope. The modest instrument isn’t going to do serious astronomy with only 8X worth of optics, but it would make a fine spyglass for a youngster.

The body is cut from MDF, and there are only a few 3D printed parts. The only other things you need are rubber bands and a pair of lenses. You don’t even need glue. We might have spray painted the inside of the scope black or used some black contact paper to cut down on reflections, although it probably wouldn’t make much difference.

Of course, depending on your lenses, you may have to make some changes. Or find new lenses, for that matter. We like that it doesn’t take any exotic parts. We also appreciate that it is easy for kids to take apart and put back together. It would be interesting to see how a motivated kid might alter the design, as well.

If a kid gets interested, you could move on to a more sophisticated telescope. Or maybe you’d prefer a nice microscope.

The Decisioninator Decides Dinner, Saves Marriage

For something non-explosive, this might be the most American project we’ve featured in a while. [Makerinator]’s domestic bliss was apparently threatened by the question “what shall we have for dinner”– that’s probably pretty universal. Deciding that the solution was automation is probably universal to software devs and associated personalities the world over. That the project, aptly called “The Decisioninator” apes a popular game-show mechanic to randomly select a fast-food restaurant? Only people with 100-octanes of freedom running through their veins can truly appreciate its genius.

In form factor, it’s a tiny slot machine which [Makerinator] fabbed up on his laser cutter. The lovely “paintjob” was actually a print out with dye-sublimation ink that was transferred to plywood before laser cutting.  Mounted to this are illuminated arcade buttons and a small ISP display. The interface is simplicity itself: the big button spins a virtual “wheel” on the display (with sound effects inspired by The Price is Right) to tell the family what deliciously unhealthy slop they’ll be consuming, while the other button changes decision modes. Of course you can pick more than just dinner with The Decisioninator. You need only decide what spinners to program. Which, uh, that might be a problem.

Luckily [Makerinator] was able to come up with a few modes without recursively creating a The Decisioninator-inator. He’s got the whole thing running on a Pi4, which, with its 1980s supercomputer performance, is hilariously overpowered for the role it plays (in true American fashion). He’s coded the whole thing in the Flame Engine, which is a game engine built on the Flutter UI toolkit by American technology giant Google.

What’s more American than tech giants and fast food? A propane powered plasma cannon, for one thing; or maybe mental gymnastics to translate into freedom units, for another.

Thanks to [Makerinator] for the tip.

Laser Cut Acrylic Provides Movie-Style Authentication

Here at Hackaday, we pride ourselves on bringing you the latest and greatest projects for your viewing pleasure. But sometimes we come across a creation so interesting that we find ourselves compelled to write about it, even if it’s already been hanging around the Internet for years. This may or may not be due to the fact that we just re-watched Crimson Tide, and found ourselves on a self-imposed dive into a very particular rabbit hole…

If you’ve seen Crimson Tide, or the first few minutes of WarGames, you might already know what this post is about. Both films prominently make use of a one-time authentication device which the user snaps in half to reveal a card that has some secret code printed on it — and as it turns out, there are at least two different projects that aim to replicate the props used in the movies.

Continue reading “Laser Cut Acrylic Provides Movie-Style Authentication”

2024 Brought Even More Customization To Boxes.py

If you have access to a laser cutter, we sincerely hope you’re aware of boxes.py. As the name implies, it started life as a Python tool for generating parametric boxes that could be assembled from laser-cut material, but has since become an invaluable online resource for all sorts of laser projects. Plus, you can still use it for making boxes.

But even if you’ve been using boxes.py for awhile, you might not know it was actually an entry in the Hackaday Prize back in 2017. Creator [Florian Festi] has kept up with the project’s Hackaday.io page all this time, using it as a sort of development blog, and his recent retrospective on 2024 is a fascinating read for anyone with an eye towards hot photonic action.

Continue reading “2024 Brought Even More Customization To Boxes.py”

FallingWater Clock Puts New Spin On A Common LCD

Sometimes, all it takes is looking at an existing piece of tech in a new way to come up with something unique. That’s the whole idea behind FallingWater, a gorgeous Art Deco inspired clock created by [Mark Wilson] — while the vertical LCD might look like some wild custom component, it’s simply a common DM8BA10 display module that’s been rotated 90 degrees.

As demonstrated in the video below, by turning the LCD on its side, [Mark] is able to produce some visually striking animations. At the same time the display is still perfectly capable of showing letters and numbers, albeit in a single column and with noticeably wider characters.

In another application it might look odd, but when combined with the “sunburst” style enclosure, it really comes together. Speaking of the enclosure, [Mark] used OpenSCAD to visualize the five layer stack-up, which was then recreated in Inkscape so it could ultimately be laser-cut from acrylic.

Rounding out the build is a “Leonardo Tiny” ATmega32U4 board, a DS3221 real-time clock (RTC), a couple of pushbuttons, and a light dependent resistor (LDR) used to dim the display when the ambient light level is low. All of the electronics are housed on a small custom PCB, making for a nicely compact package.

This build is as simple as it is stylish, and we wouldn’t be surprised if it inspired more than a few clones. At the time of writing, [Mark] hadn’t published the source code for the ATmega, but he has provided the code to generate the cut files for the enclosure, as well as the Gerber files for the PCB. If you come up with your own version of this retro-futuristic timepiece, let us know.

Continue reading “FallingWater Clock Puts New Spin On A Common LCD”