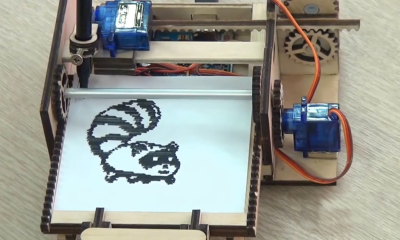
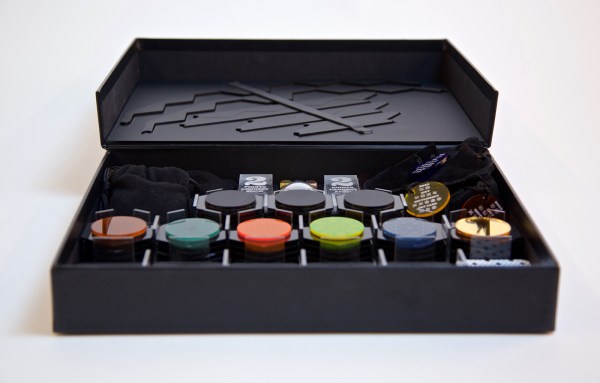
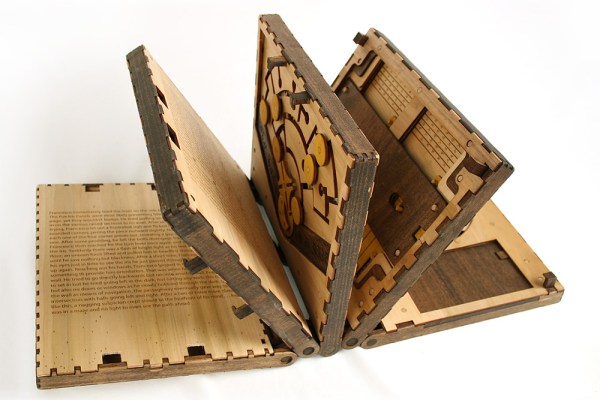
[Kate Reed] found a quote by a homeless person that said “No one sees us”, which led her to exploring what it actually means to be invisible — and if we actually choose to be invisible by hiding away our emotions, sexual preference, race or income. She realized that too often, we choose to only see what we want to see, rendering all the rest invisible by looking away. Her public art campaign and Hackaday Prize entry “Invisible” aims to increase social awareness and strengthening the community by making hidden thoughts, feelings and needs visible.
laser cut78 Articles
Low Cost Optics Bench Project – Now With Lasercut Optics
[PWalsh] has a clever idea for learning and experimenting with basic optics: instead of using actual lenses, he’s using clear pieces of laser-cut acrylic cut into lens profiles instead. They are much easier to make, mount, adjust, and handle while still bending light in the same basic ways. It allows for simple hands-on experimentation with plenty of visual feedback – perfect for beginners.
This idea is part of [PWalsh]’s low-cost optics bench project, which uses laser-cut plastic to create adjustable optics bench components. We’ve covered this project before, but [PWalsh] expanded the idea with the concept of these simple laser-cut optics for basic experimentation; an addition that requires no additional tools and only a small amount of material. Features and value added for nearly zero cost is something we always love to see!
Continue reading “Low Cost Optics Bench Project – Now With Lasercut Optics”
Simple Robot Arm With Steppers Has Pleasingly Smooth Motion
The usual go-to when building a simple robot arm is the ever-pervasive hobby servo. However, these devices are not precise, and are typically jerky and unreliable. They have their advantages, but if strength is not needed a stepper motor would provide much better motion in the same price range.
Those are the lines along which [Bajdi] was thinking when he forked the Mearm project, and adapted it for small stepper motors. First he tried printing out the servo version on thingiverse. It worked, but the parts were not ideal for 3D printing, and he didn’t like the movement.
So he purchased some 28BYJ-48 motors. These are tiny little geared steppers that tend to show up in the odd project. He modified and simplified the files in FreeCAD. With the addition of a CNC shield and an Arduino he had every thing he needed for the upgrade. A servo is now only used for the gripper.
The robot is almost certainly weaker in its payload ability, but as you can see in the before and after videos after the break, it is dramatically smoother and more accurate.
Continue reading “Simple Robot Arm With Steppers Has Pleasingly Smooth Motion”
Slim And Classy Word Clock Shows The Weather Too
Word clocks are a neat twist on traditional timepiece user interfaces. Spelling out the time with words and phrases rather than numerals fancies up a clock nicely. And if you add the current weather and forecast to the display, you get this attractive and handy word-based time and weather display.
For this clock, one of the many custom builds on [GMG]’s site that betray a certain passion for unusual timepieces, an 8×32 array of Neopixels lives behind a laser-cut sheet of steam-bent birch plywood. Each pixel is masked by either an alphanumeric character or an icon representing weather conditions. An ESP8266 fetches time and weather data and drives the display serially, controlling the color of each cell and building up the display. The video below shows the clock doing its thing.
Sure, we’ve featured plenty of word clocks before, even some with weather display, but we like the slim and understated design of this build. We’re particularly impressed by the lengths [GMG] took in packing as much capability into the 256-pixel display as possible, like the way “today” and “tomorrow” overlap. And if you’ve got an eye for detail, you might spot what gets displayed when it’s over 80° and 80% relative humidity.
Continue reading “Slim And Classy Word Clock Shows The Weather Too”
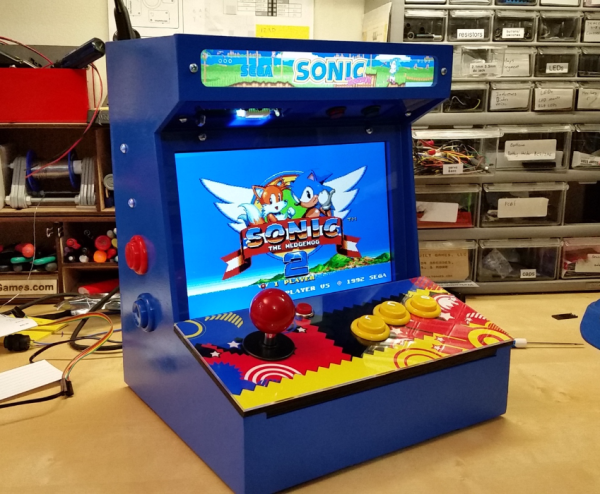
Bartop Arcade RetroPie Powered Laser Cut
[hhtat] wanted to build an arcade cabinet since his days in high-school. Only recently have the tech planets aligned. Looking into the night sky he saw a laser cutter, the Raspberry Pi, and lowering prices on key components and thought, “this is the year.”
Much like an arcade cabinet we posted earlier, this one sits on a counter top. With full controls and a nice screen, it provides a lot of the experience without the additional explaining to the SO why the living space should house a giant decaled MDF box.
The frame was designed in SketchUp and vectors were made in Inkscape. The frame was lasercut out of MDF and Acrylic. Decals were printed and applied. The resulting case, build from tab and slot construction, is attractive.
The internals are simple. A Raspberry Pi with a fast SD card acts as the brain. Rather than make it difficult on himself, [hhat] bought a pre-made controls kit from eBay. Apparently there is a small market for this stuff. He also purchased an IPS screen with built in controller. The IPS panel gives the arcade cabinet a desireable wide viewing angle.
The final product looks like a lot of fun and we can see it turning at least one person into an unintentional loner at any house party.
MDF Omniwheel Uses No Metal Or Plastic
What’s better than a caster? An omniwheel. These wheels are like a big wheel with little wheels at different angles that can roll in any direction. [Sonodera] built an omniwheel out of laser cut MDF. MDF–or Medium Density Fiberboard–makes up all the parts of the wheel. There’s no plastic or metal at all.
[Sonodera’s] wheel is more of a passive design like a caster. It would be possible to drive the wheel through the center in two directions, but the right-angle rollers are passive.
We’ve seen several robots with omniwheels before. In fact, this tripod-inspired robot also has passive rollers and the three-legged design takes advantage of them (the so-called Kiwi drive). Some schemes combine multi-directional wheels with conventional wheels (usually the standard wheels are in the center). There are other multi-directional wheel designs out there, including the Mecanum wheel. You can see a video of the MDF wheel in action, below.
An Open Source, DIY Digitizer
When you look at the current methods of scanning 2D and 3D objects available today, you’re basically looking at an imaging process. Either you take a picture of a 2D object, or you grab a blob of point clouds with a 3D scanner and make a 3D object that way. It wasn’t always like this – real, hardware 3D digitizers were used all the way back in the 70s, and touch probes are standard equipment on high-end CNC machines.
[Nikolaj Møbius] needed a way to record points in physical space, and not wanting to deal with the problems of images, he made an open source DIY digitizer. It’s basically a laser cut arm with rotary encoders at each joint. By reading the rotary encoders with an Arduino, [Nikolaj] can digitize a few points on a workpiece – just enough to make a bracket, or find the critical dimensions of a part.
It’s a great tool for when you need a little more information than a set of calipers can provide, and a great example of some ancient tech made useful again.