Digital security is always a moving target, with no one device or system every being truly secure. Whether its cryptographic systems being compromised, software being hacked, or baked-in hardware vulnerabilities, it seems there is always a hole to be found. [Max Justicz] has a taste for such topics, and decided to explore the possibility of creating a secure communications device using a pair of LCDs.
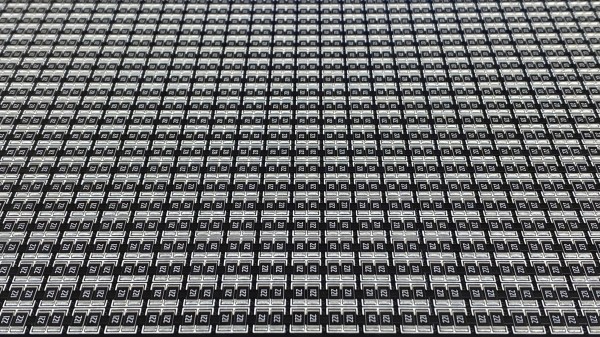
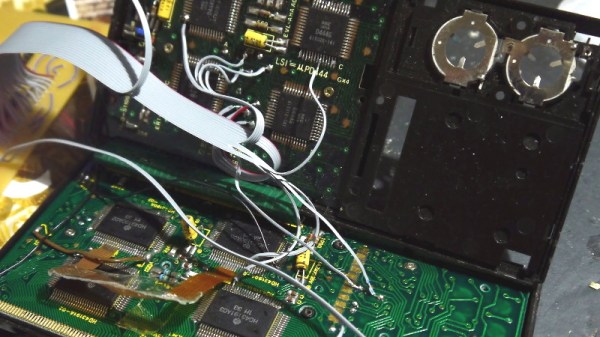
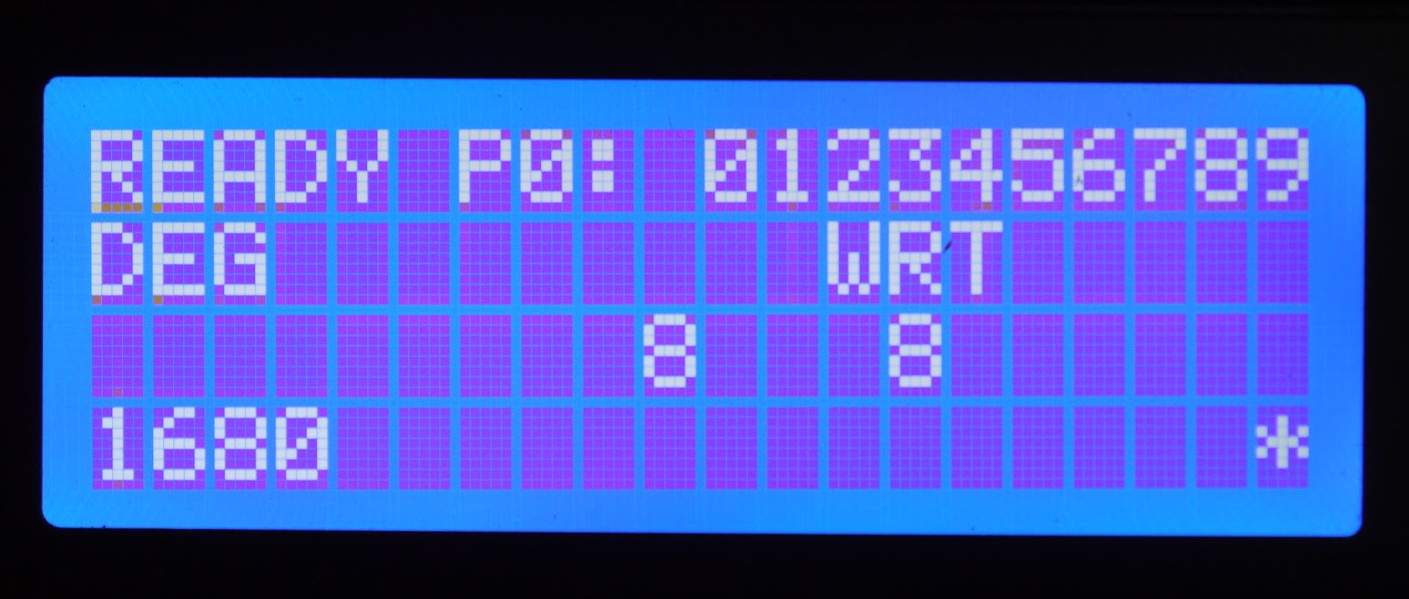
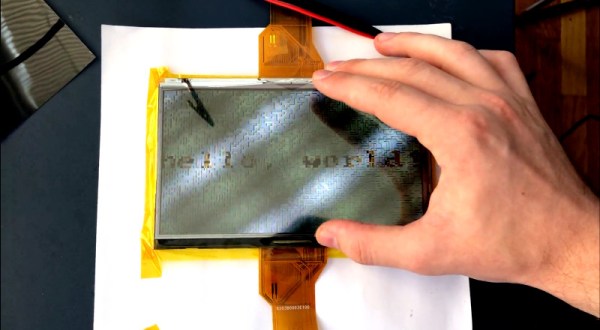
In a traditional communications system, when a message is decrypted and the plaintext is displayed on screen, there’s a possibility that any other software running could capture the screen or memory state, and thus capture the secret data. To get around this, [Max]’s device uses a concept called visual cryptography. Two separate, independent systems with their own LCD each display a particular pattern. It is only when the two displays are combined together with the right filters that the message can be viewed by the user, thanks to the visual XOR effect generated by the polarized nature of LCDs.
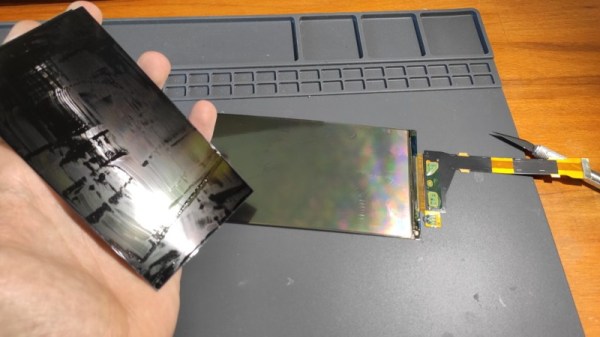
The device as shown, working with both transparent OLEDs and traditional LCDs, is merely a proof of concept. [Max] envisions a device wherein each display is independently sourced, such that even if one is compromised, it doesn’t have the full message, and thus can’t compromise the system. [Max] also muses about the problem of side-channel attacks, and other factors to consider when trying to build a truly secure system.
We love a good discussion of cryptography and security around here; [John McMaster]’s talk on crypto ignition keys was a particular hit at Supercon last year. Video after the break.