Optoelectronics hold a range of possibilities for the hardware experimenter — indeed who among us hasn’t added LEDs aplenty to our work? What many of us may be unaware of though is that an LED is also a photodiode, and can even be persuaded to generate usable quantities of power. [Voltative] takes a look at this phenomenon with a series of experiments.
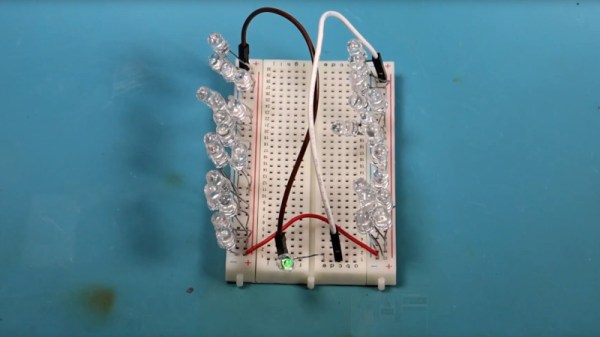
Lighting up an LED from a set of other LEDs is pretty cool, as is powering a calculator, or even the calculator powering itself from its on-board LED. But what caught our eye was using two LEDs as a data link, with both of them acting as transmitter and receiver (something on searching we find we’ve seen before). The possibilities there become interesting indeed.
Given that we are now surrounded by LEDs, from OLED screens to LED lighting, we can’t help wondering what the photodiode performance of some other types of part might be. Would the large area of a lighting LED give a better result for example, or would the phosphorescent coating of a white LED make it useless. We feel there’s more scope for experimentation here.