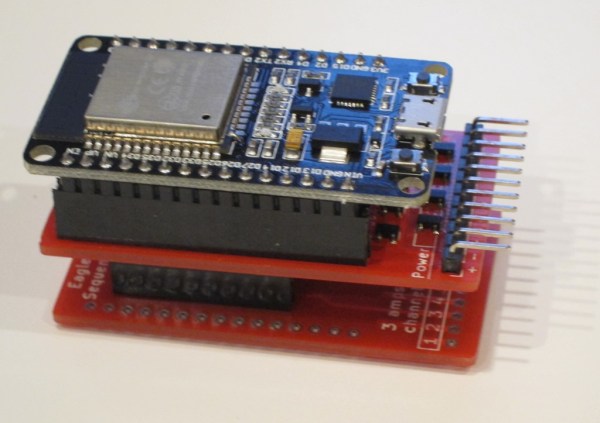
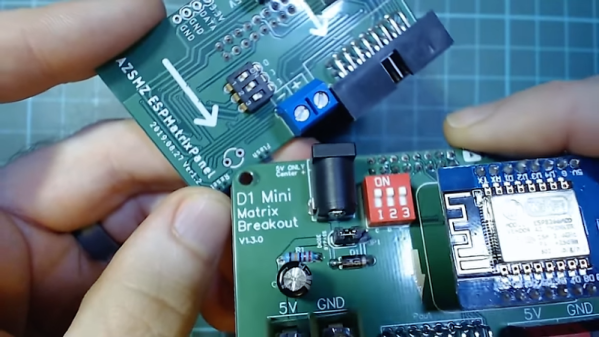
For smaller microcontrollers, having enough outputs for the job is sometimes a challenge. A common solution is to do some sort of multiplexing with the available outputs or perhaps something more advanced such as Charlieplexing, but another good option is to use a specialized driver board. What’s even better is if you can daisy chain driver boards to get even more outputs.
[Eric] has been working on a 16 channel LED project but first wanted to build a driver board with 8 channels. Before building a full 16 channel version he realized that he could take the same 8 channel board, make a mirror image of it, and attach it underneath the first board with headers in order to double the number of channels available. Without having to build a separate 16-channel board, this shortcut saved [Eric] some time and a great deal of effort.
This is a great example of working smarter, not harder. Each of the 8 or 16 channels has full PWM support as well to support PWM dimming, and a similar board could be built for motor control as well. It’s a good illustration of how good design can end up working for you as well. And if you need even more outputs, Charlieplexing is one way to get them.
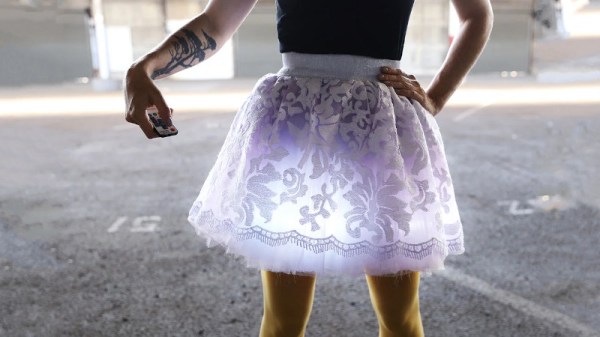
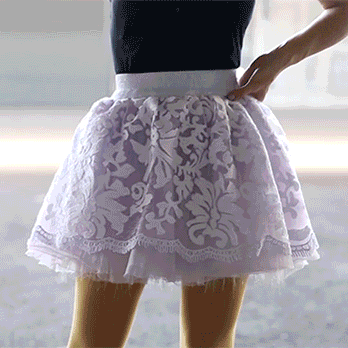 The build is one that should be achievable by anyone with basic dressmaking skills. White and lavender tutus are combined to form the base of the skirt, with a lace outer layer sewn on to create an attractive silhouette for the lights. A USB battery pack is hidden in a pocket in the back to power the show. A WS2812B LED strip is then attached to the skirt, and hidden behind an additional layer of white faux-fur to help diffuse the light.