We really like it when a reader is inspired by something they see on Hackaday, build on it, and let us know so we can pass it on. In this case, [Vegipete] made a secret maze game using a minimal number of parts and some neat software trickery.
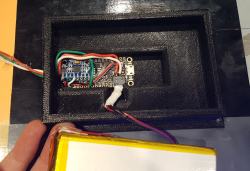
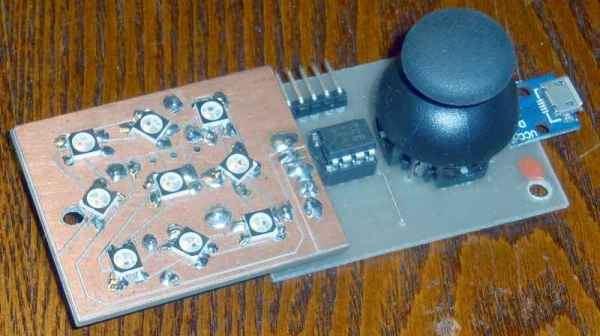
It’s built around an 8-pin PIC16F18313 microcontroller, uses a joystick for input, and nine WS2812 LEDs to display the player and the surrounding maze walls. His inspiration was [David Johnson-Davies’] minimalist secret maze game built around the 8-pin ATTiny85. In that one, [David] cleverly used charlieplexing to get four pins to control four LEDs and four pushbuttons. [Vegipete’s] use of the WS2812 LEDs allowed him to control the LEDs with just one pin, and also get color while using three pins for the joystick and its button. He may use another pin in the future for sound and vibration.
He goes into some detail on the WS2812 protocol, how communication is done with the LEDs using just one pin and different pulse-lengths to represent 0 and 1. We’ll leave you to see his post for more depth but basically, he introduces a module on the PIC called the Configurable Logic Cell (CLC) which makes this easy and frees up processor cycles for the user’s code to do other things.
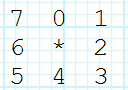 His source code is available on request but he does detail a neat software trick he uses for rotating the view. It may be confusing for some but as you move through the maze, your viewpoint rotates so that up is always the direction you’re facing. Luckily, the walls surrounding the user can be represented using 8-bits, four for east, west, north, and south, and four more for the corners. The maze is stored as a bitmap and from it, 8-bit values are extracted for the current position, each bit representing a wall around the position. To rotate the walls to match the user’s current orientation, the bits are simply shifted as needed. Then they’re shifted out to set each LED. Check it out in the video below.
It works very well despite the minimal interface and part count.
Continue reading “PIC16Maze Upgrades Secret Maze Game” →