Lego train sets were introduced almost 50 years ago, and since then, one thing has been constant: the trains connected with magnets. While this is a supremely simple means of connecting locomotives to rolling stock, there is one big disadvantage. Building decouplers – devices that will separate one car from another – is difficult.
Now, with a clever combination of racks, gears, and wedges, trains can disassemble themselves. They can even do it with an Arduino.
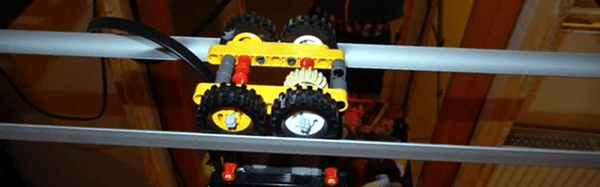
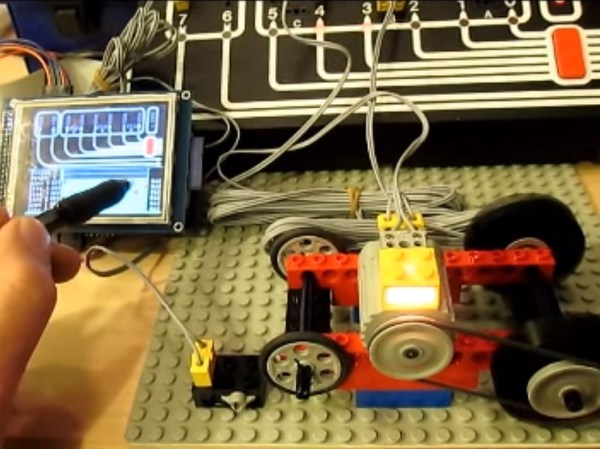
 This decoupler works by effectively wedging cars apart from each other. With a motor from an old Lego Technic set, a few gears, shafts, and a rack, a device can be constructed that fits between the rails of a track that raises into the undercarriage of rolling stock.
Because this rolling stock is moved around with a locomotive, all that’s needed to separate two halves of a train is to move the locomotive forward. Yes, it does mean that the connection with the weakest magnet is disengaged – not necessarily the connection you want to decouple. However, with only one car and a locomotive, there’s only one connection to break. Simple enough.
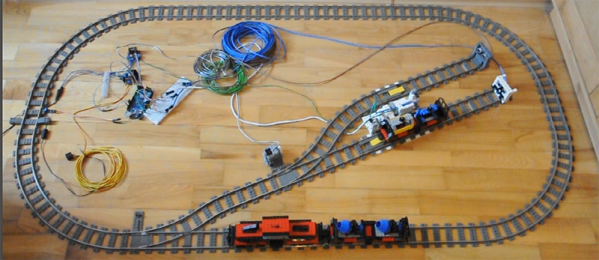
This Lego decoupler can be further improved with an Arduino, a few ultrasonic sensors, and an IR detector to make a fully automatic decoupling siding for a Lego train layout. You can see all this below operating with a full state machine that perpetually switches rolling stock behind a locomotive.
A great use for Legos.
Continue reading “Decoupling Lego Trains Automatically” →