The current state of robotics, 3D printers, and CNC machines means any shade tree roboticist has the means to make anything move. Do you want a robotic arm? There are a dozen designs already available. Need an inverted powered pendulum? There are a hundred senior projects on that every semester. There is, however, one type of actuator that is vastly underutilized. Linear actuators aren’t ‘maker’ friendly, and building a customized linear actuator is an exercise in pain.
For their Hackaday Prize entry, the folks at Deezmaker are changing the state of linear actuators. They’ve created ‘Maker Muscle’, a linear actuator that’s fully customizable to nearly any length, power, speed, motor, or any other spec you could think of.
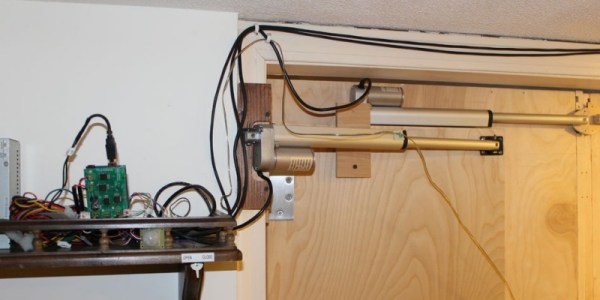
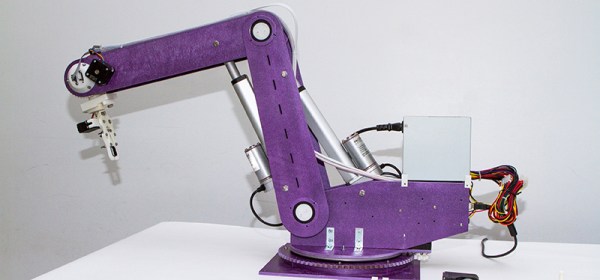
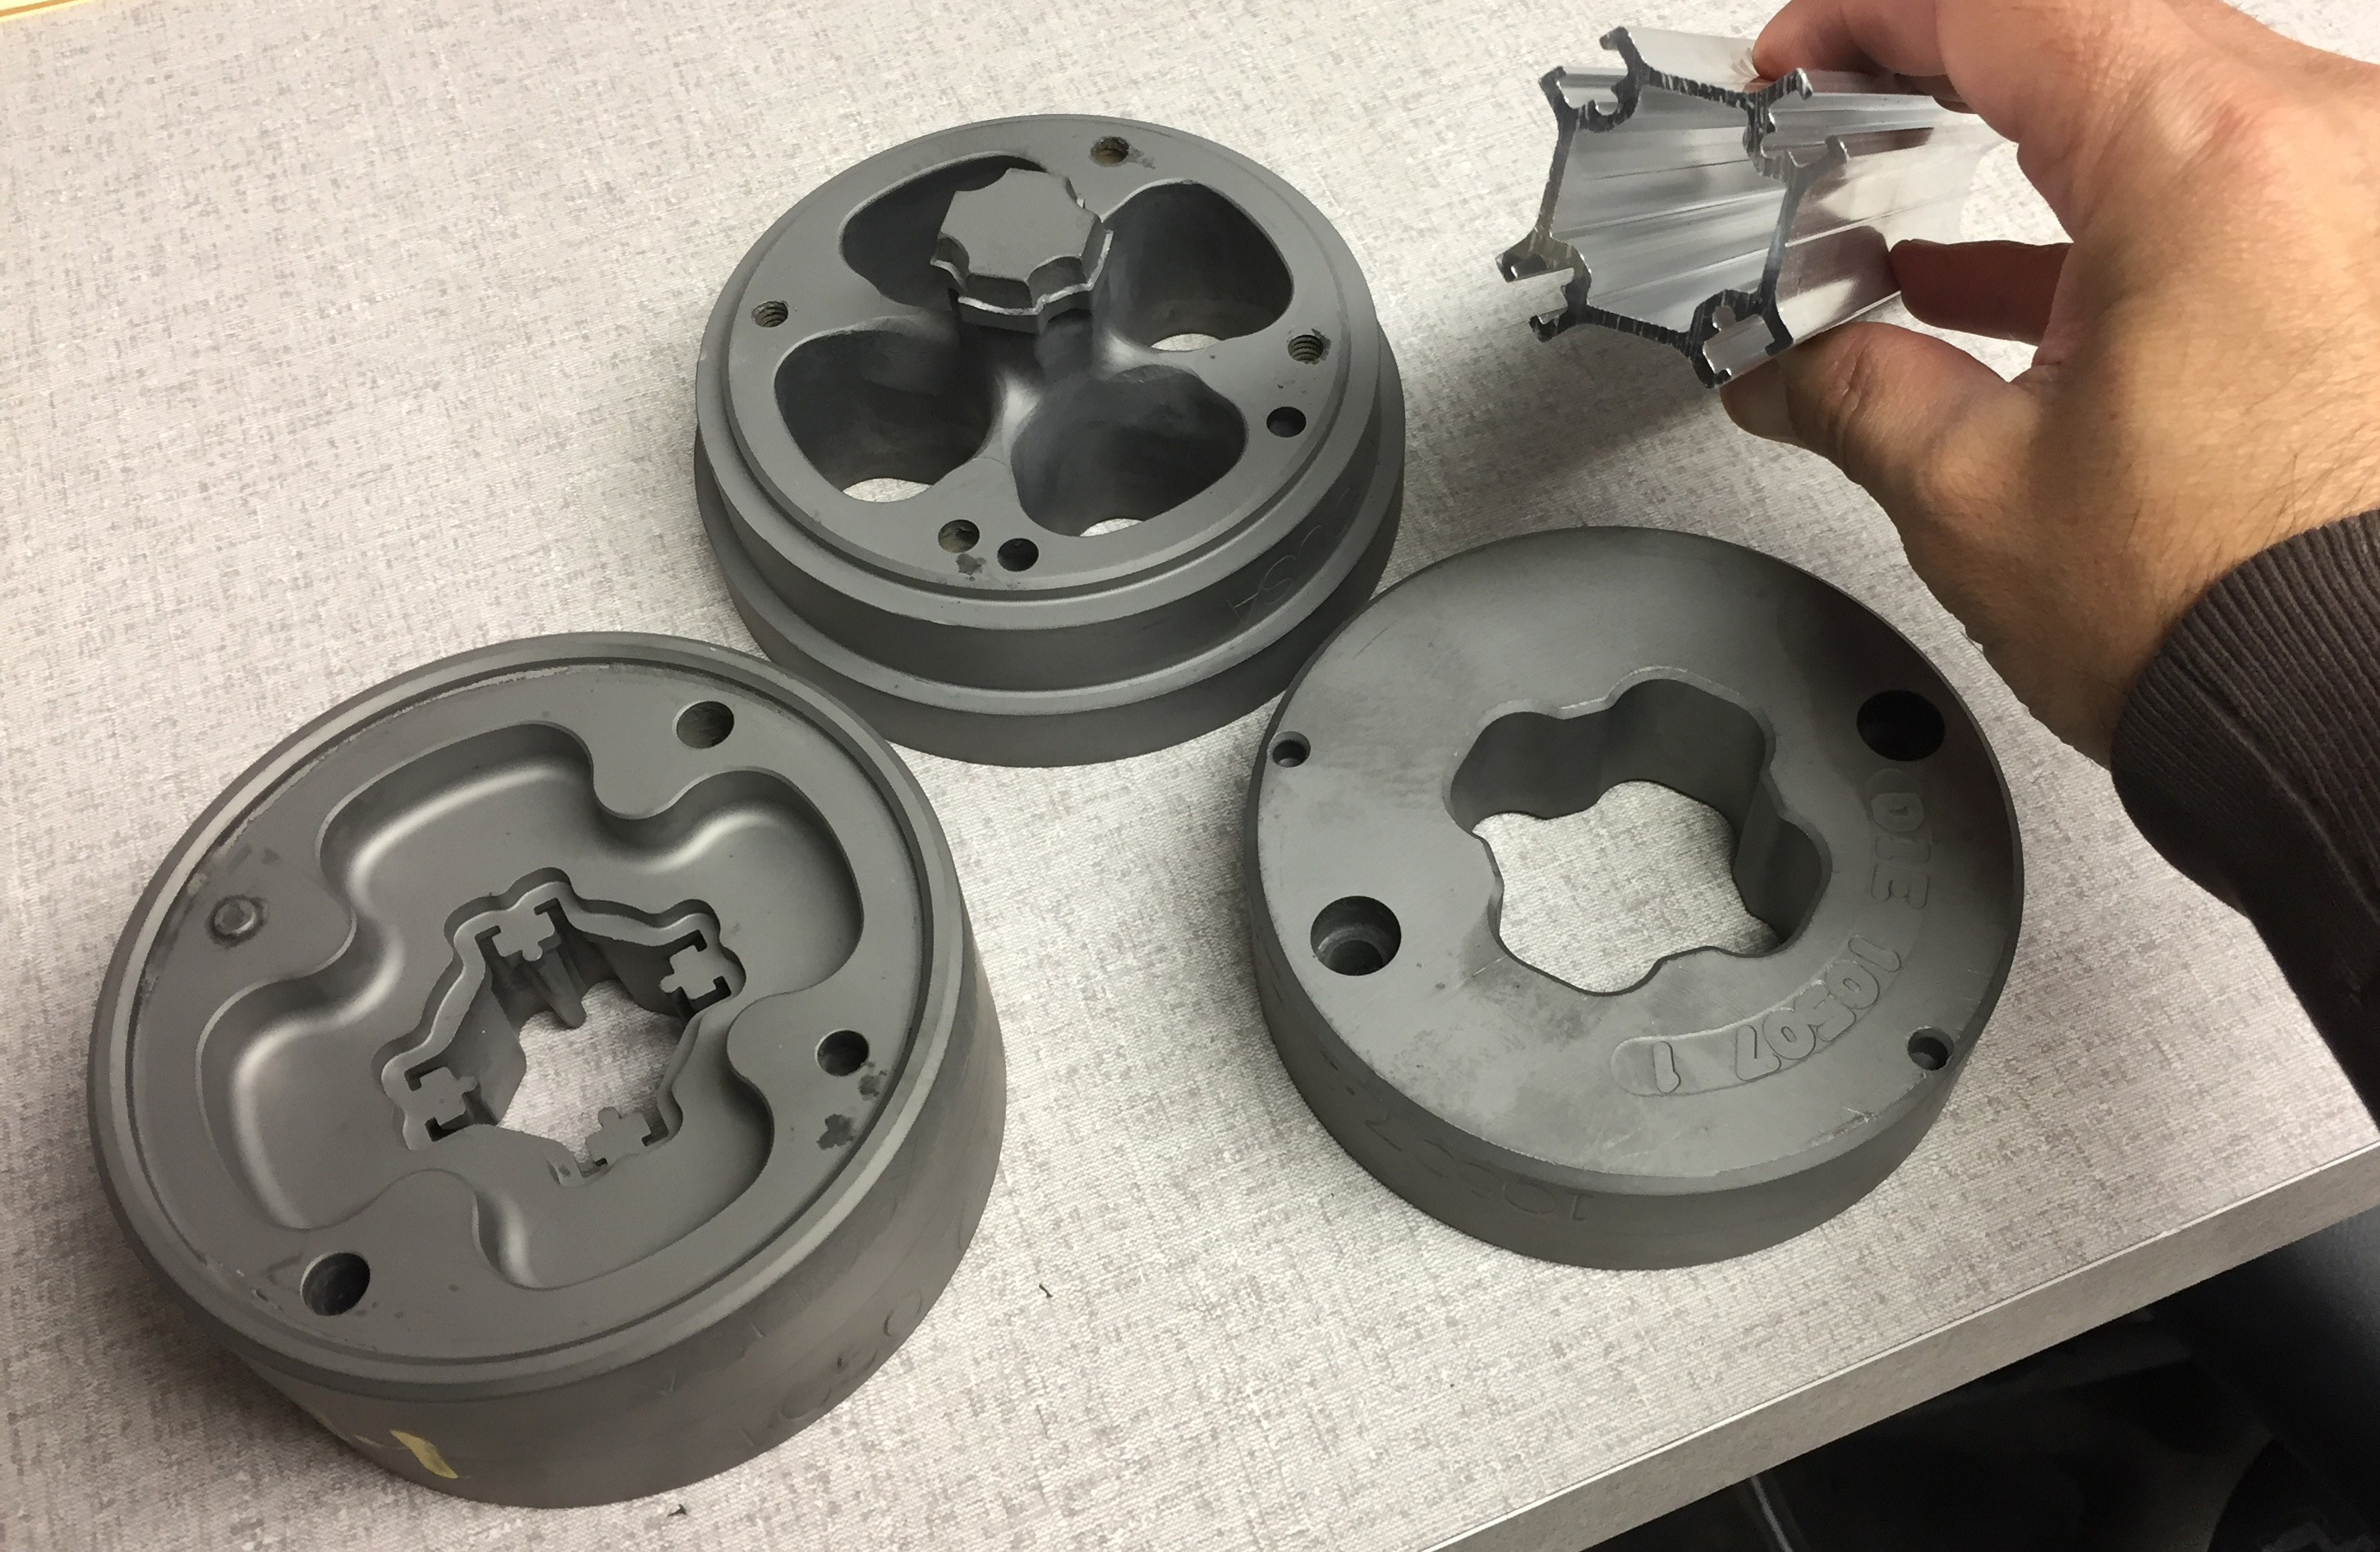
There were a few design goals for Maker Muscle. It must be modular, customizable, low-cost, and must allow for a lot of mounting options for use with t-slot aluminum extrusion. The answer to this is a completely custom aluminum extrusion. Basically, the motor mounts at one end, the actuator itself pokes out the other, and you can mount this device via the t-slot tracks around the edge of the extrusion. Think of it as the linear actuator version of MakerSlide, except instead of using this extrusion in CNC machines, it’s designed for moving shafts back and forth.
Already, Deezmaker has a working prototype and they’ve already moved onto a Kickstarter campaign for Maker Muscle. It’s a great idea, and we can’t wait to see what this neat product will be used for. You can check out a short demo video of Maker Muscle in action below.
Continue reading “Hackaday Prize Entry: Customizable Linear Actuators”