Etching Your Own Metal

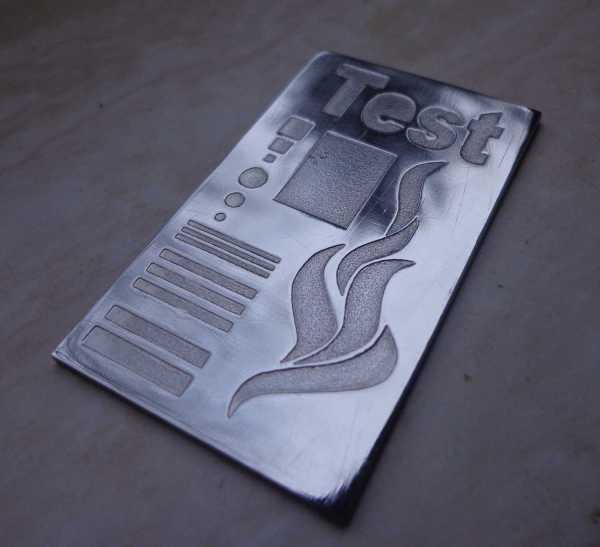
It’s been said that with enough soap, one could blow up just about anything. A more modern interpretation of this thought is that with enough knowledge of chemistry, anything is possible. To that end, [Peter] has certainly been doing a good job of putting his knowledge to good use. He recently worked out a relatively inexpensive and easy way to etch metals using some chemistry skill and a little bit of electricity.

After preparing a set of stencils and cleaning the metal work surface, [Peter] sets his work piece in a salt solution. A metal bar is inserted in the other end of the bath, and both it and the work piece are connected to electrodes. The flow of electricity removes some metal from the exposed work surfaces, producing whatever patterns [Peter] wants.

One interesting thing that [Peter] found is that the voltage must stay under 6 volts. This is probably part of the reason it’s relatively easy to etch with even a wall wort. Above that, the iron work piece produces a different ion which can clog the work surface and create undesirable effects. Additionally, since his first experiments with this process he has upgraded the salt bath with magnetic stirrers. He also gets the best results in a very cold environment.

There are many other uses for etching metals, too. Creating your own printed circuit boards comes to mind, but there are plenty of other uses as well. What will you do with this technique?

Home-Made Metal Brake

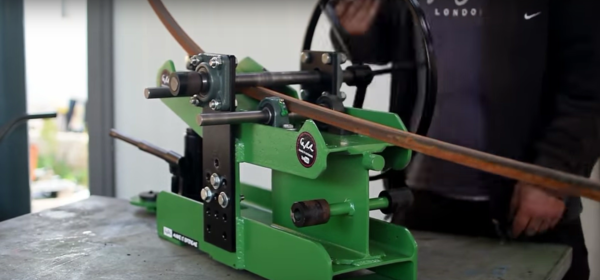
Sometimes, the appropriate application of force is the necessary action to solve a problem. Inelegant, perhaps, but bending a piece of metal with precision is difficult without a tool for it. That said, where a maker faces a problem, building a solution swiftly follows; and — if you lack a metal brake like YouTuber [makjosher] — building one of your own can be accomplished in short order.

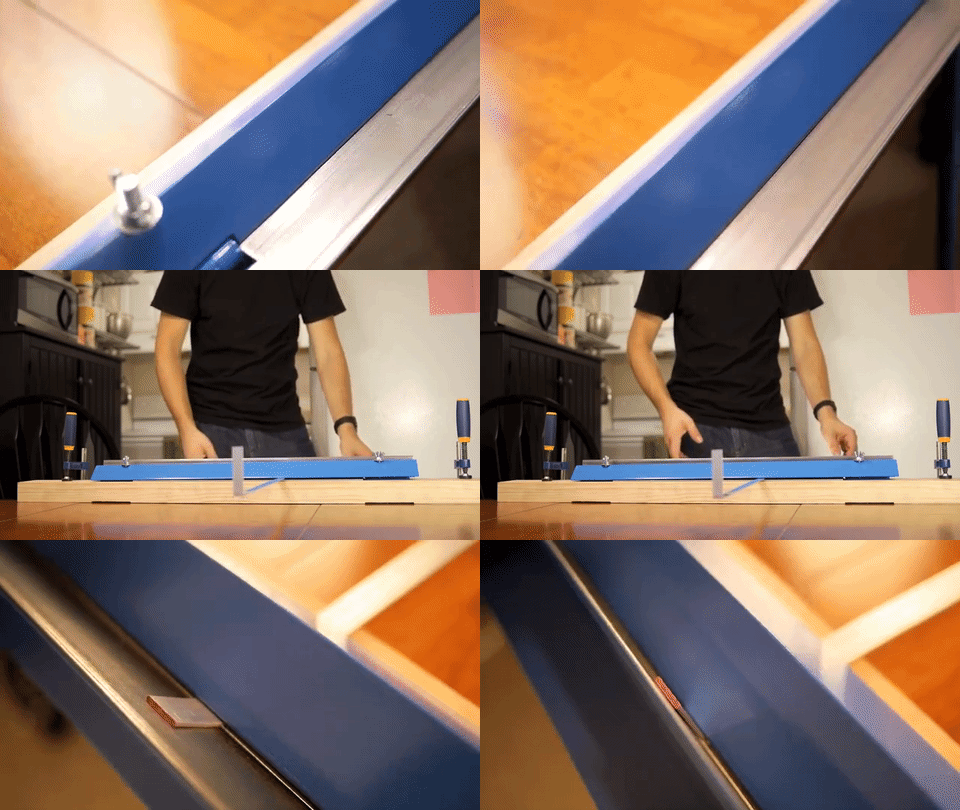
Drawing from numerous online sources, [makjosher]’s brake is built from 1/8″ steel bar, as well as 1/8″ steel angle. The angle is secured to a 3/4″ wood mounting plate. Displaying tenacity in cutting all this metal with only a hacksaw, [makjosher] carved slots out of the steel to mount the hinges, which were originally flush with the wood. He belatedly realized that they needed to be flush with the bending surface. This resulted in some backtracking and re-cutting. [Makjosher] then screwed the pivoting parts to the wood mount. A Box tube serves as a handle. A coat of paint  finished the project, and adding another tool to this maker’s kit.

Continue reading “Home-Made Metal Brake”

Portable Lightweight Foundry

[Makercise] is getting ready for Maker Faire. One of the things he’d really like to do is some casting demonstrations. However, he has no desire to take his expensive and heavy electric kiln based foundry to Maker Faire. So, he made his own.

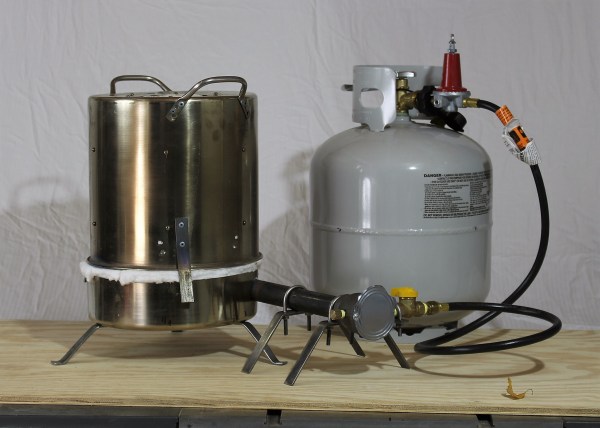
He got into metal casting during his excellent work on his Gingery lathe series. He started off by modeling his plan in Fusion 360. He’d use a 16qt cook pot turned upside down as the body for his foundry. The top would be lined with ceramic fiber insulation and the lid made out of foundry cement. He uses a Reil style burner, which he also modeled as an exercise. This design is light and even better, allows him to lift the top of foundry off, leaving the crucible completely exposed for easy removal.

All went well with the first iteration. He moved the handles from the top to the bottom of the pot and filled it with insulation. He built legs for the lid and made a nice refractory cement bowl on the bottom. However, when he fired it up the bowl completely cracked along with his crucible. The bowl from design flaw, the crucible from age.

A bit put off, but determined to continue, he moved forward in a different direction. The ceramic insulation was doing so well for the top of the foundry that he decided to get rid of the cement altogether and line the bottom with it as well. The lid, however, would be pretty bad for this, so he purchased another pot and cut the top portion of it off, giving him a steel bowl that matched the top.

The foundry fires up and has worked well through multiple pours. He made some interesting objects to hopefully sell at Makerfaire and to test the demonstrations he has planned. The final foundry weighs in at a mere 15lbs not including the fuel cylinder, which is pretty dang light. Video after the break.

Continue reading “Portable Lightweight Foundry”

Putting Sand, Water, And Metal Into A 3D Print

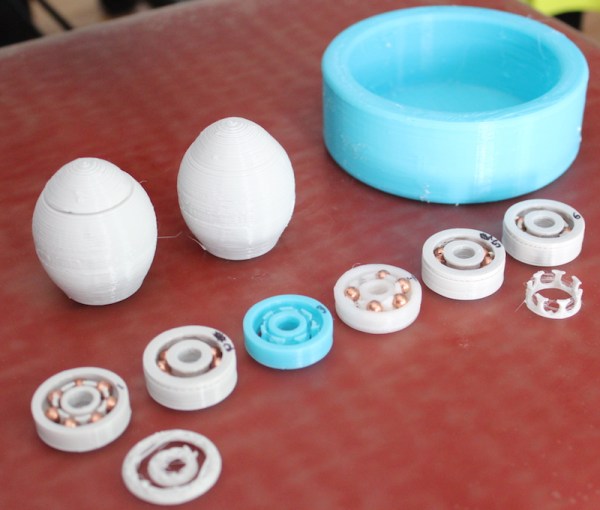
[Adam] over at Makefast Workshop writes about some of the tests they’ve been running on their 3D printer. They experimented with pausing a 3D print midway and inserting various materials into the print. In this case, sand, water, and metal BBs.

The first experiment was a mixture of salt and water used to make a can chiller for soda or beer (the blue thing in the upper right). It took some experimentation to get a print that didn’t leak and was strong. For example, if the water was too cold the print could come off the plate or delaminate. If there was too much water it would splash up while the printer was running and cause bad layer adhesion.

They used what they learned to build on their next experiment, which was filling the print with sand to give it more heft. This is actually a common manufacturing process — for instance, hollow-handled cutlery often has clay, sand, or cement for heft. They eventually found that they had to preheat the sand to get the results they wanted and managed to produce a fairly passable maraca.

The final experiment was a variation on the popular ball bearing prints. Rather than printing plastic balls they designed the print to be paused midway and then placed warmed copper BBs in the print. The printer finished its work and then they spun the BB. It worked pretty well! All in all an interesting read.

What Is There To Know About Resistors?

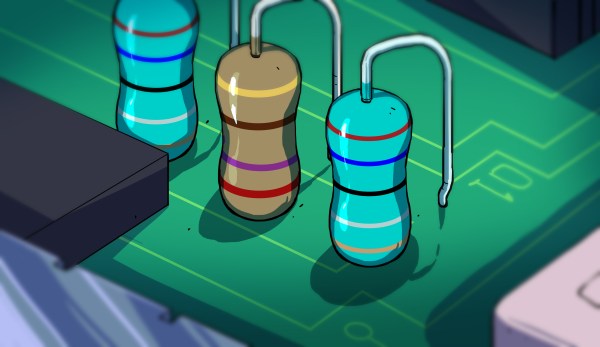
Resistor: A passive chunk of material that resists the flow of electrical current. A terminal is connected to each end you’re done. What could be simpler?

It turns out it’s not so simple at all. Temperature, capacitance, inductance and other factors all play a part in making the resistor a rather complex component after all. Even its uses in circuits are many, but here we’ll just focus on the different types of fixed-value resistors, how they’re made, and what makes them desirable for different applications.

Let’s start with a simple one, and one of the oldest.

Continue reading “What Is There To Know About Resistors?”

Metal Casting With Single Shelled PLA Masters

[3DTOPO] does a lot of metal casting (video link, embedded below). That’s obvious by the full and appropriate set of safety gear, a rarity on YouTube.

They had all the equipment to do it the normal way: craft or CNC out a master, produce a drag and a copy, make any necessary cores, and finally; pour the mold. This is a long and tedious process. It has a high rate of error, and there is a parting line.

Another set of methods are the lost ones. With these methods the master is produced out of a material like foam or wax. The master is surrounded by refractory and then melted, burned, or baked out of the mold. Finally the metal is poured in. Theoretically, a perfect reproduction is made without ever having to open the mold.
Continue reading “Metal Casting With Single Shelled PLA Masters”

A quick brush over the part with some sand paper and it quickly transforms from obviously plastic to metallic.

Learn Resin Casting Techniques: Cold Casting

Sometimes we need the look, feel, and weight of a metal part in a project, but not the metal itself. Maybe you’re going for that retro look. Maybe you’re restoring an old radio and you have one brass piece but not another. It’s possible to get a very metal like part without all of the expense and heat required in casting or the long hours in the metal fabrication shop.

Before investing in the materials for cold casting, it’s best to have practical expectations. A cold cast part will not take a high polish very well, but for brushed and satin it can be nearly indistinguishable from a cast part. The cold cast part will have a metal weight to it, but it clinks like ceramic. It will feel cool and transfers heat fairly well, but I don’t have numbers for you. Parts made with brass, copper, and iron dust will patina accordingly. If you want them to hold a bright shine they will need to be treated with shellac or an equivalent coating afterward; luckily the thermoset resins are usually pretty inert so any coating used on metal for the same purpose will do.

It is best to think of the material as behaving more or less like a glass filled nylon such as the kind used for the casing of a power tool. It will be stiff. It will flex a relatively short distance before crazing and then cracking at the stress points. It will be significantly stronger than a 3D printed part, weaker than a pure resin part, and depending on the metal; weaker than the metal it is meant to imitate.

Continue reading “Learn Resin Casting Techniques: Cold Casting”