Every month, semiconductor manufacturers across the globe retire old devices. A product that has been superseded, isn’t selling well, or maybe whose application has declined, is removed from the catalogue and ceases to be manufactured. Usually these moments pass unnoticed, just one old device among many. Who is going to remark upon the demise of a chip for a VGA card for example, or a long-ago-left-behind Flash memory chip?
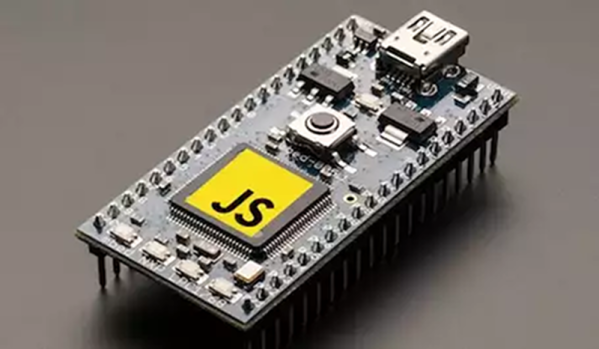
One has come to our attention that is pretty unremarkable, but that could concern some of our readers. NXP have stopped manufacturing the LPC810M021FN8. What on earth is an LPC810M021FN8, you ask, the answer being that it appears to have been the last microcontroller with an ARM core available in a DIP package. Even that in itself is hardly earth-shattering, for if you really must use an ARM core rather than any of the myriad 8, 16, or 32 bit microcontrollers still available you can always get a DIP breakout board for a small surface mount chip.
This turn of events comes as a reminder that, while breadboard-friendly and popular among a section of our community, DIP packages are now particularly old-school. Other once-popular devices such as the LPC1114 have also long-since ceased to be available in this format, and we have to wonder how long we will be able to take advantage of DIP packages for some of the other microcontroller families.
A few years ago this news might have come as something of a disaster, but it now has more of a sense of the passing of a bygone era. It’s normal to use microcontroller dev boards in a larger DIP format for prototyping, so maybe getting used to a bit of surface-mount soldering on a break-out board will be only for the truly hard-core when the last DIP package has been retired. Other than that of course, the 555 is still available in a DIP8, and you can make anything with one of them!
If you didn’t have a chance to take the 810 for a test drive, the usual suppliers still list it in stock, Adafruit have a starter pack for it, and it will no doubt be possible to find it in small quantities for years to come.
[Thanks Tod E. Kurt for the tip]