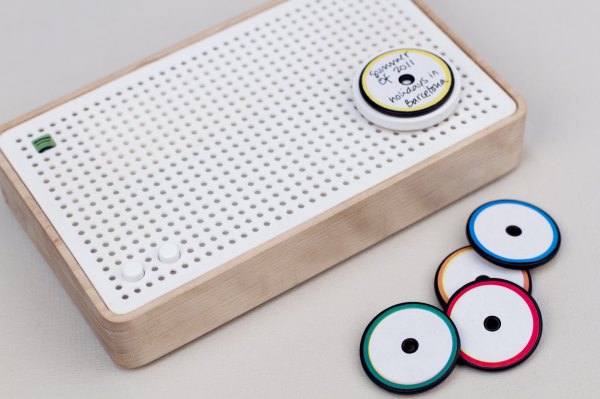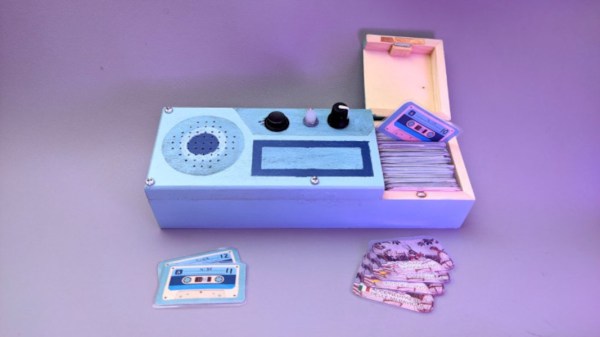
Custom music instruments here at Hackaday range from wacky to poignant. OpnBeat by [Hiro Akihabara] focuses on something different: simplicity.
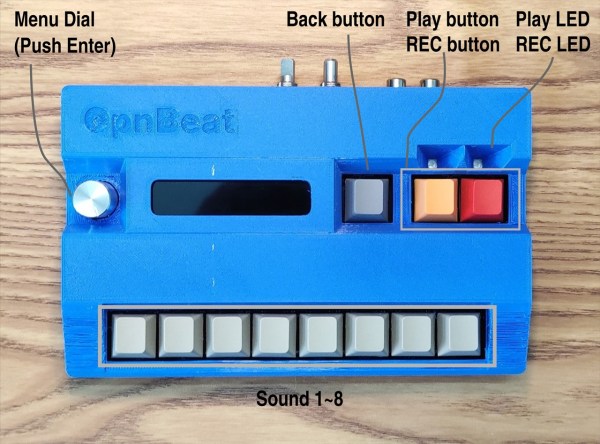
There are few buttons, the design and code are optimized to be straightforward and easy to modify, and the interface is slick. Eight musical keys complement three interface keys and a knob. An Arduino Nano powers the main brains of the system but the music generation comes from eight Nuvoton ISD1700s controlled over SPI by the Nano. The beautifully laid-out PCB is 110mm by 180mm (4.33″ by 7″), so cases can easily be printed on smaller FDM printers. All the switches are Cherry MX switches for the beautiful tactile feedback.
The code, PCB, and 3D case files are all available on GitHub. We love the thought that went into the design and the focus on making it easy to recreate. It might be quite as cute and simplified as this twelve-button musical macro pad, but the two together could make quite the band.