We never insist that a hack be practical. [Tech Ingredients] is living proof as they modded a computer case to use a window air conditioner for overclocking a computer. They think they haven’t hit the ceiling yet, and got their AMD Ryzen 8-core processor up to 4.58 GHz.
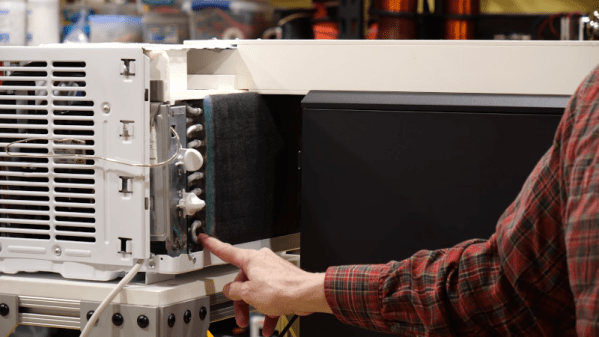
An advantage of forcing air from an air conditioner is that the air forced into the system is quite dry and clean. The trick is to create a simple duct to attach to a 5,000 BTU air conditioner. It doesn’t actually interface with the CPU cooling block, instead it just forces cool air into the case and this tends to cool everything inside. Admittedly, it isn’t any worse than plunging your computer in liquid nitrogen, and we’ll admit that air conditioning units are made to keep large areas cold and work at high duty cycles. With the air conditioning running, they disconnected at least some of the stock fans. The temperatures stayed cool even at high speeds.